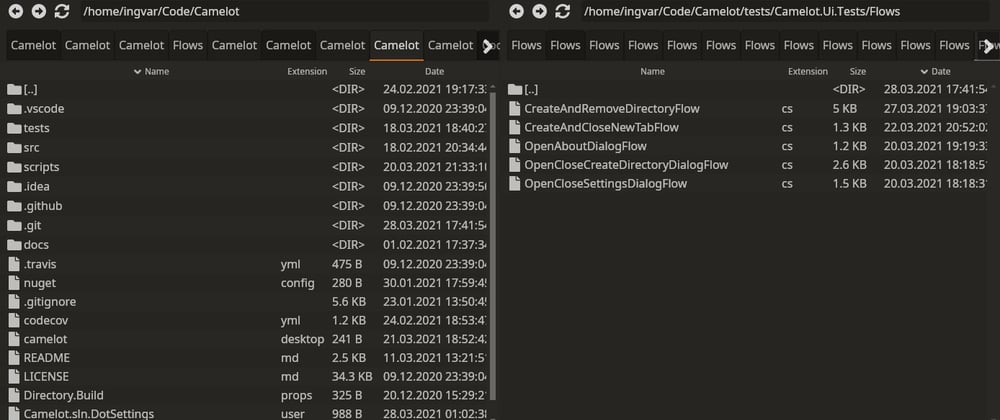
Hello, in this post I gonna discuss details of automated UI testing. As always I gonna use my app Camelot as working example.
Why do you need UI testing
Why do you need to automate your UI testing? Because it saves time if compare with manual testing. It's more accurate and helps to find regression bugs. The only disadvantage here is time spent on writing tests and initial setup.
What UI tests could do
UI tests could emulate everything user does. Move mouse, click, press keys etc. I recommend to check a single test case/scenario in a test, like you do during manual testing. Example from my app: open create directory dialog, enter directory name and create it, observe that it was created. This test could be automated easily. I recommend to start automating from smoke testing and finish with full regression testing.
UI testing in AvaloniaUI
AvaloniaUI has functionality that allows to run custom code few seconds after app setup. You can add your testing code there and run your scenarios. AvaloniaUI 0.10.0 also introduced Headless platform. Headless app doesn't have UI so it could be started even on non-gui OS. It could be useful for running tests on servers w/o GUI. I run UI tests on Github via github actions so for me this option is useful. I prefer to run real app and execute tests on it but you can also test your controls etc w/o running whole app.
Avalonia app inside uses static fields etc so it's not possible to create new instance of app per test. I had to create single instance and reuse it across tests, so parallel execution of tests should be disabled for UI tests project. Also every test should have proper cleanup otherwise it could break other tests.
Setup infrastructure for UI testing
I use Xunit for testing, it doesn't work with UI tests out of box. I had to add my own runner for Xunit:
private class Runner : XunitTestAssemblyRunner
{
    // constructor

    public override void Dispose()
    {
        AvaloniaApp.Stop(); // cleanups existing avalonia app instance

        base.Dispose();
    }

// this method is called only if test parallelization is enabled. I had to enable it and set max parallelization limit to 1 in order to avoid parallel tests execution
    protected override void SetupSyncContext(int maxParallelThreads)
    {
        var tcs = new TaskCompletionSource<SynchronizationContext>();
        var thread = new Thread(() =>
        {
            try
            {
                // DI registrations
                AvaloniaApp.RegisterDependencies();

                AvaloniaApp
                    .BuildAvaloniaApp()
                    .AfterSetup(_ =>
                    {
                        // sets sync context for tests. avalonia UI runs in it's own single thread, updates from other threads are not allowed
                        tcs.SetResult(SynchronizationContext.Current);
                    })
                    .StartWithClassicDesktopLifetime(new string[0]); // run app as usual
            }
            catch (Exception e)
            {
                tcs.SetException(e);
            }
        })
        {
            IsBackground = true
        };

        thread.Start();

        SynchronizationContext.SetSynchronizationContext(tcs.Task.Result);
    }
}
Full code
One more headless tests example
Also I added AvaloniaApp class that is actually wrapper for real app:
public static class AvaloniaApp
{
    // DI registrations
    public static void RegisterDependencies() =>
        Bootstrapper.Register(Locator.CurrentMutable, Locator.Current);

    // stop app and cleanup
    public static void Stop()
    {
        var app = GetApp();
        if (app is IDisposable disposable)
        {
            Dispatcher.UIThread.Post(disposable.Dispose);
        }

        Dispatcher.UIThread.Post(() => app.Shutdown());
    }

    public static MainWindow GetMainWindow() => (MainWindow) GetApp().MainWindow;

    public static IClassicDesktopStyleApplicationLifetime GetApp() =>
        (IClassicDesktopStyleApplicationLifetime) Application.Current.ApplicationLifetime;

    public static AppBuilder BuildAvaloniaApp() =>
        AppBuilder
            .Configure<App>()
            .UsePlatformDetect()
            .UseReactiveUI()
            .UseHeadless(); // note that I run app as headless one
}
UI testing
Now it's time to write test! Here is an example of test that opens about dialog via F1:
public class OpenAboutDialogFlow : IDisposable
{
    private AboutDialog _dialog;

    [Fact(DisplayName = "Open about dialog")]
    public async Task TestAboutDialog()
    {
        var app = AvaloniaApp.GetApp();
        var window = AvaloniaApp.GetMainWindow();
        // wait for initial setup
        await Task.Delay(100);

        Keyboard.PressKey(window, Key.Tab); // hack for focusing file panel, in headless tests it's not focused by default
        Keyboard.PressKey(window, Key.Down);
        Keyboard.PressKey(window, Key.F1); // press F1

        await Task.Delay(100); // UI is not updated immediately so I had to add delays everywhere

        _dialog = app
            .Windows
            .OfType<AboutDialog>()
            .SingleOrDefault();
        Assert.NotNull(_dialog);

        await Task.Delay(100);

        var githubButton = _dialog.GetVisualDescendants().OfType<Button>().SingleOrDefault();
        Assert.NotNull(githubButton);
        Assert.True(githubButton.IsDefault);
        Assert.True(githubButton.Command.CanExecute(null));
    }

    public void Dispose() => _dialog?.Close(); // cleanup: close dialog
}
Looks simple, right? I had to add some extra code for delays but in fact test is simple. Here is an example of delay service:
public static class WaitService
{
    public static async Task WaitForConditionAsync(Func<bool> condition, int delayMs = 50, int maxAttempts = 20)
    {
        for (var i = 0; i < maxAttempts; i++)
        {
            await Task.Delay(delayMs);

            if (condition())
            {
                break; // stop waiting for condition
            }
        }
    }
}
More tests examples
Official example
Conclusion
AvaloniaUI provides good infrastructure for running UI tests. I recommend to use them in your project if it's complicated enough because they save a lot of time. Are you using any UI tests in your project? Tell me in comments


Top comments (3)
Hi! Thank you very much for the article and in particular for the UI testing part. I have run the UI test example you gave and it worked nicely. I am quite new to this and have a question:
How would you run the camelot UI test non-headless, i.e. the app opening and you can see the tests happening ;) ?
There seems to be not much documentation to this. A (may be naive) "UseHeadless(false)" in your test example didn't work ;(.
Hi! Thanks for your comment.
I think that
UseHeadless(false)doesn't work anymore but removing this line works and shows Camelot UI during tests for meIndeed, commenting out that line did it ;) Thank you again ...