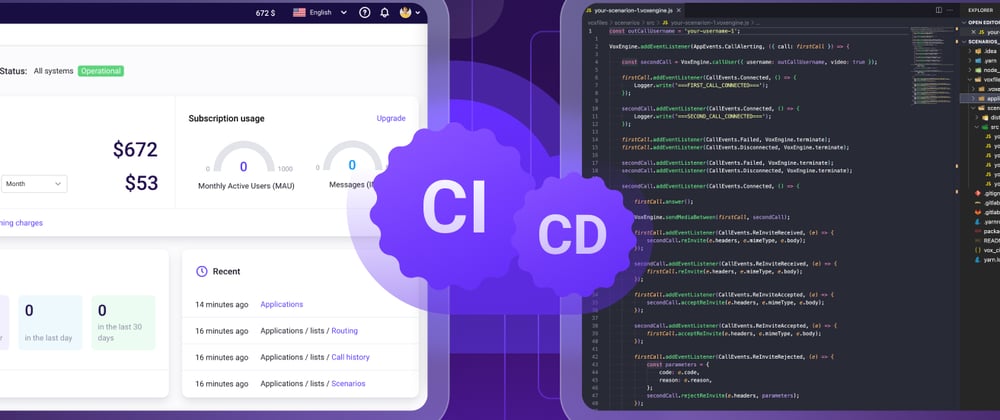
Hey, devs! Long time no see! Today I’m going to tell you about VoxEngine CI – a new tool to work with Voximplant apps, scenarios, and rules.
I hope you will find this interesting even if you don’t have a Voximplant account yet. Especially if you are a continuous integration fan :)
VoxEngine CI aims to help you manage Voximplant applications, rules, and scenarios from your own environment using @voximplant/apiclient-nodejs under the hood. With it, you can switch to local development and use your favorite tools and version control systems. If you already have those favorites, it would be nice to connect them with Voximplant by means of VoxEngine CI.
We also prepared CI/CD templates for GitLab and GitHub. They will help you set up processes for uploading your code to the Voximplant platform.
So let’s begin!
Prerequisites
- Voximplant account, you can create one here
- Service account (we will create it together)
- Node.js >= 11
- Happy mood (optional, any mood is welcome)
Here I assume that you created a Voximplant account on the main page by yourself and are ready to move to the second step.
Now and later, you can also follow a small tutorial showing how to create a Voximplant cloud app to get an idea of what Voximplant is.
Create a service account
To work with VoxEngine CI, you need a JSON file with your credentials. Go to the Service accounts section of the Voximplant control panel and generate the file there. Choose the Developer role, it suits today’s tutorial best.
Configure CI
To install VoxEngine CI, run the following command from your project folder (create the project first if you do not have it yet) in the Terminal:
npm i @voximplant/voxengine-ci-
Create a .env file in the project root directory and add environment-specific variables to specify the name and location of the JSON file with your account credentials and the folder with files that will be downloaded from your account in the next step:
VOX_CI_CREDENTIALS=/path/to/the/vox_ci_credentials.json
VOX_CI_ROOT_PATH=/path/to/the/voxengine_ci_source_files_directory
Initialize the project. This command downloads all files and metadata from your Voximplant account. When all the files are downloaded, you can modify them and upload them back to the platform.
npx voxengine-ci init
Create apps, scenarios, and rules with CI
It doesn’t matter whether you already have some apps, scenarios, and rules in your account or not. You can either create or just modify them with VoxEngine CI.
While using VoxEngine CI, please don’t rename or delete existing apps, scenarios, and rules; just create new ones, otherwise consistency will be affected.
If you truly need to rename or delete something, do it from the platform and runnpx voxengine-ci init --forceafter to make your local and remote (platform) versions consistent.
Applications
Here you need to create an application.config.json file in the /path/to/the/voxengine_ci_source_files_directory/applications/your-application-name.your-account-name.voximplant.com/ directory (account name is your Voximplant username), where /path/to/the/voxengine_ci_source_files_directory is created with the npx voxengine-ci init command.
This is the default voxfiles folder or the path you specified in the VOX_CI_ROOT_PATH env variable.
Then, add the following config to the application.config.json file:
{
    "applicationName": "your-application-name.your-account-name.voximplant.com"
}
Congratulations! Your first application is ready!
Rules and scenarios
In the same directory, create a rules.config.json file with this config, for example:
[
   {
      "ruleName":"first-rule",
      "scenarios":[
         "first-scenario"
      ],
      "rulePattern":"string-with-regexp"
   },
   {
      "ruleName":"second-rule",
      "scenarios":[
         "second-scenario"
      ],
      "rulePattern":"string-with-regexp"
   }
]
Here, first-rule and second-rule are the names of your rules; first-scenario and second-scenario are the names of your scenarios; and string-with-regexp is a regular expression that a dialed number will be checked against (".*" by default).
Create as many rules and scenarios as you need. But note that the order of the scenarios attached to one rule in this file defines the order of their execution. Keep this in mind when writing the scenario code.
Here is an example of such a file:
If your application doesn’t have any rules yet, leave the JSON file empty {}.
You can modify existing scenarios and create new ones ONLY in the /voxfiles/scenarios/src directory. Only the scenarios with their names specified in rules.config.json will be uploaded to the platform. The scenario file names must match the *.voxengine.{js,ts} pattern.
In our case, the scenario names should be as follows: testscenario1.voxengine.js, testscenario2.voxengine.js. These are the files where you write the scenario code.
When everything is ready, run
npx voxengine-ci upload --application-name your-application-name
to upload a new application with all rules and scenarios to the platform.
Use the
--dry-runflag in this command to build the project locally without uploading changes to the platform like this:npx voxengine-ci upload --application-name your-application-name --dry-run
Now you can find the newly created applications, rules, and scenarios on the platform:
Modify scenarios and rules with CI
Add/modify rules in rules.config.json and scenarios in /voxfiles/scenarios/src and then run the upload command again.
If you specify a rule name or rule ID in the command, only the scenarios attached to this rule will be uploaded to the platform:
npx voxengine-ci upload --application-name your-application-name --rule-name your-rule-name
It works either when you upload a new rule or when you modify an existing one.
If you modify an existing application or existing rule, you can specify --application-id and --rule-id instead of --application-name and --rule-name, but if both are specified only the ID will be taken into account.
So that’s how it all works. Find more commands and CI/CD templates for GitHub and Gitlab here. Stay tuned and in touch :)
I’ll also be happy to answer any questions you may want to ask after reading this article. Have a good day!


Top comments (0)