This article is part of the Azure Advent Calendar initiative by Richard Hooper and Gregor Suttie. You'll find other helpful articles published daily by community members here, so make sure to check it out every day. Furthermore, 3 videos are uploaded every day, and you can check the full playlist here. Follow the conversation with the hashtag #AzureAdventCalendar.
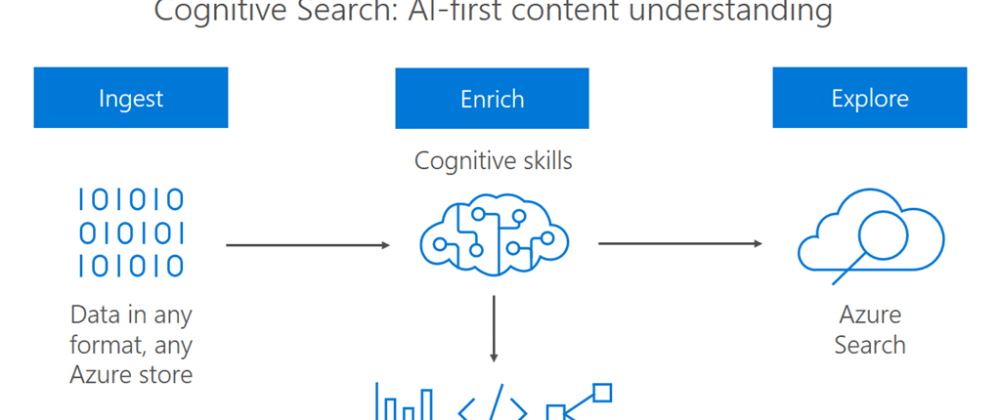
Azure Cognitive Search is a powerful service that you can use to find useful information in your data, even unstructured data such as pdf files, Office docs and images. Moreover, you can seamlessly integrate AI capabilities, known as cognitive skills, to enrich your apps and extract even more information.
In my video entry for the Azure Advent Calendar I explained what Azure Cognitive Search is. For the demo, I created a resource on the portal and integrated it into a real website in order to perform smart queries on a video game music library.
In this article I'm explaining how to quickly create a website based on your Azure Cognitive Search resource settings.
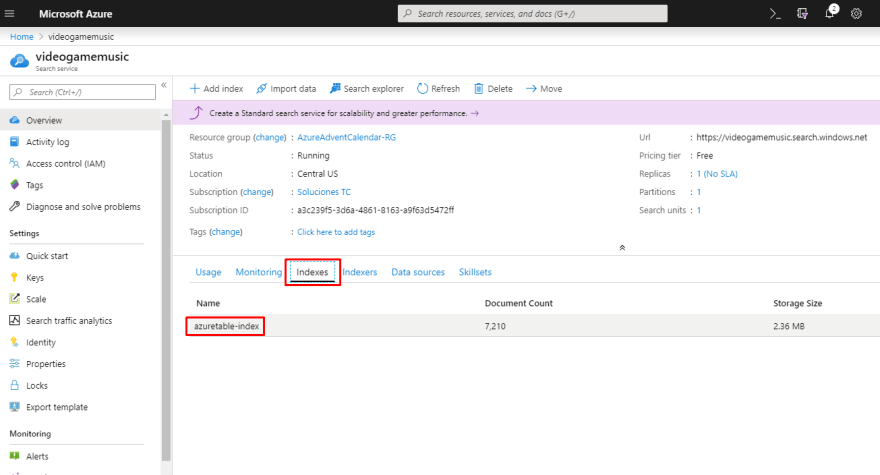
First of all, access your Azure Cognitive Search resource, click on Indexes and then access the index that you created before.
Next, click on the Create Search app (preview) button.

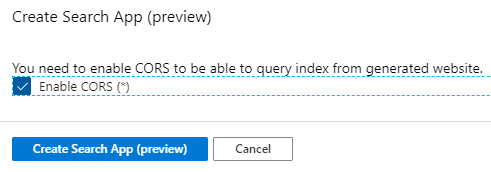
Most probably, you'll receive a message about enabling CORS in order to be able to use the index for your queries. Check the option and click on the button.
Now, let's configure the application. On the Individual result section you can customize the appearance of each result. In this case, I don't have a field for images, so I leave blank the thumbnail part. On the right side, I assign the OriginalTitle field for the Title part and the OriginalGame field for the Description part.

The next section is the Sidebar. You can filter results by facetables (categories) for any field that you marked as facetable when you created the index. For this specific scenario, I choose OriginalGame to group/filter songs by video game:

Coming up is the Suggestions section. You can choose which fields would appear as auto-complete recommendations when the user types in the search box. I selected OriginalTitle and OriginalGame with the Normal and Inline with Previous Field styles, respectively:

Finally, click on the Create Search App (preview) button.

You'll receive a message informing you that the file has been generated and a quick reminder that CORS should be enabled for this app to work:
Step 8
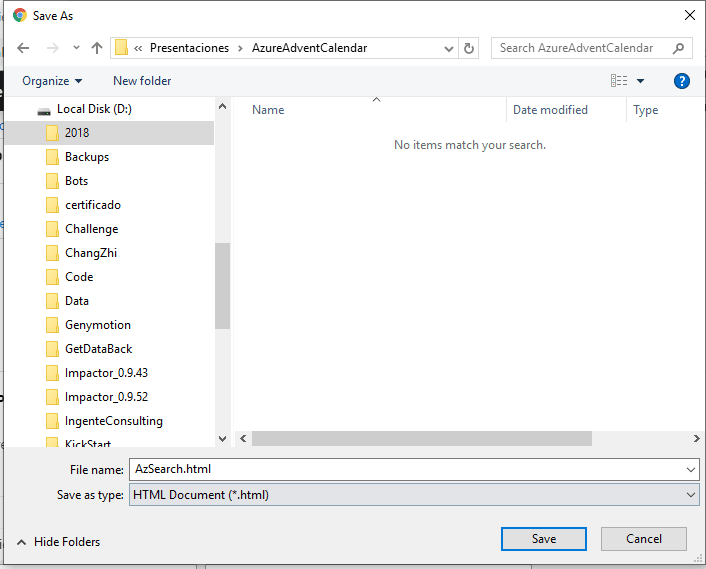
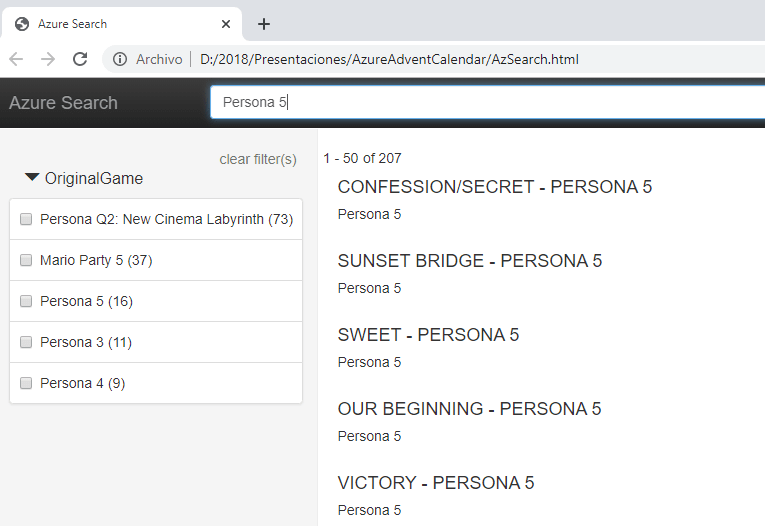
As you can see, the app is actually an HTML file. Download it and open it on your browser:
Search a song and you'll get some results. Nice, it's working!
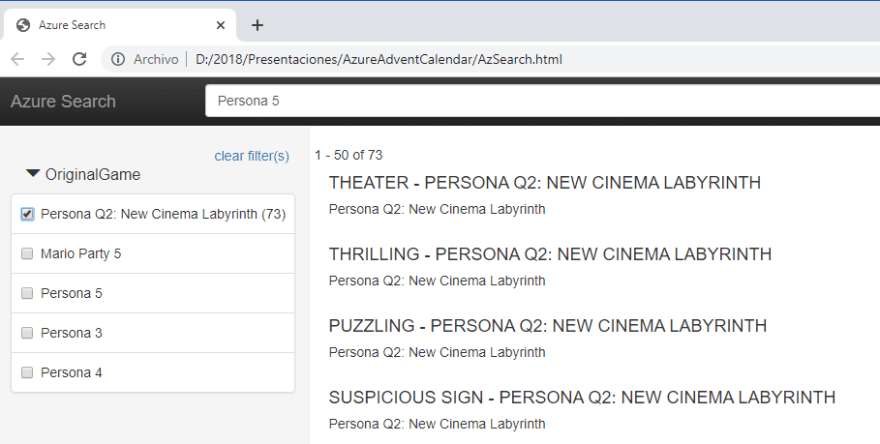
And you can filter songs by Game, as previously configured in the Sidebar section:
As you can see, it is really easy to create a quick prototype website that leverages Azure Cognitive Search and all its capabilities.
I hope that this blog post was interesting and useful for you. I invite you to visit my blog for more technical content about Xamarin, Azure, and the .NET ecosystem. 90% of the content is written in Spanish language, although if you don't speak/understand it (yet), no worries, I tend to write the code in English so there's still chance a visit might pay off =)
Thanks for your time, and enjoy the rest of the Azure Advent Calendar!
See you next time,
Luis


Top comments (0)