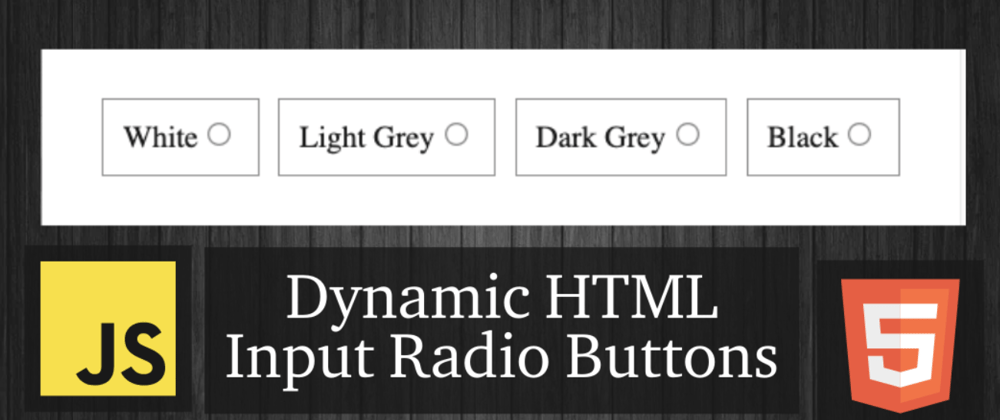
By the end of this JavaScript tutorial, you’re going to learn how to create HTML input radio buttons dynamically as well as how to group them.
You’re also going to learn how to save and retrieve selected radio button data using Local Storage.

- Define An HTML Wrapper Element
- Create Data Model Object
- Add Label of Input Radio Buttons Dynamically
- Add Input Radio Buttons Dynamically
- Style The Radio Button
- Group The Radio Buttons
- Get Selected Radio Button State
- Save Data To Local Storage
- Get Saved Data From Local Storage
Define An HTML Wrapper Element
Declare an HTML wrapper div element with an id called radioButtonsWrapElem in the index.html file, which is where we will be adding radio buttons dynamically using JavaScript.
<div id="radioButtonsWrapElem">
</div>
Then, create a DOM reference to the div element inside the JavaScript code.
const radioButtonsWrapElem = document.getElementById("radioButtonsWrapElem");
Create Data Model Object
In order to create a dynamic radio button we need to have a data source which you would normally fetch from an external database or API.
In this example, I’ll be using a simple JavaScript object with some data.
const data = {
    "White": false,
    "Light Grey": false,
    "Dark Grey": false,
    "Black": false,
}
As you can see, I’ve key-value pairs inside the data JavaScript object and the key is referring to the colour name and the value is a boolean reflecting the selected state. As you can see, they are all set to false by default.
The colour names will be the label of each radio button and the value will the selected state of it.
Add Radio Button Labels Dynamically
The first step is to iterate through the data object using for..in loop and declare a variable called key inside the loop header which will hold the colour names of the data object such as White, Light Grey, etc.
for (let key in data) {
    let label = document.createElement("label");
    label.innerText = key;
    radioButtonsWrapElem.appendChild(label);
}
Inside the loop, create a label element by invoking the createElement method, passing label as an argument of the document object and store it in a variable called label.
Then, assign the key to the innerText of the label.
Finally, append the label element to the radio buttons wrap element.

Add Radio Buttons Dynamically
In order to create a radio button, we need to define the input element and assign it to a variable called input.
for (let key in data) {
    let label = document.createElement("label");
    label.innerText = key;
    let input = document.createElement("input");
    input.type = "radio";
    label.appendChild(input);
    colourRadioButtons.appendChild(label);
}
Then, change its input type to radio.
Finally, append the input element to the label element.

Style The Radio Button
Let's add some simple CSS style to the Label Element.
label {
    border: 1px solid grey;
    margin: 5px;
    padding: 10px;
    cursor: pointer;
}

Group The Radio Buttons
If you click more than one radio button at this stage, they will all stay selected, but what we want is only one selected at a time.

This can be achieved when we group the radio buttons using a name attribute with the same value to all the radio buttons, in this case colour.
for (let key in data) {
    let label = document.createElement("label");
    label.innerText = key;
    ...
    input.name = "colour";
    label.appendChild(input);
    colourRadioButtons.appendChild(label);
}
You can see all the input radio buttons are grouped by the name attribute.

Now, we can select only one radio button at a time, which is exactly what we wanted.

Get Selected Radio Button State
To get the checked radio button, we need to attach a change event to the input radio button which will be triggered when any of the radio buttons are selected.
for (let key in data) {
    ...
    input.name = "colour";
    input.addEventListener('change', () => {
        Object.keys(data).forEach(key => {
            data[key] = false;
        })
        data[key] = true;
    });
    label.appendChild(input);
    ...
}
Inside the change event, loop through the data object and set all of their property values to false, which will clear any existing selected ones.
Then, set the value of the currently selected property to true inside the data object.

Save Radio Buttons Data To Local Storage
Now we have data that reflects the radio button group state so all we have to do is save it to the local storage.
window.localStorage.setItem("data", JSON.stringify(data));
As you can see, I have to convert the data object to JSON string as we can’t store the JavaScript object to the local storage directly.
Get Saved Data From Local Storage
Now I want to check if there is data stored in the local storage, if yes, use that data, otherwise use the default data.
So replace the code below:
const data = {
    "White": false,
    "Light Grey": false,
    "Dark Grey": false,
    "Black": false,
}
With this one:
let data = {};

if (window.localStorage.getItem("data")) {
    data = JSON.parse(window.localStorage.getItem("data"));
} else {
    data = {
        "White": false,
        "Light Grey": false,
        "Dark Grey": false,
        "Black": false,
    }
}
Finally, I want to set the selected radio button to be checked.
To do that, add the following code right above the change event but inside the loop.
input.checked = data[key] ? data[key] : false;
Conclusion
As you can see how easy it was creating HTML Radio buttons dynamically using JavaScript as well as store and retrieve them from the data source.
If you have any question or want to add anything to this tutorial, please reach out to me by commenting below.
Happy Coding.


Top comments (0)