This article details how to implement OIDC authentication using Django and mozilla-django-oidc with Okta as our identity provider
Introduction
OpenID Connect (OIDC) is a protocol that allows a user to authenticate with a third-party service and then use that authentication to sign in to other services. OIDC is built on top of the OAuth2 protocol and adds an additional layer of authentication on top of it. This allows a user to not only grant permission for a service to access their data, but also to verify their identity.
Django is a popular web framework for building web applications in Python. It includes a robust authentication system that can be easily configured to support OIDC.
Mozilla-django-oidc is an open-source library that adds OIDC support to Django, making it easy to authenticate users with an OIDC provider.
Okta is an identity and access management platform that enables organizations to securely connect users to technology. It supports the OIDC protocol, which allows users to be authenticated and receive information about their identity and access rights across different applications.
Note: Here's a link to the final project on Github. On Unix or MacOS, run: You can edit whatever values you like in there. Note: There is no space next to '=' To Create: To Activate: Installing dependencies:
OIDC Oauth2 authentication using Django and mozilla-django-oidc with Okta
Tutorial Link
How to set up the project
Features
PROJECT SETUP
git clone https://github.com/Hesbon5600/oidc-connect.git
cd oidc-connect
create environment variables
cp .env.example .env
On terminal
source .env
VIRTUAL ENVIRONMENT
make env
source ./env/bin/activate
make install
MIGRATIONS - DATABASE
Make migrations
make makemigrations
THE APPLICATION
run application
make run
Part 1 : Setting up an Okta Account
To set up an Okta account for our OIDC account, follow these steps:
Go to the Okta developer website and create an account. Use your
gmailaccount in order to get a free developer account.After you have created your Okta account, log in to the Okta dashboard.
Click on the
Applicationstab in the left menu and then click on theCreate App Integrationbutton.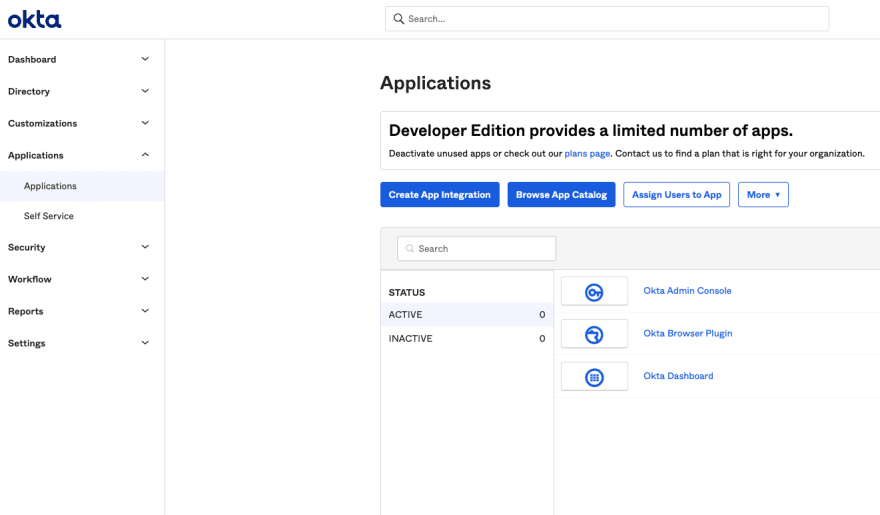
Choose
OIDC - OpenID ConnectSign-in methodand Select anApplication typeofWeb Application, then click Next

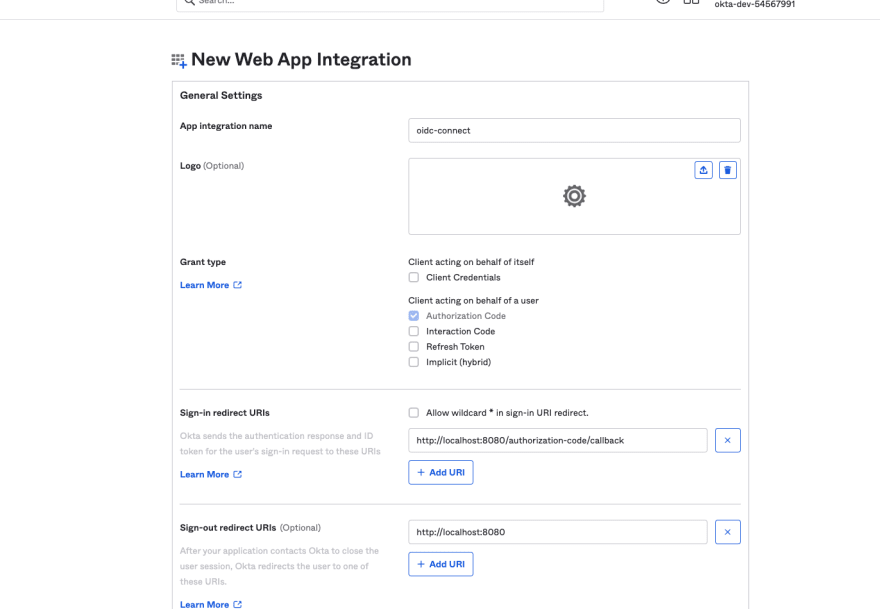
Enter an App integration name (e.g oidc-connect).
Enter the Sign-in redirect URIs for local development, such as http://localhost:8080/authorization-code/callback.Optionally Enter the Sign-out redirect URIs for both local development, such as http://localhost:8080/signout/callback.
In the
Assignments section, define the type ofControlled accessfor your app. Select theEveryonegroup for now. For more information, see the Assign app integrations topic in the Okta product documentation.
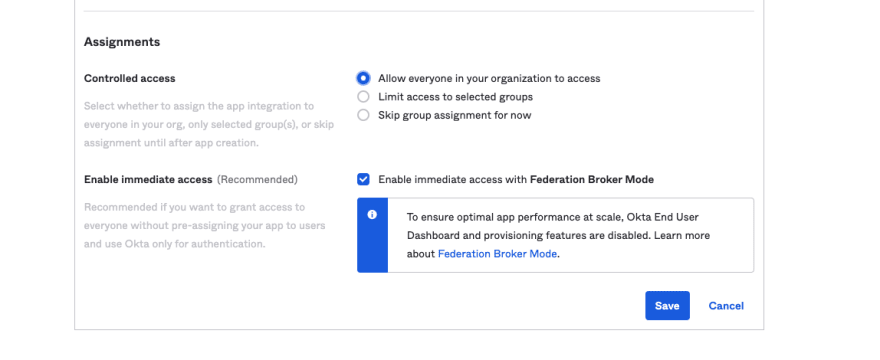
Click Saveto create the app integration. The configuration pane for the integration opens after it's saved.
Note: Keep this pane open as you copy some values when configuring your app.
Part 2.0 : Setting up the Django application
To set up a Django application, follow these steps:
-
Install Django by running the following command:
pip install django -
Create a new Django project by running the following command:
django-admin startproject oidc_app -
This will create a new directory called "oidc_app" with the basic structure for a Django project. Change into the new directory by running the following command:
cd oidc_app -
Apply the default database migrations using the command.
python manage.py migrate -
Run the app on port
8080using the following command.
python manage.py runserver 8080
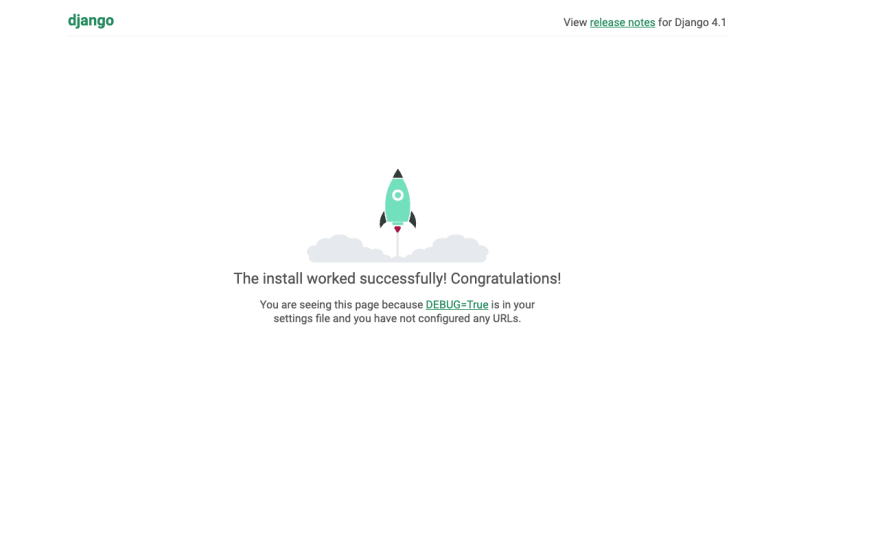
That's it! Your Django application is now set up and you are ready to move on to the next step: configuring Django to use OIDC.
Part 2.2 : Creating a dummy login page and home screen
- Create a superuser with the following command:
bash
python manage.py createsuperuser
Create a new app in your project directory by running the command:
python manage.py startapp authentication
-
Add
authenticationto theINSTALLED_APPSinsettings.pyas follows:
#oidc_app/settings.py
INSTALLED_APPS = [
...
"authentication",
]
Let's make our login page! By default, Django will look for auth templates within a templates folder. To create a login page, create a directory called
templates, and within it a directory calledregistration.-
Inside the
registrationdirectory, create a file calledlogin.html. Add the following piece of code.
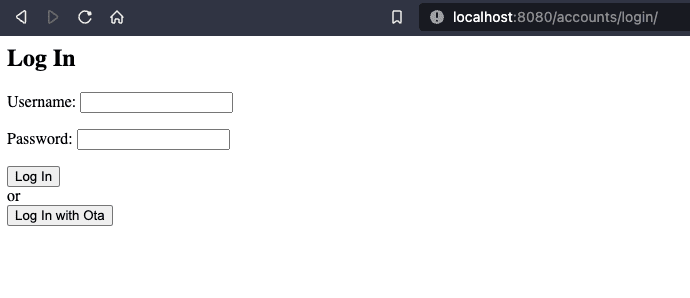
<!-- oidc_app/templates/registration/login.html --> <h2>Log In</h2> <form method="post"> {% csrf_token %} {{ form.as_p }} <button type="submit">Log In</button> </form> -
Update the
settings.pyfile to tell Django to look for a templates folder inside the oidc_app directory. Update theDIRSsetting withinTEMPLATESas follows.
# django_project/settings.py
TEMPLATES = [
{
    ...
    'DIRS': [BASE_DIR.joinpath("oidc_app/templates")],
    ...
},
]
If you start the app and navigate to:
http://127.0.0.1:8080/accounts/login/, You should see/test the login page.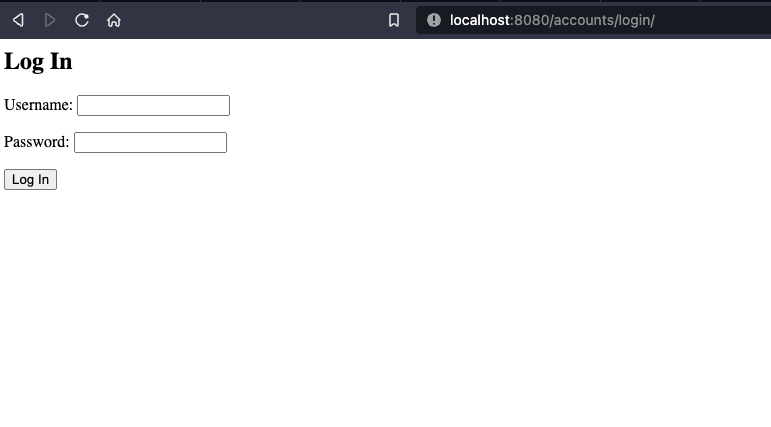
-
For the home page, we need to make a file called
home.htmllocated in thetemplatesfolder. The home page will display a different message tologged outandlogged inusers.
<!-- oidc_app/templates/base.html --> <!DOCTYPE html> <html> <head> <meta charset="utf-8"> <title>{% block title %}Django OIDC{% endblock %}</title> </head> <body> <main> {% if user.is_authenticated %} Hi {{ user.username }} - {{ user.email }}! <p><a href="{% url 'logout' %}">Log Out</a></p> {% else %} <p>You are not logged in</p> <a href="{% url 'login' %}">Log In</a> {% endif %} </main> </body> </html> -
We now update the
urls.pyfile in order to display the home page.
from django.contrib import admin from django.urls import path, include from django.views.generic.base import TemplateView urlpatterns = [ path("admin/", admin.site.urls), path("accounts/", include("django.contrib.auth.urls")), path('', TemplateView.as_view(template_name='home.html'), name='index') ] -
Now that we have a homepage view we should use that instead of the default setup. We update the settings file as follows:
#oidc_app/settings.py LOGIN_REDIRECT_URL = "index" LOGOUT_REDIRECT_URL = "index" -
Let's create a
superuserthat we can use to test the authentication. Type in the command:
python manage.py createsuperuser Enter your desired username, email address and password. You should now have a superuser created for your Django project.
| Logged Out | Logged In |
|---|---|
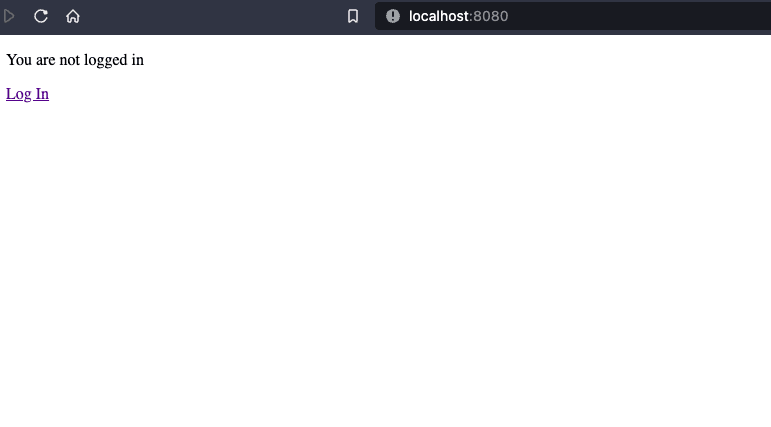 |
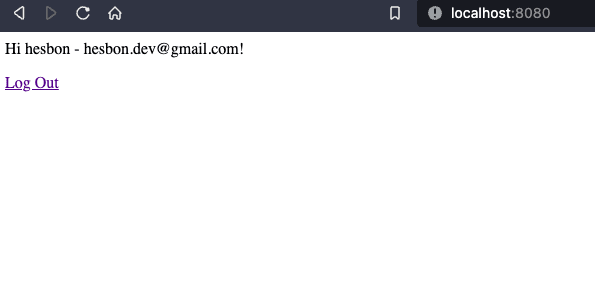 |
Note: The above steps are a very basic example of how to set up a Django application. In a real-world scenario, you would likely want to do more advanced configuration and set up additional features such as a database and static file serving. For more information on how to do this, please see the Django documentation.
Part 3.0 : Configuring Django to use OIDC.
Note: We will be using the OpenID Connect Authorization Code Flow. Refer to the Curity documentation for more details.
The Authorization Code Flow is the most advanced flow in OpenID Connect. It is also the most flexible, that allows both mobile and web clients to obtain tokens securely. It is split into two parts, the authorization flow that runs in the browser where the client redirects to the OpenID Provider (OP) and the OP redirects back when done, and the token flow which is a back-channel call from the client to the token endpoint of the OP.
mozilla-django-oidc package has abstracted all of the code flow steps required to enable OIDC authentication.
-
Once you’ve created and configured your Django application, you can start configuring
mozilla-django-oidc. First, install mozilla-django-oidc using pip:
pip install mozilla-django-oidc -
Make the following changes to your
settings.pyfile:
# oidc_app/settings.py # Add 'mozilla_django_oidc' to INSTALLED_APPS INSTALLED_APPS = ( # ... 'django.contrib.auth', 'mozilla_django_oidc', # Load after auth # ... ) # Add 'mozilla_django_oidc' authentication backend AUTHENTICATION_BACKENDS = ( 'mozilla_django_oidc.auth.OIDCAuthenticationBackend', # ... ) OKTA_DOMAIN = "[Your Okta domain]" OIDC_RP_CLIENT_ID = "[Your Okta application’s client ID]" OIDC_RP_CLIENT_SECRET = "[Your Okta application’s client secret]" OIDC_RP_SIGN_ALGO = "RS256" OIDC_OP_AUTHORIZATION_ENDPOINT = f"https://{OKTA_DOMAIN}/oauth2/default/v1/authorize" # The OIDC authorization endpoint OIDC_RP_TOKEN_ENDPOINT = f"https://{OKTA_DOMAIN}/oauth2/default/v1/token" # The OIDC token endpoint OIDC_OP_USER_ENDPOINT = f"https://{OKTA_DOMAIN}/oauth2/default/v1/userinfo" # The OIDC userinfo endpoint OIDC_OP_TOKEN_ENDPOINT = f"https://{OKTA_DOMAIN}/oauth2/default/v1/token" # The OIDC token endpoint OIDC_OP_JWKS_ENDPOINT = f"https://{OKTA_DOMAIN}/oauth2/default/v1/keys" # The OIDC JWKS endpoint -
Next, edit your
urls.pyand add the following:
#oidc_app/settings.py from mozilla_django_oidc import views as oidc_views urlpatterns = [ # ... path("authorization-code/authenticate/", oidc_views.OIDCAuthenticationRequestView.as_view(), name="oidc_authentication_init"), path("authorization-code/callback/", oidc_views.OIDCAuthenticationCallbackView.as_view(), name="oidc_authentication_callback"), # ... ] -
We need to add
Login with Oktaoption to ourloginpage. Edit thelogin.htmlfile as follows:
<!-- oidc_app/templates/registration/login.html -->
<h2>Log In</h2>
<form method="post">
{% csrf_token %}
{{ form.as_p }}
<button type="submit">Log In</button>
<br />
or
<br />
<a href="{% url 'oidc_authentication_init' %}">
    <button type="button">Log In with Ota</button>
</a>
</form>
Note:
- You can get your
Okta Domainby clicking on your profile section on the top right side of the page.
- The Okta
client IDandclient secretare fund in the application settings (oidc-connectapp we created)
Part 3.1 Testing the Okta integration
- Your login page should now have a 'Login with Okta' option
- When you click the 'Login with Okta' button, you should be redirected to the okta domain for authentication.
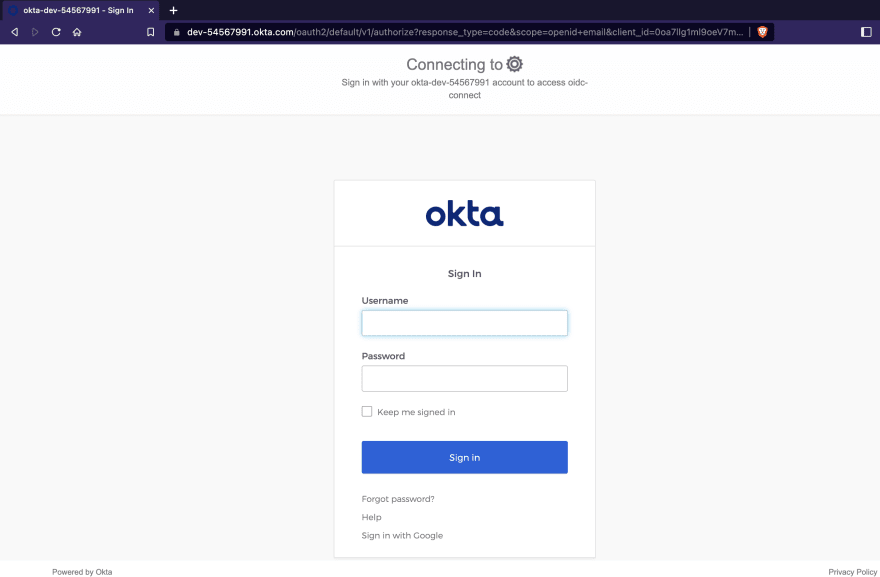
- Enter your username and password or sign in with Google.
- After successful authentication, you should be redirected to the
homepage.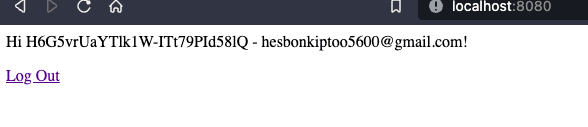 Note: The Username is a base64 encoded sha224 of the email address. More information can be found here
That's it! You now have a Django app that authenticated with Okta.
The mozilla-django-oidc package can be further customized to better suit your application needs.
Next Up:

Feel free to leave a comment or suggestion. Thank you!


Top comments (1)
Great read!