This guide is for an ideal person I’ll call a ‘true beginner:’ someone who may have written in other languages but is just starting out with Go. If you’re already a go developer and just want to know how to deploy to Heroku, there’s already a rad guide for that!
I’ll be using a command line interface (CLI) for several steps, but I’ll explain every step step thoroughly. No prior command line knowledge is required, nor experience writing Go. You should know a bit about Heroku and the general Platform-as-a-Service (PaaS) landscape. Good news I wrote an article about PaaS :)
You’ll need
- A computer
- A Heroku account
This process uses free software and small demos like this (and more) are always free on Heroku.
1. Install Go
I’m going to cover how to install Go on your Windows or OSX computer. If you’re running Linux you can probably work it out on your own from the Go Install page.
For Windows or OSX, the process is very simple since the Go team has made installers available. Here’s the installer for macOS, here’s the Windows installer.
Let’s make sure we really have the right version installed. I’ll use the command line.
These screenshots are from the OSX Terminal, but the same commands work on Windows Powershell
If you run go version
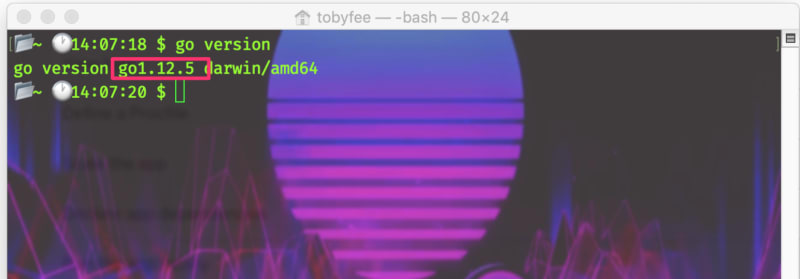
Note that if you installed Go a few months ago like this author did, you should check this version! Heroku requires version 1.12 or higher, which was only released this year!
2. Install Heroku
If you signed up for a Heroku account already, you were prompted to install the local tools needed for Heroku (the ‘Heroku Toolbelt’ or, since it’s a command line interface, the ‘Heroku CLI’) already, but to make sure you have it, run heroku -v
If you see a message like -bash: heroku: command not found, you don’t have Heroku installed! Getting Heroku installed is even easier than Go, with standardized installers available on the Heroku Dev Center.
Good news if you installed a while ago! The Heroku CLI checks for updates each time you run a command.
3. Grab the Go demo
For this first demonstration we want to make sure all the pieces are working before we create our fist Go app in the next tutorial. To reduce the number of possible problems we’re going to start with an app that’s already set up to run on Heroku. There’s one available on GitHub from the Heroku team.
To grab it locally, first navigate on your command line to a folder where you want to store code. The command line steps listed above could be run anywhere, but in this case we want to make sure we’re saving this project in the right place. If you’re having trouble navigating directories and files from the command line https://learn.co/lessons/bash-navigation-osx It’s written for OSX but works well on Linux and Windows Powershell too!
Okay, once you’re in the right folder, run:
git clone [git@github.com](mailto:git@github.com):heroku/go-getting-started.git
Git may ask for your login to grab the repository.
4. See it working locally
We’ll start by building our app, which will grab dependencies (bits of code referenced to make our app’s code work) and compile our code into something that can be run. To build our demo app, navigate into the directory we just downloaded with
cd go-getting-started
And then build with
go build -o bin/go-getting-started -v
You’ll see some output from the build process, a sample of which is here:
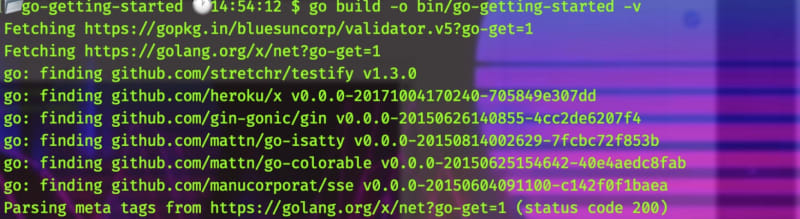
Don’t worry if your terminal is boring black-on-white I’m just extremely cool. And the background is here :)
So here’s one of Heroku’s super powers: it is intended as a way to run your app inside a container in the cloud, but you can simulate the whole process right on your laptop. From the same directory, after Go is done building, just run:
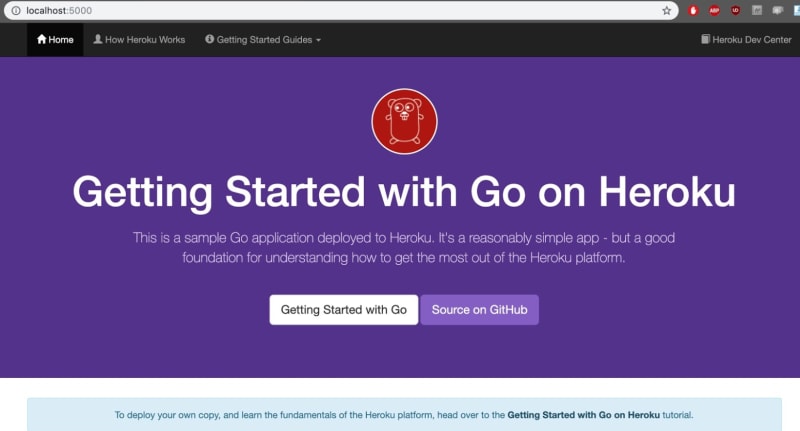
heroku local
To start our app locally! Once the process is done, open http://localhost:5000/ in your browser
5. Run the demo app in the Heroku cloud
Okay, our app is humming along locally, time to get it up to the cloud. Open up your terminal:

Oh, whoa, what’s this? There’s no command prompt just some status information? The terminal is still running the local server, close it with ctrl+c
Now create a new listing for your app with:
heroku create
You’ll see a generated name and URL for your app (and doesn’t Heroku create such wonderful names?) and a URL for the app, the URL show our go app yet, we need to push to it!

Note that you’ll also see a git address generated. You manage your code for heroku as a second git remote repository that you push to when you want to update your app. Let’s do that now!
git push heroku master
Will push our app up to Heroku. If you’ve used git and Github before you’ll notice that quite a bit more happens than when you normally push to a repository, because Heroku takes your push as a signal to build your app. This won’t take as long when your updating your app later, but creating a whole new app in the cloud can take just a minute, eventually you’ll see:
remote: Verifying deploy... done.
Now you can run heroku open to go to your live site.
Since this should look identical to the local version above I won’t place the image twice :)
Next Steps
We now have a deployment pipeline to send our go apps to the cloud in Heroku containers. My next piece will cover how to write Go to actually do something fun!


Top comments (1)
Dude! Try this way I created to install and update golang