In this tutorial we're going to go over how we can quickly and easily stand up a site to collect form data using Netlify Forms. Instead of having to set up our own database or lean on a 3rd party integration, we can add some tags in our html, deploy to Netlify, and watch the magic happen. We don't even have to write any javascript!
To get started, let's setup a folder with a basic index page for our site. Create a folder called netlify-demo and create an index.html file inside. We'll include the styles inline to keep things simple and in one file:
<!DOCTYPE html>
<html>
  <head>
    <title>Big Thing - Sign Up!</title>
    <meta charset="UTF-8" />
    <style>
      main {
        margin: auto;
      }
      body {
        display: flex;
      }
      form {
        display: flex;
        flex-direction: column;
        margin: auto;
      }
      input,
      button {
        padding: 15px 8px;
        margin: 4px 0px;
        font-size: 16px;
      }
      input {
        flex: 1;
      }
      button {
        flex: 1;
        background-color: #555555;
        border: none;
        color: white;
        text-align: center;
        text-decoration: none;
        display: inline-block;
        font-size: 16px;
        cursor: pointer;
      }
      h1 {
        text-transform: uppercase;
        text-align: center;
      }
    </style>
  </head>

  <body>
    <main>
      <h1>Big things are coming</h1>
      <form method="POST">
                <input required name="email" type="email" placeholder="Enter your email..." />
        <button type="submit">Subscribe for Updates</button>
      </form>
    </main>
  </body>
</html>
In order for Netlify to see our form and know to collect it's data, there are a few alterations we have to make to our form element:
      <form name="contact" method="POST" netlify>
        <input required name="email" type="email" placeholder="Enter your email..." />
        <button type="submit">Subscribe for Updates</button>
      </form>
Let's take a closer look at the form element:
<form name="contact" method="POST" netlify>
This is where the Netlify magic goo is. Adding netlify will tell the Netlify servers to store submissions for our form. We've also added a name attribute so Netlify knows what to call it, and in case we ever have multiple forms on this page.
Now that our site is ready to go, let's get set up on Netlify. From your dashboard on app.netlify.com, drag your netlify-demo folder into the dropzone. This will spin up your site on Netlify. It should go pretty fast since we're just sending one static file.
After your site is uploaded you'll be taken to the site's page, which will have the url for your deployed site:
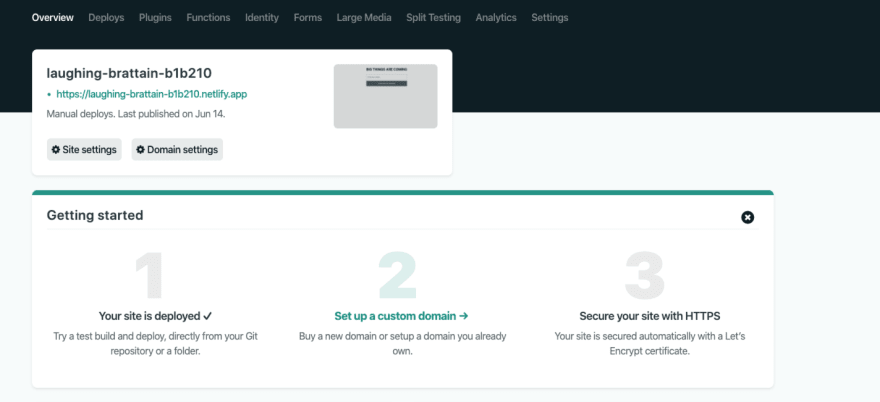
Head over to your site and fill out the form. You'll notice after you submit you receive a generic success modal saying your submission was received. Back on Netlify, if you select the 'Forms' tab, you'll see a list of active forms, with your contact form the only one in the list. If you click into the contact form you should see your submission.
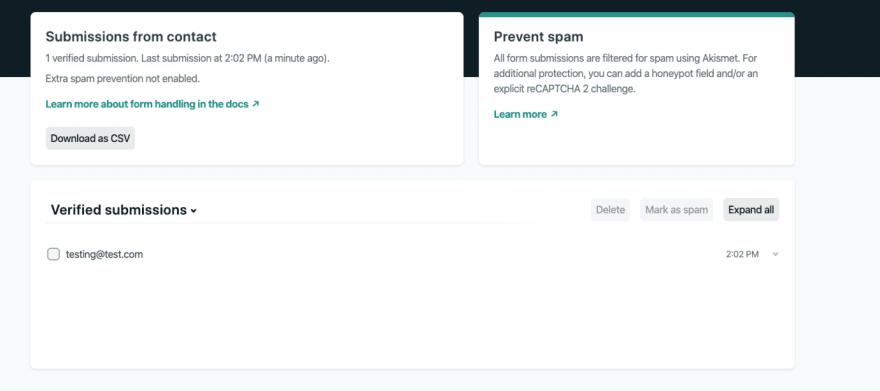
This is already a very useful tool to capture data, but you can also set up notifications on form submission. From the Forms tab, select Settings and Usage and scroll down to the Form Notifications section. From there you can add email, slack, or webhook notifications that will alert you when you receive new submissions.

If you'd like to learn more about using forms with Netlify, check out their docs on the subject. There are good resources there if you're using something like Gatsby or React and want to utilize the same technique.


Top comments (0)