I decided to make a blog on my personal site (so original, I know), but I also had two other pretty major side projects going on at the time (and basically always). So whatever time I could find to work on it, I wanted to be dedicated to the actual blog posts, rather than implementation. This meant that I needed something fast and easy to set up to handle the database side of things. In other words, I needed a CMS that I could add to my existing website.
What is a CMS?
CMS = Content Management System.
A CMS is an interface for adding/editing/deleting content on a website. WordPress is a very commonly used CMS.
Since I wanted a CMS that I could add to an existing site, I wanted to find a headless CMS. This is a CMS that separates the front end from the back end. You build your front end, and then talk to the back end via a REST API. I had my front end ready to go, so the back end was all I needed.
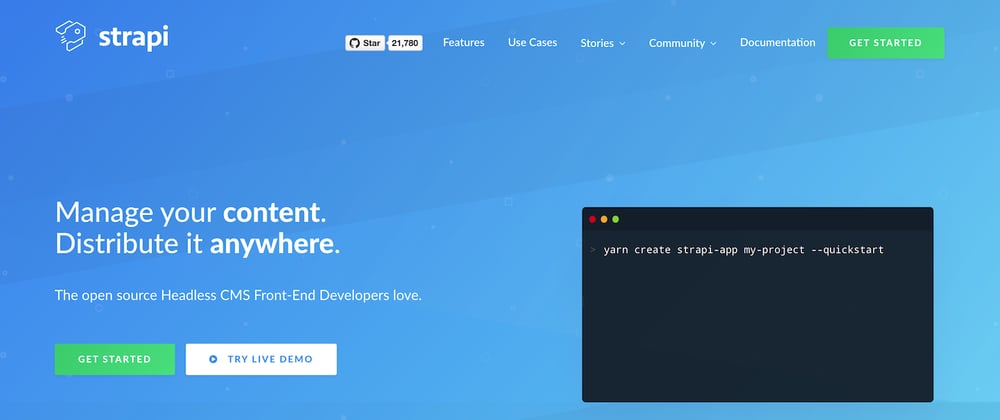
Enter strapi.
Strapi
There were no shortage of results for headless CMS', but a lot of them are paid and definitely aimed at users rather than developers. Strapi is a free, self hosted, open source CMS.
Free has pros and cons. On the one hand, I saved $$$, on the other hand, it means that I don't get support. But as a developer, this isn't so much of an issue because I can debug problems myself with the help of the internet.
I hate anything to do with deployment, so while self hosted sounds more difficult, for me it is a lot easier. I know how to deploy a Node.js application already, so Strapi just fits right in to my tried and tested deployment steps (although I ended up throwing that all out the window and learning something new anyway 🤷♀️) . It also means I save $$$ again by eliminating the middle-person.
Strapi also has lots of plugins (or you can create your own) which means it only comes with what you need and you can add whatever extras you want.
Open Source means that anyone can contribute to the project, so it is built for the community by the community.
Basically, right out of the box it had everything I needed, and I will be able to adapt it to my needs overtime.
Using Strapi
Let's walk through the steps to get a project up and running with strapi.
Also I will note here that the Strapi documentation is excellent, and they have a handy tutorial for installation and creating your first project.
Set up
Installation using yarn:
yarn create strapi-app my-project
Or npm:
npm create-strapi-app my-project --quickstart
This creates a new Strapi app called my-project using an interactive command line interface for you to choose your settings.
(You can add a --quickstart flag, which will create the project with the default settings. The default settings use an sqlite database, but I wanted to use postgres).
For the manual install with postgres, choose your database name and username and use the default values for host and port. For work on your local machine, a blank password is totally fine (or at least, I haven't had any disasters yet!) and I disabled SSL connection.
Going through these settings should give you something that ends up looking like this:
? Choose your installation type Custom (manual settings)
? Choose your default database client postgres
? Database name: dbname
? Host: 127.0.0.1
? Port: 5432
? Username: username
? Password:
? Enable SSL connection: No
And just like that, your project is set up and ready to go!
Use the following command to start your project:
yarn develop
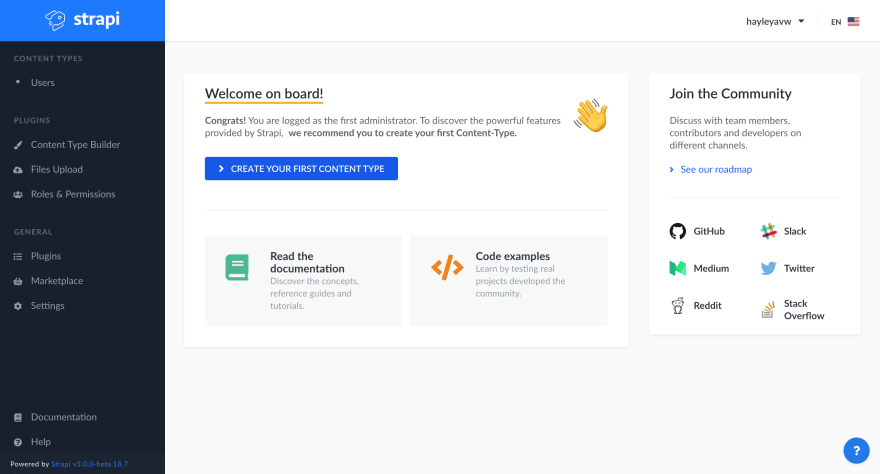
And then head to http://localhost:1337/admin in a web browser, and set up an admin user.
Once you've done that you will be presented with a page that looks something like this:
The first thing I did was create my tables for the database. Click on Content Type Builder on the left menu bar, then Create New Content Type. Create the first table:
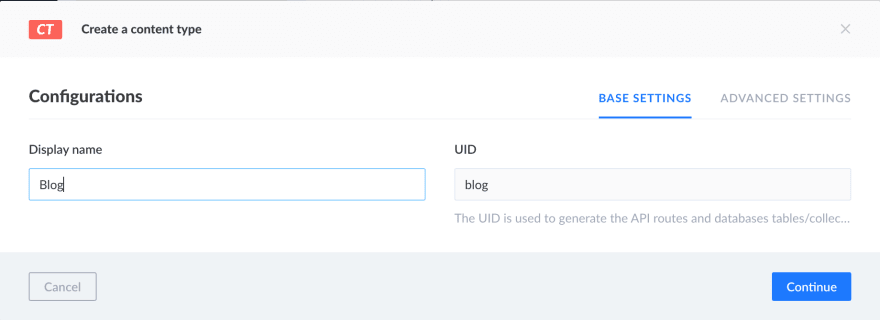
Then click continue. Create some fields (e.g. for a blog, Title and Content seem like a good starting point) then click Save on the top left.
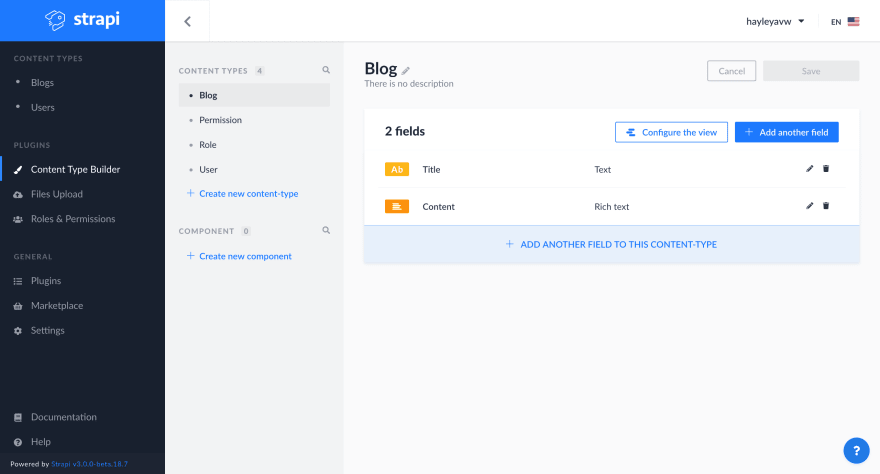
The image above shows my blog table, with the two fields.
Now, I can go to Blogs under Content Types in the left menu bar and create a new blog post:
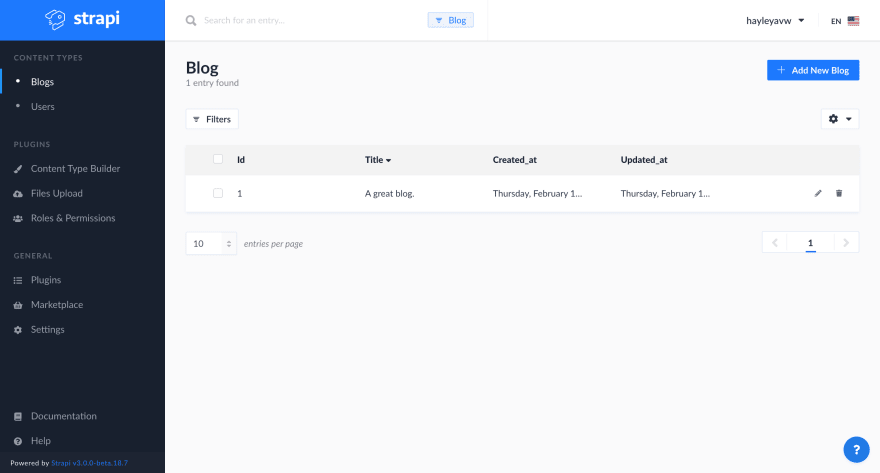
(Notice that Strapi automatically adds created_at and updated_at fields for every table).
Usage
Cool! We now have our headless CMS set up, complete with a database for the blog. The next step is fetching that data on the front end.
First, let's test if we can actually see the data. Open a new tab in your web browser and go to http://localhost:1337/blogs (where blogs is whatever you called your table). Hmmm 🤔, something seems wrong:

We get an error message! That is because we haven't actually told Strapi that it is ok for outsiders to fetch data, no problem, we can fix this!
Head back to your admin panel in Strapi and navigate to Roles and Permissions. Click Public. Allow public users to find and findone:

Click Save in the top right, and go and refresh your other tab.
Hurrah, our blog is there!
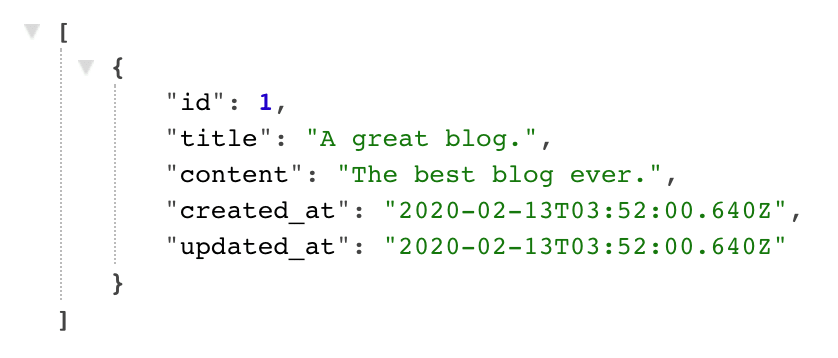
This means that we can now get the blog data on the front end using fetch:
fetch('http://mystrapi.com/some-slug/')
    .then((response) => {
        return response;
    });
Conclusion
So at the moment I am pretty happy with Strapi. I'll revisit this later down the track once I've played with it a bit more. But if you are a beginner and/or want something fast and easy for creating dynamic content on your site, I would definitely recommend this solution. And if you're curious as to how mine all turned out, you can check it out here :)


Top comments (1)
I personally haven't found a useful way to use the Collection Types, but if they make sense to you then by all means give them a go!