![Cover image for [Deprecated] Hosting free Strapi CMS on Heroku [Building Personal Blog Website Part 1]](https://media.dev.to/cdn-cgi/image/width=1000,height=420,fit=cover,gravity=auto,format=auto/https%3A%2F%2Fdev-to-uploads.s3.amazonaws.com%2Fuploads%2Farticles%2Fjrxn7p5dtcfx49cjpjz4.png)
As Heroku is phasing out the free tier I'm going to rewrite the first two parts of this guide. Here you can find the updated version: COMING SOON.
This is the first part of the "Building Personal Blog Website" series. In the series we'll setup a free CMS to hold our blog content on Heroku, create a React app with Next.js' static site generation and TailwindCSS to present the articles and host it on Netlify.
All articles:
Part 1: Hosting free Strapi CMS on Heroku
Part 2: Using Cloudinary with Strapi CMS
Part 3: Setting up a basic Next.js app locally
Whether you want to create a simple blog or a portfolio website it is always a good idea to use a good CMS (Content Management System) behind. For quite some time Wordpress was a go-to solution, but now the choice is not so obvious. As an ambitious developer you can of course try to write your own CMS, but let's be frank - in most cases the best way is to use an existing one. That was my approach when I started to work on my personal website.
My main interest were as follows:
- ability to change website's content without changing the code
- simple blog functionality
- out-of-the box GraphQL integration
- cheap site maintenance (preferably free)
After some time of "research" I chose Strapi CMS for the first three points and Heroku for the last one.
Why Strapi?
- It's lightweight - compared to other CMSs Strapi is lightweight and really simple to set up.
- It's headless by design - I definitely prefer a headless CMS solution over a traditional CMS, it gives much more flexibility.
- It's written in JavaScript - this definitely helps with writing extensions/plugins if you use JS on a daily basis (which I am).
- It has really extensive docs - Strapi docs helped me in tons of situations, if you have an problem with Strapi it's almost guaranteed you'll find some help in the docs.
Why headless?
Main reason - it's technology agnostic - traditional CMS requires you to write templates etc. in the technology the CMS is written. With headless this problem is gone. You utilize the REST/GraphQL endpoints to fetch the data and display it however you like.
How to set this up?
For the most part I used a guide from Strapi Docs. This guide shows how to create a new Heroku app with Strapi installed and connect it to the free-tier postgres database. I won't go into details here and repeat what's been said in this guide. But I have just a few additions to make it work properly.
So for starters go through the guide - but don't worry if at the end it doesn't work on Heroku (you get the application error).
The error says:
error: Middleware "strapi::session": App keys are required.
Please set app.keys in config/server.js (ex: keys: ['myKeyA', 'myKeyB'])
That's why you need to make adjustments to production config. In the production config file created during the guide earlier (env/production/server.js) add few additional fields:
module.exports = ({ env }) => ({
  url: env("MY_HEROKU_URL"),
  proxy: true,
  app: {
    keys: env.array("APP_KEYS", ["testKey1", "testKey2"]),
  },
});
The app.keys is crucial. The data that you put in server.js doesn't matter. What matters is the value that you set in Heroku environment. You can do it directly through Heroku CLI.
heroku config:set APP_KEYS=someSecretValue1,someSecretValue2
Now when you commit and push changes and redeploy the app you should be able to see that Strapi server is running. Go to https://[yourapp].herokuapp.com/admin to set up the admin user and then log in. You should land in the dashboard.
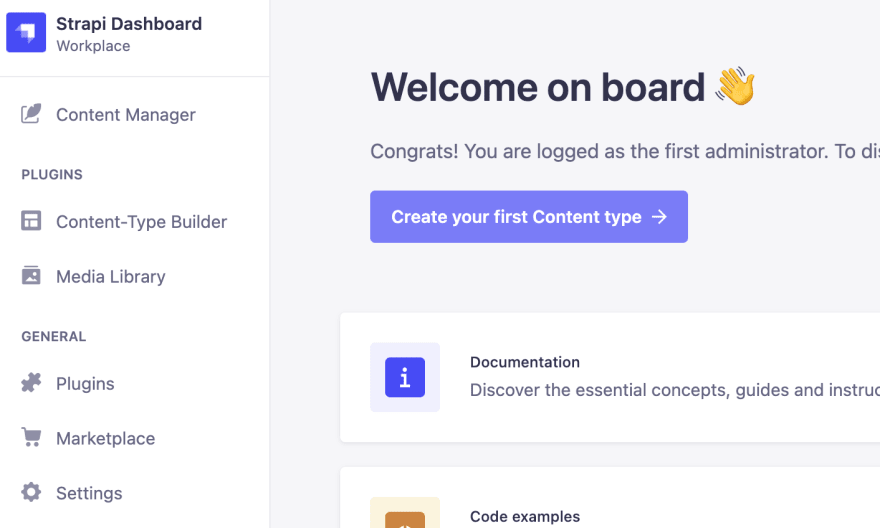
As the app is in production mode you can't really make any adjustments here. Of course you can add a new post etc. but can't create a new content-type or add a new plugin. That's why you need to go into developer mode - make changes there and redeploy the app.
Doing this is pretty simple:
yarn develop
And when the app starts you'll need to set up admin account once again (it's stored in SQlite database, so it'll be gone after some time locally - but that's not a problem). Now when you log in you can create new content-types, configure plugins etc.
Before starting creating content-types let's just quickly install a plugin that will be really useful later - GraphQL plugin which enables the default GraphQL endpoint for your CMS (you can skip it if you're ok with using standard REST calls, but I'll be using GraphQL in the React app). You can install it easily using yarn:
yarn add @strapi/plugin-graphql
And with that out of the way let's just create a blog post type.
In the content-type builder select a "Create a new collection type".
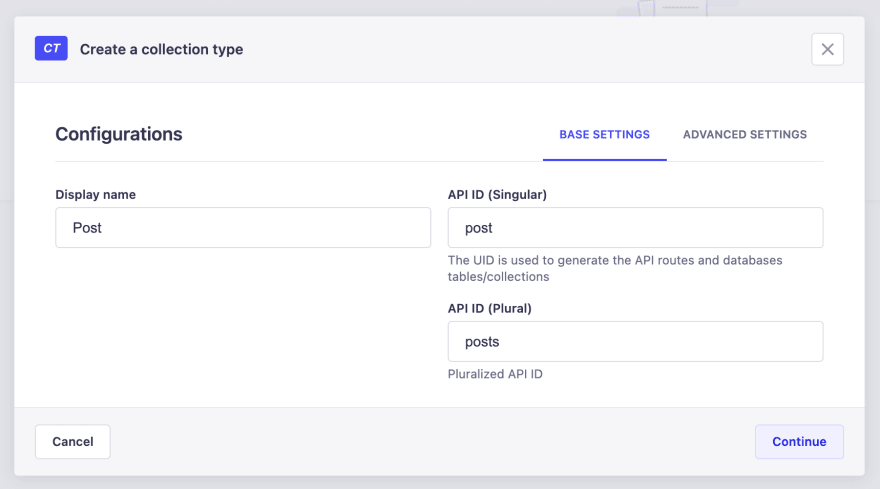
And add some mandatory fields to it. In my case it's title, content, cover, author and slug.

For author it's important to select a proper relation:

For slug remember to make it of type UID and select title as an attached field:

After you save you can commit all the new files - the schema files etc. will tell the production app what kind of content should be possible to create.
Now you are ready to redeploy the app using Heroku CLI:
git push heroku HEAD:main
After the deploy is done you can open the app with heroku open, log in with the admin credentials and do some final configuration.
What you need to do is to give public access to posts. Do this by going into Settings -> Users & Permissions Plugin -> Public -> Edit (icon).

While inside, give access to find and findOne for posts. This way you'll be able to query the CMS for the list of blog posts and for a specific one post (using slug).

Click Save and now let's create an author and a dummy blog post to test the endpoint (Content Manager -> User -> Create New Entry and Content Manager -> Post -> Create New Entry).

After saving a post you also need to publish it so it would be visible in the API.
To check if everything works use Postman (or a similar app).

Open up Postman and in the address field put https://[yourapp].herokuapp.com/graphql/ and select POST type of query. Then in the body of the query select graphql type and type this:
query {
    posts {
        data {
            attributes {
                title
                content
            }
        }
    }
}
When you send this request, you'll receive the blog post that you just created a minute ago:

As you can see the content is returned as markdown - it's much more efficient to send the data this way, but in our frontend app we'll need to convert it to HTML. We'll probably use something like Showdown.
And that's it! We now have a hosted Strapi CMS that is accessible by both REST and GraphQL. Next step - hooking up Cloudinary to our CMS!


Top comments (0)