
<!--kg-card-begin: markdown--> 
The power of customisation is that Hasura, and our authn/authz capabilities, can support a wide variety of providers and implementations. The opportunity that results is that flexibility in implementation results in a wide variety of adoption patterns, services considered, etc.
Take, for example, the process of integrating Azure Active Directory with Hasura. In particular the process of implementing JWT claims mapping.
In short, some auth providers do not let users add custom claims in JWT. In such cases, the server can take a JWT configuration option called claims_map to specify a mapping of Hasura session variables to values in existing claims via JSONPath or literal values. The claims_map is a JSON object where keys are session
variables and values can be a JSON path (with a default value option, when the key specified by the JSON path doesn't exist) or a literal value. This capability is described in further detail in the documentation.
While working with users on the implementation, we've pulled together a sample process that illustrates how this can be achieved and built a simple presentation deck here
NOTE: See the end of this post for notes on usage with Azure AD (for non-B2C tenants)
Prerequisites
- Azure account with subscription
- Azure functions core tools installed (VSCode with Azure Functions extension recommended)
- Heroku account
Set up Hasura Cloud
- Create an account at Hasura Cloud, and generate a new free-tier project
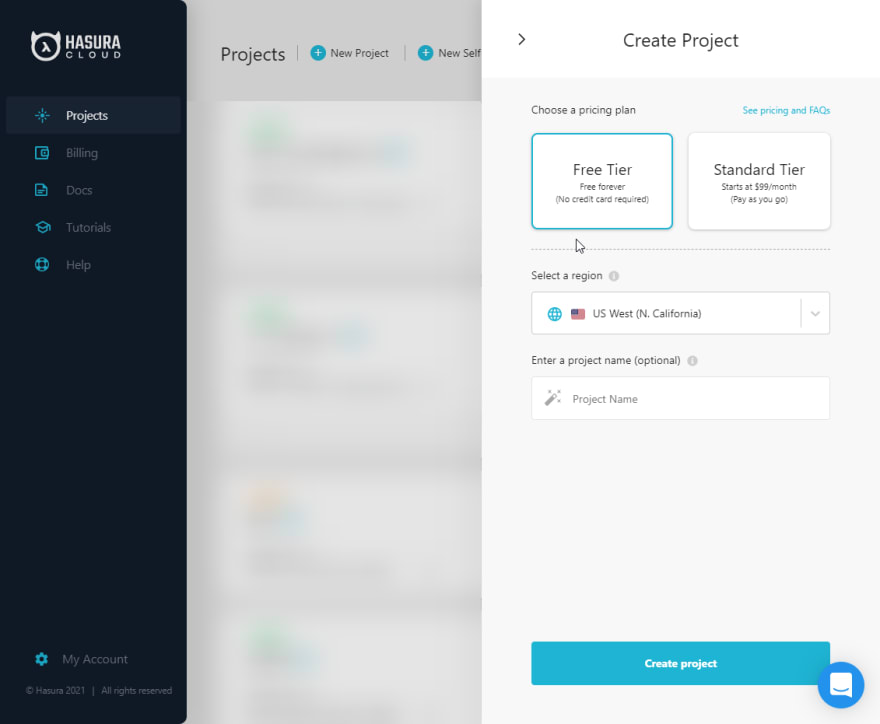
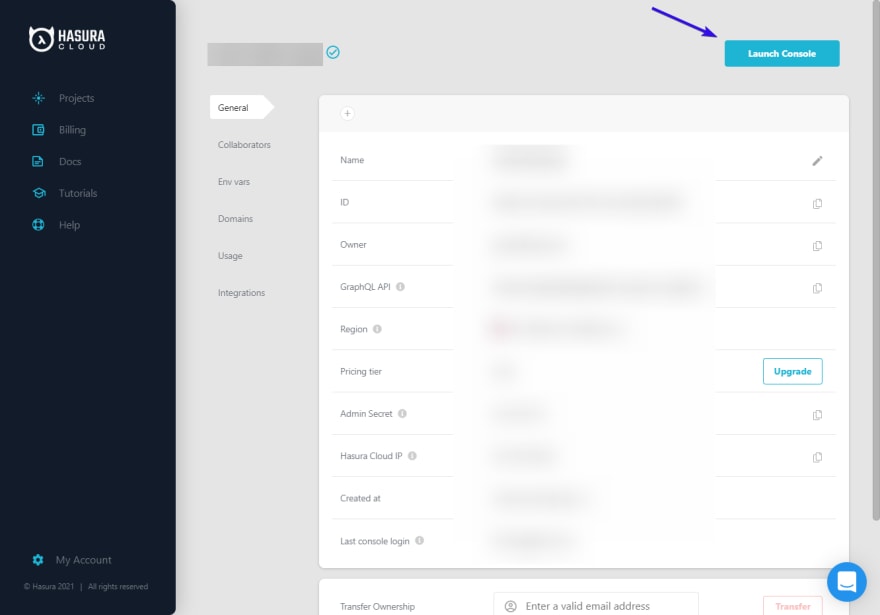
- After the project is created, it will bring you to your project settings page. Click "Launch Dashboard" at the top right to open the Hasura web console
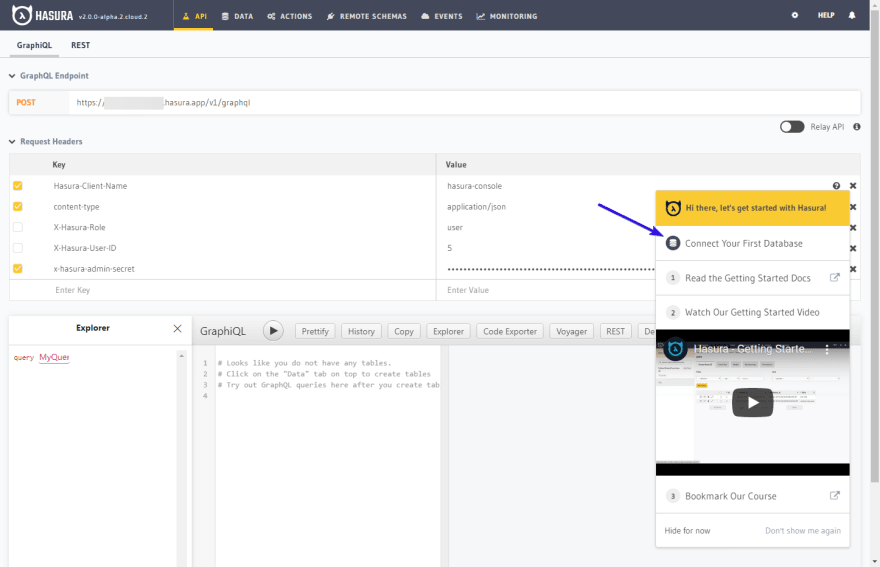
- From the Hasura web console, you will be greeted with a getting-started menu. At the top of this menu, select "Connect your first Database". (If this menu is not present, or you have dismissed it, you may also click the "DATA" tab at the top of the page)
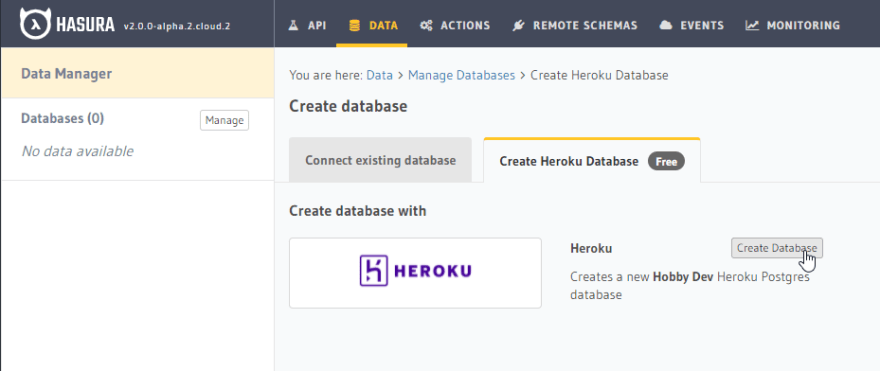
- Click "Connect Database"
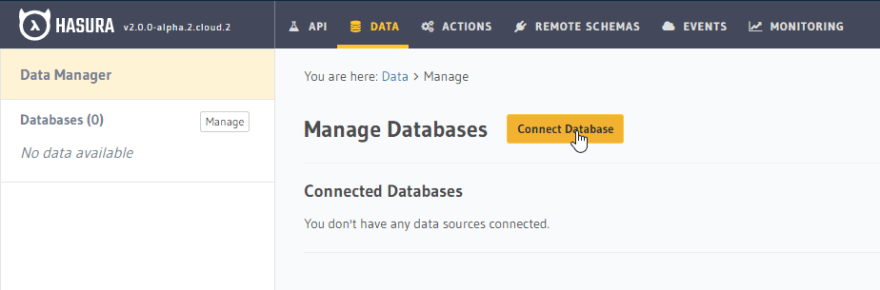
- Switch tabs on the page you're navigated to, from the default "Connect existing Database" to "Create Heroku Database (Free)". Then press the "Create Database" button to automatically create and connect a Hobby-tier Heroku DB to your Hasura Cloud instance (requires a Heroku account).
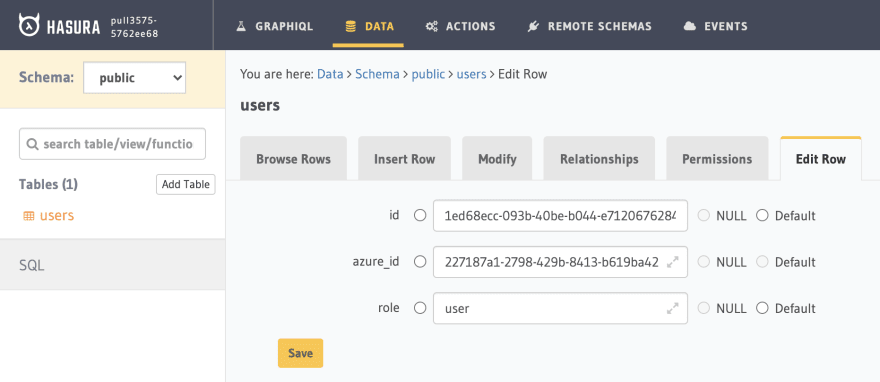
- Add a "users" table to your new Hasura project with fields
id,azure_id, androle.

Make a few fake users and check that your users query works as expected
Add "user" permissions, limiting access to non-admin queries to only those authenticated users who have session variable x-hasura-user-id that matches the user's id

Set up Azure Functions
- Create a directory for your new Azure functions project and initialize it. You'll be taken through a couple of setup questions: in this demo, we've selected "node" and "JavaScript"
$ mkdir <functions-directory-name>
$ cd <functions-directory-name>
$ func init .
- Create your first function! Again, you'll be asked a couple of questions: here we selected "HTTP trigger" and named our function "getHasuraInfo". Check to see that it all works locally, but then you can stop the server.
$ func new
$ npm install
$ func start
For the moment, we'll keep things very simple. Just hard-code your custom claims into the response body; we'll add the business logic later. Check again that it still works locally.
Deploy! (This article is helpful for setting up VSCode and deploying via the VSCode Azure Functions extension.) Get the function endpoint with code included
Set up Azure AD B2C
- Set up an Azure AD B2C tenant according to the docs
At the 'Grant admin consent for (your tenant name)' step, you can grant by clicking the ". . ." button next to "Add a permission"
When setting up your app, add https://jwt.ms as a Web Redirect URI. This is a useful tool for checking Azure JWT's
- Set up the B2C tenant for custom claims according to the docs
- This demo skips the Facebook social login
- This step is just setup of the custom claims flow; we will add the actual custom fields in the next step
Test that you can generate a valid JWT with this new flow
- Navigate back to Identity Experience Framework dashboard
- Scroll down to see the list of custom policies, select "B2C_1A_signup_signin"
- Select
https://jwt.msas the reply url - Run! Sign up and see that a new user is created and a valid JWT provided

Modify your Azure AD B2C setup to include your custom claims
- Follow the instructions from this tutorial to modify your custom policies with custom claims
- See the demo custom policy files in this repo
- Use the static-response version of your Azure function for now
Test with "B2C_1A_signup_signin" again to verify that you're getting a valid JWT with the expected (static, fake) claims
Update and re-deploy your Azure function with the actual business logic to provide the desired claims response. See 'getHasuraInfo.js' in this repo for an example that checks for an existing Hasura user with that Azure ID, creates a new one if Azure ID not found, and returns the role + user ID to be provided in the final claim.
- Set up environment variables locally in
local.settings.jsonunder "values". Add the environment variables for prod via the Azure Portal: go to your Functions App, navigate to 'Configuration' (under 'Settings'), and add your environment variables as new application settings. Don't forget to save! - Check again that everything still starts locally as a sanity check before re-deploying the function
- Test again with
"B2C_1A_signup_signin"again to verify that you're getting a valid JWT with the expected claims and that a user is created in Hasura

Update your Hasura instance to use Azure tokens
- Add the
HASURA_GRAPHQL_JWT_SECRETenvironment variable to your Cloud app from the settings page in the Cloud dashboard:

- Set the following as the value for
HASURA_GRAPHQL_JWT_SECRET, to configure the JWK url and use the "Claims Mapping" feature (see more here) to map Azure AD's claims to the values Hasura needs for it's JWT tokens:
{
  "jwk_url": "https://<mytenant>.b2clogin.com/<mytenant>.onmicrosoft.com/discovery/v2.0/keys?p=b2c_1a_signup_signin",
  "claims_map": {
    "x-hasura-allowed-roles": ["user", "admin"],
    "x-hasura-default-role": { "path": "$.extension_hasura_role" },
    "x-hasura-user-id": { "path": "$.extension_hasura_id" }
  }
}
Log in with "B2C_1A_signup_signin" again and check that the JWT now includes your custom claims. Copy the token
Use the token via an Authorization header in the graphiql playground in the Hasura console. Check that you can query for users and get back only the one whose user ID matches the one in the token!

Using with Azure AD (not B2C)
With Azure AD, you'll probably have a tenant with set users and groups (no arbitrary sign-ups). With this context, it'll probably make the most sense to
- Export the existing users from your Azure AD tenant
- Bulk import the user data into a
userstable in Hasura with the Azure AD objectId (idToken claim:oid) as the user id. Roles could be created from group id's or separately.
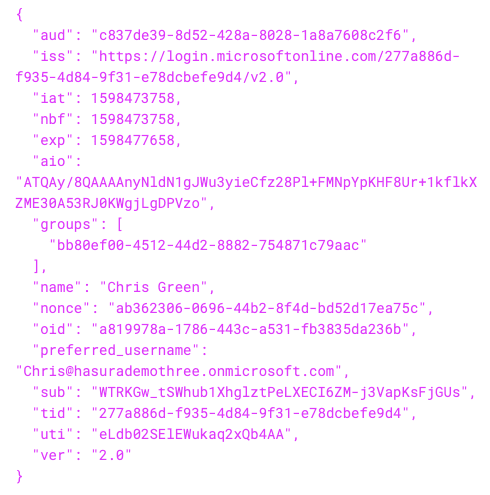
Here is an example of JWT token claims (with group id's included):
And here's an example of the JWT secret with the claims_map added:
{
  "jwk_url": "https://login.windows.net/common/discovery/keys",
  "claims_map": {
    "x-hasura-allowed-roles": { "path": "$.groups" },
    "x-hasura-default-role": { "path": "$.groups[0]" },
    "x-hasura-user-id": { "path": "$.oid" }
  }
}
This maps the token's oid (Azure AD user id) and groups as Hasura user id's and roles, respectively. With this, you could do interesting permissions configurations such as per-group (now 'role') access controls.
How to automatically update new/updated user info to your Postgres database, and how to architect key Hasura session variables like roles, group or team ID's, etc. is up to you!


Top comments (0)