
When running a business, taking advantage of insights in your sales data provides an ingenious way to make better business decisions.
In this article, you will learn how to create a sales data table in Vue and Vuetify and store your data using Appwrite.
Vuetify is a modern UI library built on Vue, with design patterns and principles based on Google’s Material UI. It provides many responsive components out of the box, speeding up your development process.
Appwrite is a backend-as-a-service platform that enables you to integrate features such as storage, authentication, and database management into your project without having to build a backend from scratch.
GitHub Repo
Check out its source code on GitHub
Prerequisites
To follow along and understand this article, you should have:
- Basic knowledge of JavaScript and Vue.js
-
Vue CLI installed on your computer. Verify its installation by running
vue --versionin your terminal, or install it by runningnpm install --location=global @vue/cli - Docker Desktop installed on your computer. Run
docker -vin your terminal to verify its installation, or install it by following the steps outlined in the Get Docker documentation - Appwrite instance running on Docker. Follow this guide to create a local Appwrite instance
Setting Up Your Vue Project
Create your project
In your terminal, navigate to your preferred directory and run the command below to create a new vue project:
vue create <project-name>
In this article, <project-name> is appwrite-sales-data-table.
In the options to pick a preset, select Default ([Vue2] babel, eslint).
Install Vuetify
After successfully creating your Vue project, cd into it and run the command below to install Vuetify:
vue add vuetify
In the options to choose a preset, select Vuetify 2 - Vue CLI (recommended).
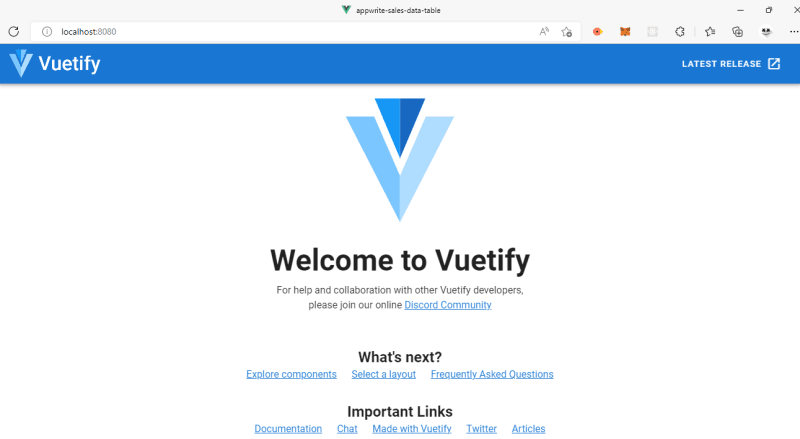
After its successful installation, run npm run serve in your terminal and view your newly created Vue/Vuetify project in your browser at localhost:8080:
Setting Up Table UI
In Vuetify, you can use the v-data-table component to display tabular data. It contains APIs and props that enable you to use features such as sorting, searching, row selection, content editing, and pagination.
Open your project in your code editor and update src/App.vue with the code below:
https://gist.github.com/dpkreativ/64768eb5f32c553ac7728e0caa19cb9c
In the code above, you did the following:
- Created a
<template>with a<v-app>component which wraps all your HTML content. This component is essential because it gives you access to all the capabilities of Vuetify - In your
<v-app>component, you created another<template>containing<v-data-table>, the Vuetify data table component. It contains:headers="headers"and:items="sales"for your table’s header and body content - The
<v-dialog>tag enables you to create a dialog box. In this code, you created dialog boxes to add new sales data and confirm if you want to delete existing data - The data object in your
<script>tag contains the default state for your dialog boxes, headers, and sales content. The<script>tag also contains CRUD methods to populate your sales array and create/delete items from your table
In your browser, your project should look like this:

Setting Up Your Database On Appwrite
First, ensure that Docker Desktop is running your local Appwrite instance, then open localhost:80 in your browser to sign into Appwrite’s console:

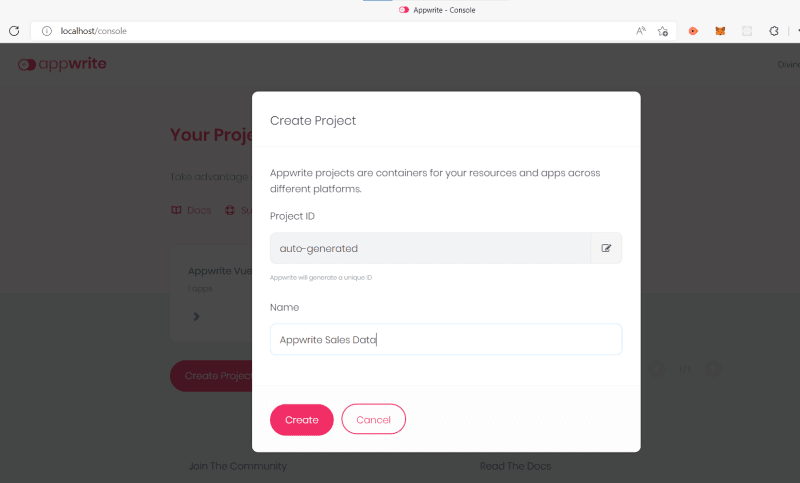
Click on “Create Project” to set up a new project for your database:
In your new project’s dashboard, click on “Database” located on the left sidebar, then click on “Add Database” to create a new database:

In your newly-created database, click on “Add Collection” and give your collection a suitable name:

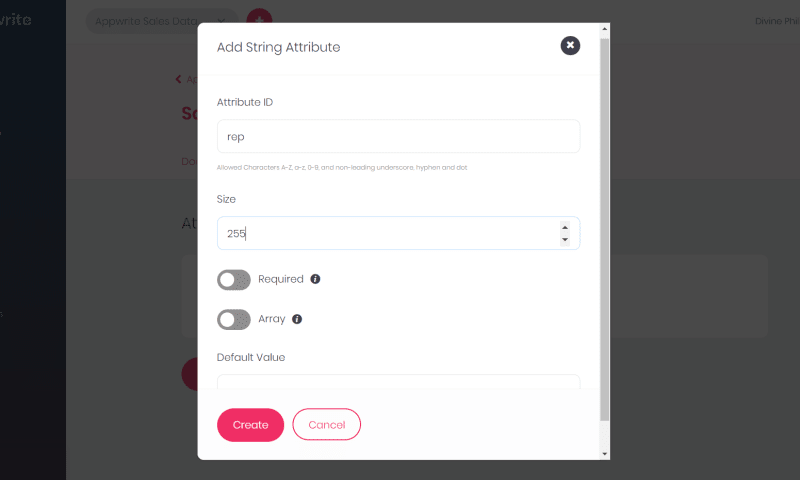
In your newly-created collection, click “Attributes” and add each key in your data object as an attribute.
For this project, you will create attributes for rep (string), item (string), quantity (integer), and price (float or double).
Here is for rep:
Here is for quantity:

Here is the complete list of attributes:

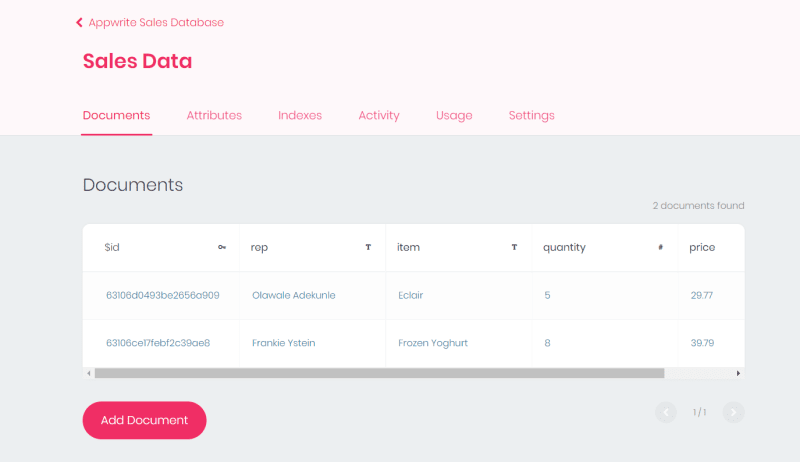
Click on “Documents”, then click “Add Document” to add some data to your database:

Your “Documents” screen will look similar to this:
Click on “Settings” and scroll down to “Permissions”. At the “Collection Level” section, set “Read Access” and “Write Access” to role:all, then click on “Update”:

Integrating Appwrite With Your Vue/Vuetify Project
Install Appwrite’s Web SDK
In your project’s terminal, run the command below to install Appwrite’s Web SDK:
yarn add appwrite
After its successful installation, create a utils/config.js file in your project’s src/ folder and update it with the code below:
export const Server = {
  endpoint: process.env.VUE_APP_ENDPOINT,
  project: process.env.VUE_APP_PROJECT,
  collectionId: process.env.VUE_APP_COLLECTION_ID,
  database: process.env.VUE_APP_DATABASE_ID,
};
In the code above, you created a Server object that contains your Appwrite’s database secrets. These details are stored in a .env.local file, and you will use them to configure Appwrite for your Vue/Vuetify project.
Configure Appwrite’s Account, Client, and Databases
In your src/ folder, create an api/index.js file and update it with the code below:
import { Server } from '@/utils/config';
import { Account, Client as Appwrite, Databases } from 'appwrite';
let api = {
  sdk: null,
  provider: () => {
    if (api.sdk) {
      return api.sdk;
    }
    let appwrite = new Appwrite();
    appwrite.setEndpoint(Server.endpoint).setProject(Server.project);
    const account = new Account(appwrite);
    const database = new Databases(appwrite, Server.database);
    api.sdk = { account, database };
    return appwrite;
  },
  getAccount: () => {
    return api.provider().account.createAnonymousSession();
  },
  createDocument: (collectionId, data, read, write) => {
    return api
      .provider()
      .database.createDocument(collectionId, 'unique()', data, read, write);
  },
  listDocuments: (collectionId) => {
    return api.provider().database.listDocuments(collectionId);
  },
  deleteDocument: (collectionId, documentId) => {
    return api.provider().database.deleteDocument(collectionId, documentId);
  },
};
export default api;
In the code above, you did the following:
- Imported your Appwrite secrets from
Server - Imported
Account,ClientasAppwrite, andDatabasesfrom Appwrite (these give you access to Appwrite’s account authentication and database features) - Created an
apiobject with two keys -sdkandprovider(by default,sdkis null, meaning it does not contain anaccountanddatabase) - Your
providerfirst checks ifsdkis not null, in which case it returns whatever is in it. If thesdkis still null, it skips theifstatement and runs the next code block - You created an
Appwriteinstance and set its endpoint and project ID with secrets from yourServer - You created an
Accountinstance, which you used ingetAccount()to create an anonymous user session - You created a
Databasesinstance, which contains your database ID and used it to perform CRUD operations increateDocument(),listDocuments(), anddeleteDocument() - You exported your
apito use in your Vue project
Add Appwrite’s secrets to .env.local file
In your project’s root directory, create a .env.local file and update it with the code below:
VUE_APP_PROJECT=yourProjectId
VUE_APP_ENDPOINT=yourApiEndpoint
VUE_APP_DATABASE_ID=yourDatabaseId
VUE_APP_COLLECTION_ID=yourCollectionId
Navigate to your project’s Appwrite console in your browser, and on the home page, click on “Settings” to view your Project ID and API Endpoint:

Click on “Database” in your project’s sidebar, then open your database and click on “Settings” to view your Database ID:

On the “Collections” tab, select your collection and click on “Settings” to view your Collection ID:

Import Appwrite’s config files into Vue project
In your App.vue file, import your Appwrite config files by updating <script> with the code below:
<script>
  import api from './api';
  import { Server } from './utils/config';

  export default {
    // pre-existing code
  };
</script>
Setup Authorization
In your <script>'s methods object, add the code below:
authorize() {
  let init = api.getAccount();
  init.then(
    (res) => {
      console.log(res);
    },
    (err) => {
      console.log(err);
    }
  );
},
In the code above, you did the following:
- Triggered the
getAccount()function inapi/index.js - When Appwrite grants a user permission to access the database, it sends a response to the console or displays an error if the request is unsuccessful
Get data from Appwrite’s database
In your <script>'s methods object, update initialize() with the code below:
initialize() {
  this.authorize();

  let getItems = api.listDocuments(Server.collectionId);
  getItems.then(
    (res) => {
      this.sales = res.documents;
    },
    (err) => {
      console.log(err);
    }
  );
},
Here, you did the following:
- Triggered the
authorize()method - Triggered the
listDocuments()function inapi/index.js. It takes in yourcollectionIdas a parameter - Added the successful response to your
salesarray, and displayed errors (if any) in your browser’s console
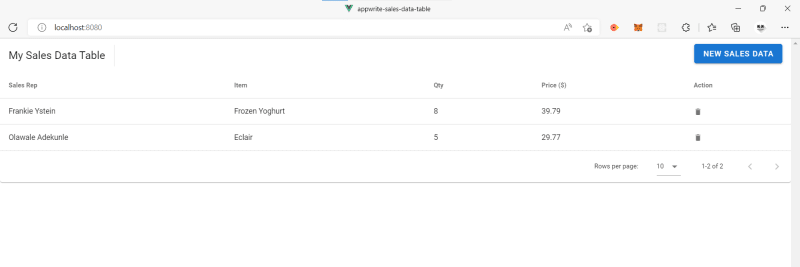
If you run yarn serve in your terminal, and refresh your browser, you will see the data you’ve already stored in your Appwrite database:
Delete Data From the Table and Appwrite Database
In your <script>'s methods object, update deleteConfirm() with the code below:
deleteItemConfirm() {
  try {
    api.deleteDocument(
      Server.collectionId,
      this.sales[this.editedIndex].$id
    );
  } catch (error) {
      console.log(error);
    }

  this.sales.splice(this.editedIndex, 1);
  this.closeDelete();
},
Here, you did the following:
- Added a
try-catchblock to trigger thedeleteDocument()function inapi/index.js. Its two parameters are yourcollectionId, and your document’s$id - You also deleted the selected data from the
salesarray and closed the “Delete” modal
Add New Data to the Table and Appwrite Database
In your <script>'s methods object, update save() with the code below:
save() {
  let newItem = api.createDocument(Server.collectionId, this.editedItem);
  newItem.then(
    (res) => {
      this.sales.push(res);
    },
    (err) => {
      console.log(err);
    }
  );
  this.close();
},
Here, you did the following:
- Triggered the
createDocument()function inapi/index.js; it takes in yourcollectionIdand the new data as parameters - Added the data to the
salesarray after successfully adding it to your database. - Closed your modal
Here is the final result:

Conclusion
In the article, you learned how to create a responsive sales data table with Vue and Vuetify, store and retrieve your data using Appwrite.
Combining Vuetify and Appwrite provides many robust, out-of-the-box features to enable you to build full-fledged apps quickly.
To learn more about these features, check out the resources below.


Top comments (0)