Authentication enables organizations to keep their networks secure by verifying the identity of a user attempting to gain access to their network or protected resources.
This means authorizing a human-to-machine transfer of credentials during interactions on a network to confirm a user's authenticity.
Appwrite is an end-to-end backend server for web, mobile, native, or backend apps packaged as a set of Docker microservices. We can use these Appwrite services to integrate authentication & sign-in methods within our application quickly.
This post discusses how to authenticate a Next.js application using Appwrite's GitHub OAuth provider.
The complete source code is in this GitHub Repository.
Prerequisites
To understand this article, you will need to meet the following requirements:
- Installation of Node.js
- Docker installation
- Basic knowledge of JavaScript and React.js
- An Appwrite instance; check out this article on how to set up an instance
- A GitHub account; signup is completely free
Setting up Appwrite and GitHub
First, we’ll start the Appwrite instance on our local machine and navigate to the specified hostname and port http://localhost:80. Log in or sign up to create a new application.
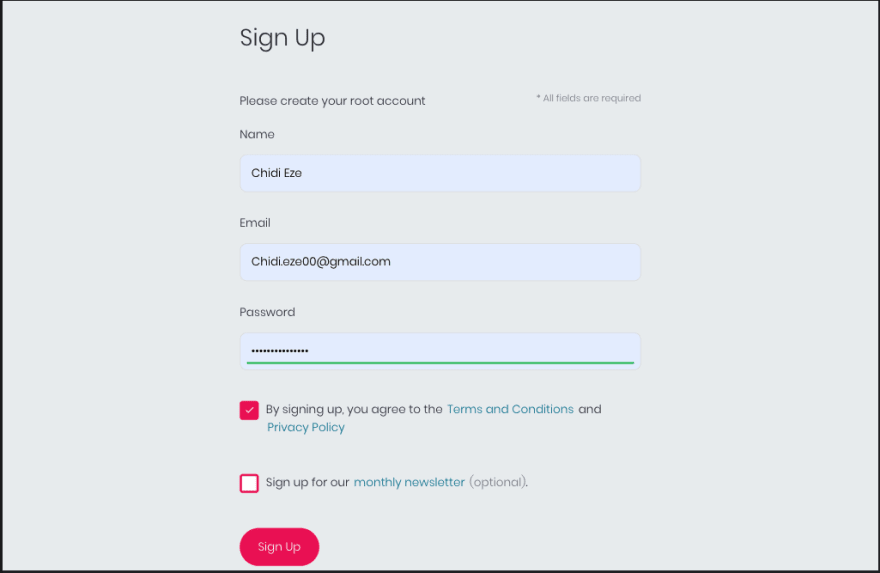
After successful signup, click on the Create Project button and choose a name for the project.


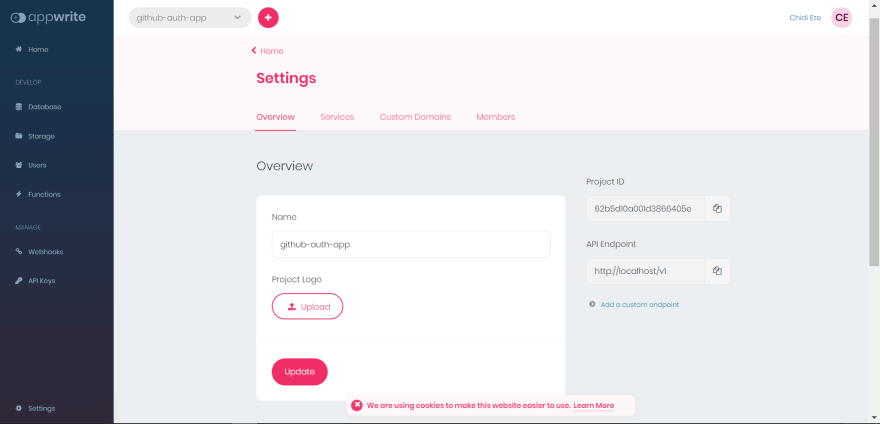
Click the settings tab and save the Project ID and the API Endpoint. We’ll use this to set up the Next.js application.
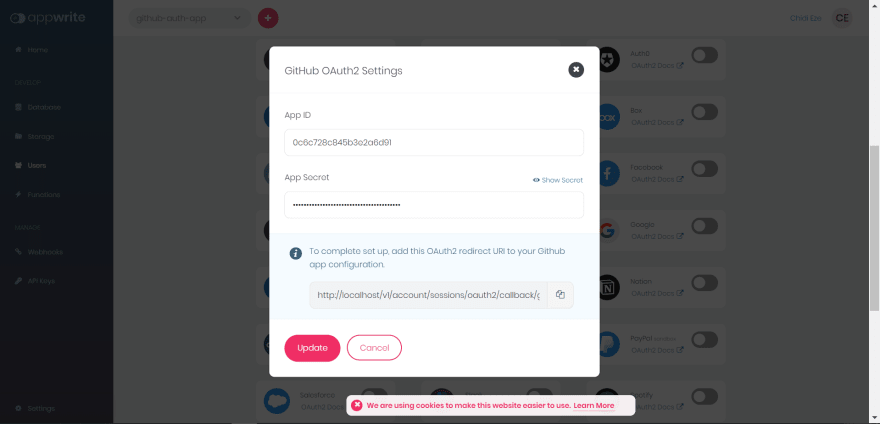
Next, click on the Users tab from the menu on the left-hand side, navigate to Settings, scroll down, and toggle the GitHub OAuth2 Provider.


Now, grab the OAuth redirect URI and add GitHub authentication. Sign in to GitHub, navigate to settings/profile, scroll down, and click on the Developer settings tab.

Select the OAuth Apps tab on the left and click on the New Auth App button.

Next, choose a name for the application, add a Homepage URL, paste the OAuth redirect URI, and click the green Register Application button.

Grab the Client ID, click on the Generate a new secret button, authorize GitHub, and copy the generated Client secret.

Now, switch over to Appwrite and paste the Client ID in the App ID box and Client secret in the App Secret.
Setting up Next.js the Application
First, let’s run the following command in the terminal to create a new Next.js application:
npx create-next-app appwrite-github-app
The above command creates a starter Next.js application in our appwrite-github-app folder.
Next, navigate into the project directory with the following command:
cd appwrite-github-app
The, run the following command to install Appwrite npm packages and start the application:
npm install appwrite #install appwrite package
npm run dev #start the dev server
Next.js will start the development server at http://localhost:3000.
Integrating the GitHub Authentication in the Next.js App
First, create a utils.js file in the root directory with the following snippets:
    import { Appwrite } from "appwrite";
    const appwriteSdk = new Appwrite();
    appwriteSdk
      .setEndpoint("http://localhost/v1")
      .setProject("<PROJECT ID HERE>");
    export default appwriteSdk;
Here, we imported Appwrite and created a new instance of it, passing our Project ID and API Endpoint that we saved earlier.
Next, modify the index.js with the following snippets:
 //pages/index.js
    import Head from "next/head";
    import styles from "../styles/Home.module.css";
    import appwriteSDK from "../utils";
    export default function Home() {
      const authRedirect = async () => {
        try {
          await appwriteSDK.account.createOAuth2Session(
            "github",
            "http://localhost:3000/welcome",
            "http://localhost:3000"
          );
        } catch (error) {
          console.log(error);
        }
      };
      return (
        <div className={styles.container}>
          <Head>
            <title>Appwrite Authentication with Github</title>
            <meta name="description" content="Generated by create next app" />
            <link rel="icon" href="/favicon.ico" />
          </Head>
          <main className={styles.main}>
            <h1>Hello there!</h1>
            <button onClick={authRedirect}>Login with Github</button>
          </main>
        </div>
      );
    }
In the snippets above we:
- Imported appwriteSDK from the
utils.jsfile, createdauthRedirect()function, and provided successful and failed authorization URLs inside theauthRedirect()function. - Returned the Login with GitHub button and passed the
authRedirect()function to it.
Notice we provided a /welcome route we have not created yet; create a welcome.js file inside the pages folder with the following snippets:
    //pages/welcome.js
    import styles from "../styles/Home.module.css";
    import "bootstrap/dist/css/bootstrap.min.css";
    import { useEffect, useState } from "react";
    import { useRouter } from "next/router";
    import appwriteSDK from "../utils";
    function welcome() {
      const [user, setUser] = useState(null);
      const router = useRouter();
      const getUser = async () => {
        const userData = (await appwriteSDK) && appwriteSDK.account.get();
        userData
          .then((res) => setUser(res))
          .catch((err) => {
            router.push("/");
            console.log(err);
          });
      };
      const logOut = async () => {
        await appwriteSDK.account.deleteSession("current");
        alert("logout successful");
        router.push("/");
      };
      useEffect(() => {
        getUser();
      }, []);
      return (
        <div className={styles.container}>
          <main className={styles.main}>
            <h1 className="mb-4">Github Authenticated Page</h1>
            {user && (
              <div>
                <p>
                  User:{" "}
                  <span className="fs-3 fw-bold text-capitalize">{user.name}</span>
                </p>
                <p>
                  Email: <span className="fs-3 fw-normal">{user.email}</span>
                </p>
                <button onClick={logOut} className="btn-danger mt-2 fs-3">
                  Log Out
                </button>
              </div>
            )}
          </main>
        </div>
      );
    }
    export default welcome;
In the snippets above we:
- Imported useState, useEffect, and useRouter hooks; created user and router constants with useState and useRouter, respectively.
- Created the
getUser()function; inside it, we receive the authorized user account details and update the user state. - Created the
logOut()function that logs out a user. - Conditionally returned the user details and created a Log Out button in the
return()function.
In the browser, the application will look like this:
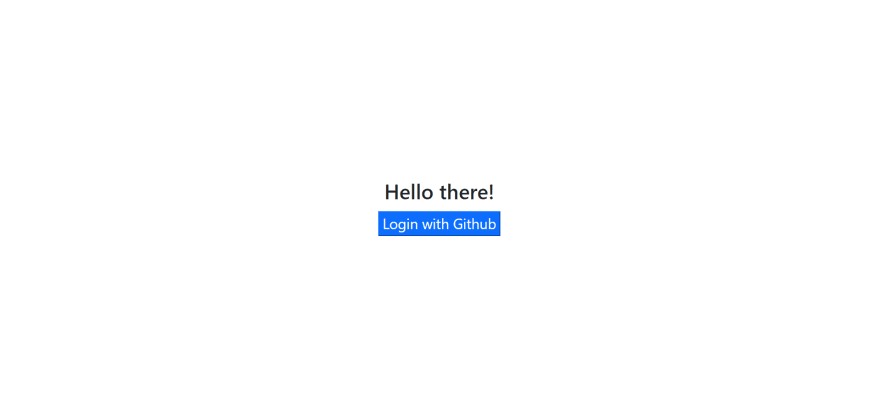
When we click on the Login with GitHub button, we’ll be redirected to the authorization page.
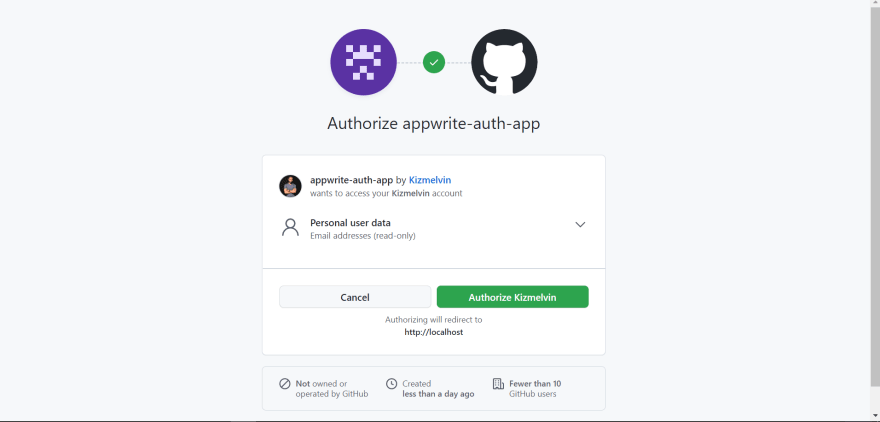
Appwrite will redirect us to the /welcome route on successful authorization, and we'll display the authenticated user details there.

Conclusion
This post discussed adding authentication to a Next.js application with Appwrite’s OAuth2 GitHub provider.
Resources
These resources might be helpful:


Oldest comments (0)