The primary purpose of a database is to store and retrieve data. In computing and application development, databases are used to efficiently organize and manage data collection and make that data accessible to users in various ways. Databases can be categorized into Flat Files Databases, Relational Databases, and NoSQL Databases.
In this post, we will learn how to build a file storage application using Appwrite’s Storage service to save files and multiple databases (PostgreSQL and SQLite) to save the metadata. Our project’s GitHub repository can be found here.
Prerequisites
To fully grasp the concepts presented in this tutorial, the following requirements apply:
- Basic understanding of JavaScript and React
- Docker installation
- An Appwrite instance; check out this article on how to set up an instance
- PostgreSQL installation
- DBeaver installation or any Database GUI viewer supported by PostgreSQL
Getting started
We need to create a Next.js starter project by navigating to the desired directory and running the command below in our terminal.
npx create-next-app next-appwrite-dbs && cd next-appwrite-dbs
The command creates a Next.js project called next-appwrite-dbs and navigates into the project directory.
We proceed to install the required dependencies by running the command below:
npm install appwrite prisma
appwrite is a development platform that provides a powerful API and management console for building backend servers for web and mobile applications.
prisma is an Object Relational Mapper that reduces the friction of working with a database by providing required features and functionality.
With that done, we can leverage Next.js CSS Module support to style our page by replacing the content in Home.module.css in the styles folder with the code snippet below:
.container {
  padding: 0 2rem;
}

.main {
  min-height: 100vh;
  padding: 4rem 0;
  flex: 1;
  display: flex;
  flex-direction: column;
  justify-content: center;
  align-items: center;
}

.fieldset {
  border: none;
  margin-bottom: .2rem;
  padding: 0;
}

.label {
  display: block;
  margin-bottom: 0.6rem;
  font-size: 0.75rem;
}

.inputText {
  border: 1px solid #ccc;
  display: inline-block;
  padding: 6px 12px;
  margin-bottom: 0.6rem;
  width: 100%;
}

.fileUpload {
  border: 1px solid #ccc;
  display: inline-block;
  padding: 6px 12px;
  margin-bottom: 0.6rem;
}

.description {
  text-align: center;
}

.description {
  margin: 2rem 0;
  line-height: 1.5;
  font-size: 1.5rem;
}

.button {
  display: block;
  border: none;
  padding: 0.6rem 2rem;
  margin-top: 1rem;
  background-color: blue;
  color: white;
  cursor: pointer;
}
Creating a new Appwrite Project
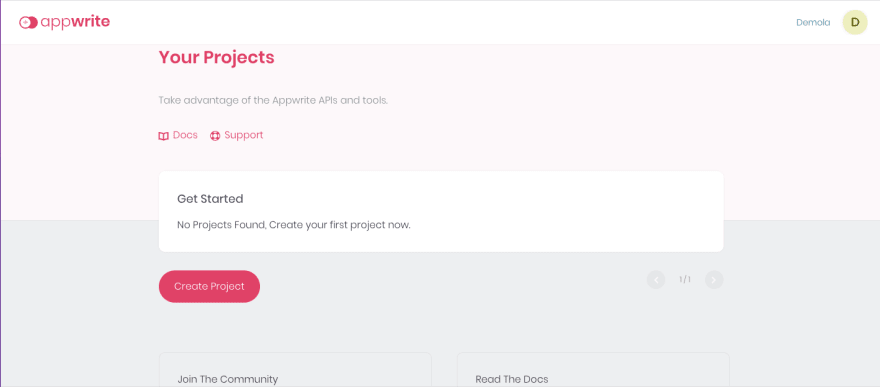
To create a new project, start the Appwrite instance and navigate to the specified hostname and port http://localhost:80. Next, we need to log in to our account or create an account if we don’t have one.

On the console, click on the Create Project button, input appwrite_dbs as the name, and click Create.

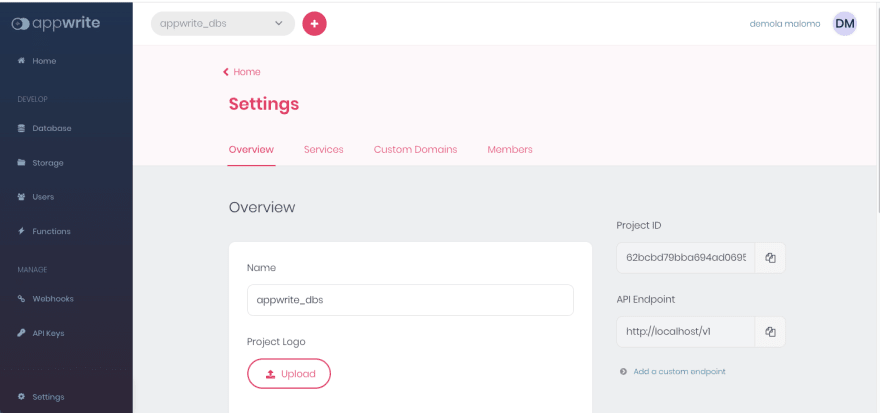
The project dashboard will appear on the console. Next, click on the Settings tab and copy the Project ID and API Endpoint.
Next, we’ll navigate to our project root directory and create a helper folder; here, create an utils.js file and add the snippet below:
    import { Storage, Client, Account } from 'appwrite';

    const client = new Client();
    client.setEndpoint('http://localhost/v1').setProject('ADD YOUR PROJECTID HERE');

    export const appwriteSDK = () => {
      const storage = new Storage(client);
      return storage;
    };

    export const accountSDK = () => {
      const account = new Account(client);
      return account;
    };
The snippet above does the following:
- Imports the required dependencies
- Configures Appwrite
clientby setting up the endpoint and project ID - Creates an
appwriteSDKandaccountSDKto access Appwrite Storage and Authentication services, respectively
Create Storage
To create a storage, navigate to the Storage tab, click on Add Bucket, input uploadDB as the name, and click Create.


Click on the Settings tab on the storage page and copy the Bucket ID as this will come in handy when building the file upload functionality.

Creating File Storage App with Appwrite and PostgreSQL Database
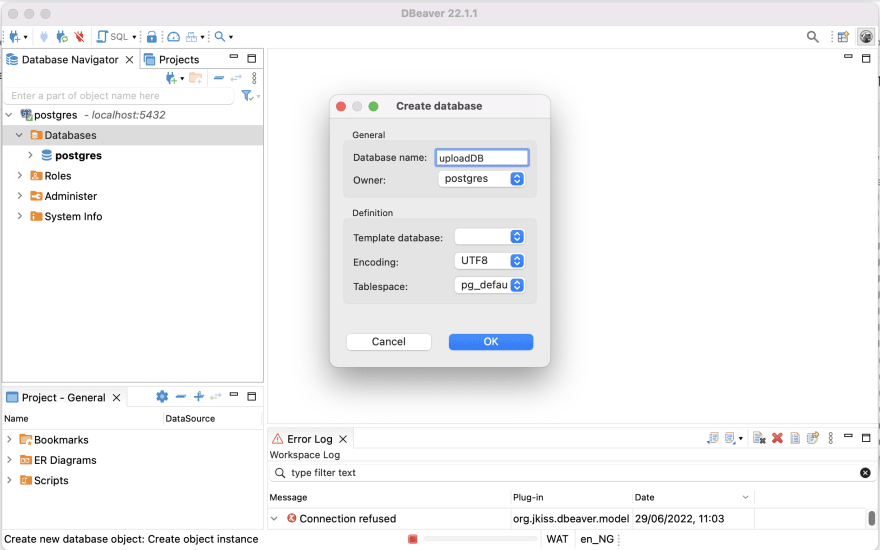
To get started, we need to open DBeaver or any other database GUI, right-click on the Database menu, click on Create New Database, input uploadDB as the database name, and click OK.

Setting up Prisma
With that done, we need to set up Prisma by running the command below:
npx prisma init
The command creates a prisma folder and a .env file in the project directory.
Next, we navigate into the prisma folder and modify the schema.prisma file as shown below:
    generator client {
      provider = "prisma-client-js"
    }

    datasource db {
      provider = "postgresql"
      url      = env("DATABASE_URL")
    }

    //add below
    model Upload {
      id          Int    @id @default(autoincrement())
      name        String
      uploadID    String
    }
The snippet above specifies PostgreSQL (default) as the database and creates an Upload model with required properties. The model created represents entities of our application and will map as a table in our database.
Next, we need to navigate to the generated .env file and modify the DATABASE_URL. The structure is as shown below:
DATABASE_URL="postgresql://<YOUR USERNAME>:<YOUR PASSWORD>@localhost:5432/<DATABASE NAME>"
Sample of properly filled connection url below:
DATABASE_URL="postgresql://demolamalomo:malomz@localhost:5432/uploadDB"
PS: When installing PostgreSQL for the first time, we will be required to provide a Username and a Password. It’s the exact details we need to include in our connection string.
Next, we need to establish a connection between our application and the PostgreSQL database by running the command below:
npx prisma migrate dev
The command will ask us some questions on how to establish our connection. We can answer the questions as shown below:
    Do you want to continue? All data will be lost (N/Y) < PRESS "y">
    Enter a name for the new migration: <first migration>
Creating the File Storage Application
With that done, we now need to navigate to the api folder inside the pages folder, create an upload.js file, and add the snippet below:
    import { PrismaClient } from '@prisma/client';

    export default function upload(req, res) {
      const { name, upload } = req.body;
      const prisma = new PrismaClient();

      prisma.upload
        .create({
          data: {
            name,
            uploadID: upload,
          },
        })
        .then((result) => res.status(200).json(result))
        .catch((err) => {
          console.log(err);
          res.json(err);
        });
    }
The snippet above does the following:
- Imports the required dependency
- Creates an
uploadAPI that gets the request body, instantiates Prisma, and usescreate()method attached touploadthe model we created earlier to create a new File upload metadata (name and uploadID)
Finally, we modify the index.js file in the pages folder to the following:
import Head from 'next/head';
import { useEffect, useState } from 'react';
import { appwriteSDK, accountSDK } from '../helper/utils';
import styles from '../styles/Home.module.css';
export default function Home() {
const [file, setFile] = useState(null);
const [name, setName] = useState('');
const checkSession = () => {
const validSession = accountSDK().get();
if (!validSession) {
accountSDK()
.createAnonymousSession()
.then((resp) => console.log(resp))
.catch((err) => console.log(err));
}
return;
};
useEffect(() => {
checkSession();
}, []);
const handleSubmit = async (e) => {
e.preventDefault();
const sdk = appwriteSDK().createFile(
'YOUR BUCKET ID COMES HERE',
'unique()',
file
);
sdk
.then((url) => {
const data = { name, upload: url.$id };
fetch('/api/upload', {
method: 'POST',
headers: { 'Content-Type': 'application/json' },
body: JSON.stringify(data),
})
.then((res) => {
console.log(res);
alert('File Upload successful!');
})
.catch((err) => console.log(err));
})
.catch((err) => {
console.log(err);
});
};
return (
<div className={styles.container}>
<Head>
<title>Appwrite DBs</title>
<meta name='description' content='Generated by create next app' />
<link rel='icon' href='/favicon.ico' />
</Head>
<main className={styles.main}>
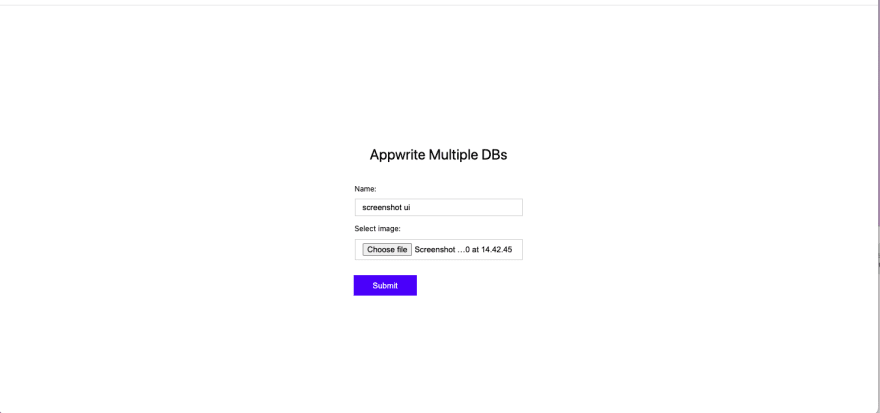
<p className={styles.description}>Appwrite Multiple DBs</p>
<form method='post' onSubmit={handleSubmit}>
<fieldset className={styles.fieldset}>
<label htmlFor='name' className={styles.label}>
Name:
</label>
<input
type='text'
name='name'
value={name}
required
className={styles.inputText}
onChange={(e) => setName(e.target.value)}
/>
</fieldset>
<fieldset className={styles.fieldset}>
<label htmlFor='file' className={styles.label}>
Select image:
</label>
<input
type='file'
name='file'
required
className={styles.fileUpload}
onChange={(e) => setFile(e.target.files[0])}
/>
</fieldset>
<button className={styles.button}>Submit</button>
</form>
</main>
</div>
);
}
The snippet above does the following:
- Imports the required dependencies
- Creates state to manage the uploaded metadata(
fileandname) - Creates a
checkSessionfunction that checks if the current session is valid or creates an anonymous session if it isn’t and calls the function upon page load using theuseEffecthook - Creates an
handleSubmitfunction for uploading the selected file and also does the following:- Uses the
appwriteSDKfunction to access the Appwrite Storage by passing in the Bucket ID we copied earlier,unique()flag as thedocumentId; which tells Appwrite to auto-generate a unique ID, and the file to be uploaded - Checks if the file upload is successful and, if it is, calls the
/api/uploadAPI we created earlier to upload the file metadata to the PostgreSQL database
- Uses the
- Markup to show the upload form
With that done, we can start a development server using the command below:
npm run dev
We can also validate the upload by checking Appwrite Storage and DBeaver.


Creating File Storage App with Appwrite and SQLite Database
To change the database, first, we need to delete the prisma folder generated earlier. Secondly, we need to set up Prisma again by running the command below:
npx prisma init
The command creates another prisma folder in the project directory.
Next, we need to navigate into the prisma folder and modify the schema.prisma file as shown below:
    generator client {
      provider = "prisma-client-js"
    }

    //modify below
    datasource db {
      provider = "sqlite"
      url      = "file:./dev.db"
    }

    //add below
    model Upload {
      id          Int    @id @default(autoincrement())
      name        String
      uploadID    String
    }
The snippet above specifies SQLite as the database and creates an Upload model with required properties.
Lastly, we need to establish a connection between our application and the SQLite database by running the command below:
npx prisma migrate dev
The command will ask us some questions on how to establish our connection. We can answer the questions as shown below:
    Do you want to continue? All data will be lost (N/Y) < PRESS "y">
    Enter a name for the new migration: <first migration>
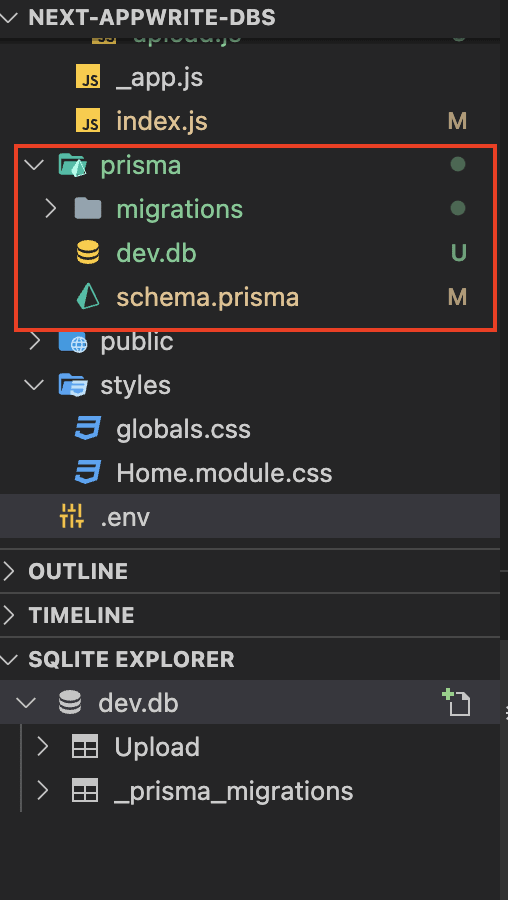
The command creates a dev.db SQLite database, a migration folder, and establishes a database connection.
With that done, we can restart the development server using the command below:
npm run dev
We can also test and validate the upload by checking the generated SQLite database.

Conclusion
This post discussed how to build a file storage application using Appwrite’s Storage service to save files and multiple databases (PostgreSQL and SQLite) to save metadata. The Appwrite platform ships with a robust SDK and database for building applications. It also offers flexible features like Storage, Authentication, Functions, Webhooks, etc, that can be integrated with the existing tech stack.
These resources might be helpful:


Oldest comments (0)