Today I will be walking you through how to set up Environmental Variables and a .gitlab-ci.yml file to deploy IBM Cloud resources using Terraform and the Gitlab CI/CD.
Setting CI/CD Variables in Gitlab
All of my automated IBM Cloud Terraform projects land under the same Gitlab group. There are many reasons to use Groups in Gitlab but for me it is mainly so that I don't have to set per-project Environmental Variables.
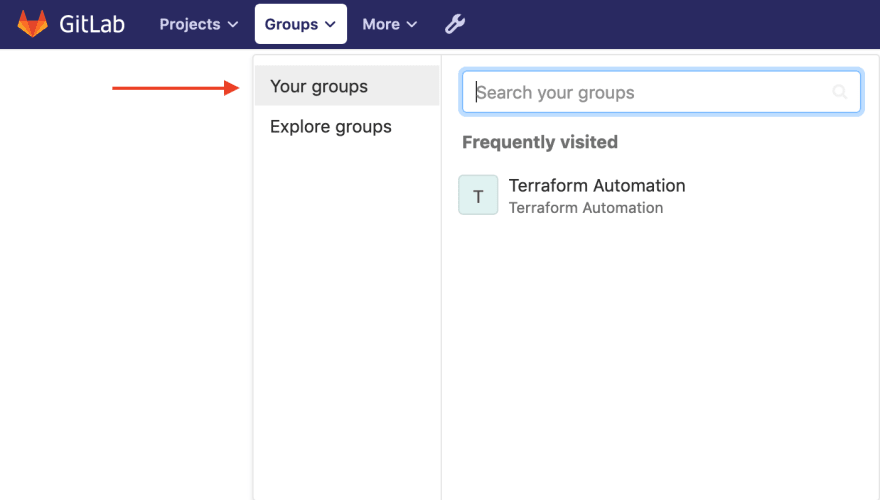
Step 1: From the top navigation bar click on Groups and select Your Groups.
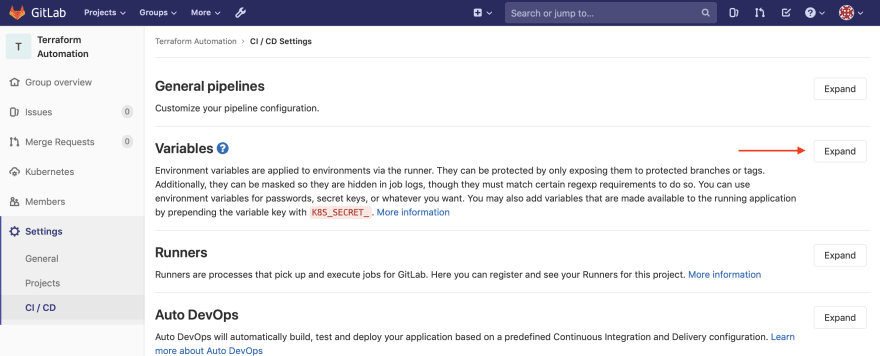
Step 2: Go to your Gitlab Group page and from the left hand navigation click Settings > CI/CD.

Step 3 Click Expand in the Variables section
The variables you will want to set are:
- IC_API_KEY = Your IBM Cloud API Key
- SL_API_KEY = Your IBM Cloud IaaS (SoftLayer) API Key
- SL_USERNAME = Your IBM Cloud IaaS (SoftLayer) username
Check the Masked option for the variables. Setting the masked variable option means that the value of the variables will be hidden in job logs during the CI/CD runs. When you're variables are set click Save.

A Note About Remote States: It is highly recommended to use a remote state for your Terraform deployments. With remote state, Terraform writes the state data to a remote data store, which can then be shared between all members of a team. If you will be using a remote state for your Terraform backend make sure you set the appropriate environmental variables for the backend provider. For instance if you are using the Consul backend provider you would want to set the CONSUL_TOKEN and CONSUL_HTTP_ADDR environmental variables.
Test Gitlab Automation
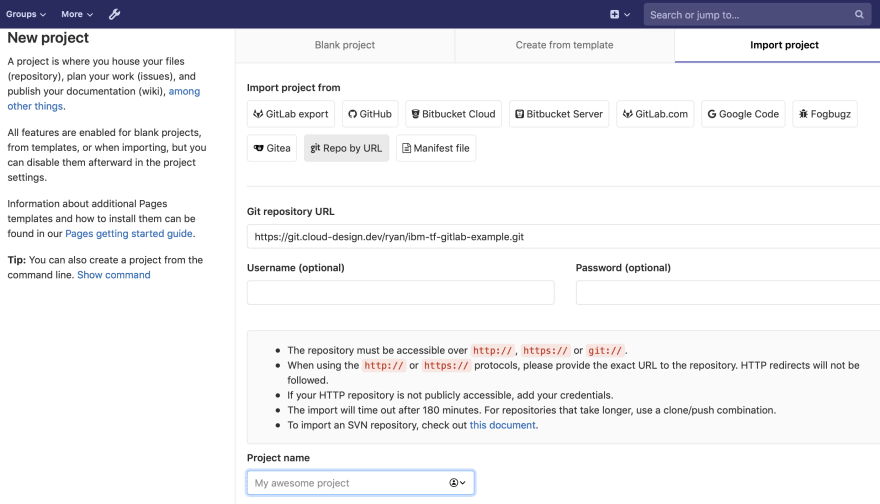
In order to test our Gitlab automation let's deploy a single Ubuntu 18 Virtual Instance. The first step is to create new Project in Github. When creating the project click the Import project tab and click on Repo by URL. Under the Git Repository URL section enter https://git.cloud-design.dev/ryan/ibm-tf-gitlab-example.git. Give your newly imported project a name, set it's visibility level and the click Create Project.
After a few moments Gitlab will create the new project. Once the project has been created you can dive in to the code to tweak the example deployment. You will need to do the following at the very least:
- Update the
main.tffile with the name of your IaaS SSH Key in the data.ibm_compute_ssh_key resource. - You will need to rename the
example.gitlab-ci.ymlfile to.gitlab-ci.yml.
With your changes complete go ahead and commit your code to start the Gitlab CI/CD Pipeline. You can watch the progress of the Pipeline by clicking on the CI/CD left hand navigation link and selecting Pipelines:
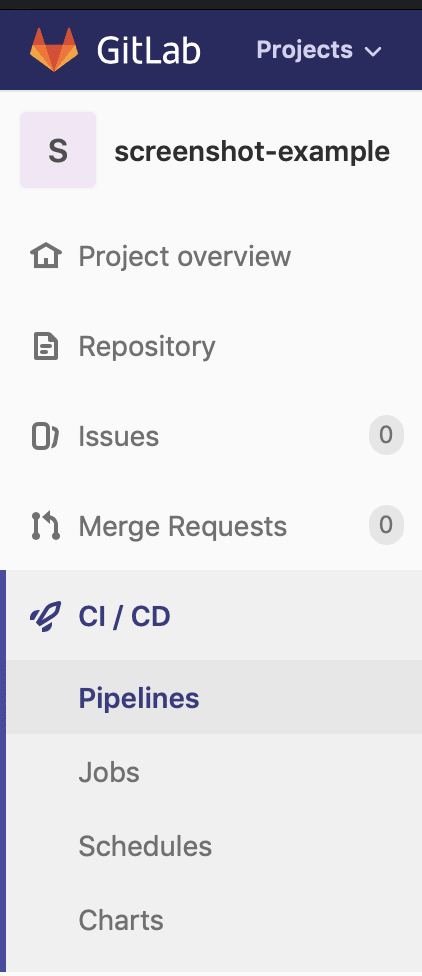
From there you can view the progress of the Pipeline.

Notes
Remote States
If your deployments will be using a remote state make sure to change terraform init to terraform init -backend-config="lock=true" in the before_script section.
Gitlab and SSL
If you're using Let's Encrypt generated certificates you may see issues with the certificate not being trusted. To get around this you can add the following to the .gitlab-ci.yml file.
variables:
  GIT_SSL_NO_VERIFY: "1"
Targetting Gitlab Runners
If you need to use specific Gitlab Runners for your deployments you will want to add a tag decleration. For instance is you are targetting runners with the docker tag you would want to add the following to all the Ci/CD stages:
tags:
    - docker
Alternative
IBM Cloud has recently launched a hosted Terraform offering called Schematics. IBM Cloud Schematics supports all IBM Cloud resources that are provided by the IBM Cloud Provider plug-in for Terraform with the advantage that you don't have to install the Terraform CLI and the IBM Cloud Provider plug-in. You can find some good Schematics example templates here.


Top comments (0)