

This article will demonstrate how to use FFI (Foreign Function Interface) inside Dart. FFI is used to call programs across different programming languages. We will see how FFIGen, a tool that helps us in generating these bindings, can be utilized for FFI in Dart.
Check out this video on Using FFIGen in Dart to see it in action.
FFI Programming: Introduction to Dart & FFI Gen
Dart 2.18 was released in Q3 of 2022. It brings new features, including the ability to integrate with libraries written in Objective-C and Swift. This means that Dart code can now call libraries written in these popular languages, which are commonly used in macOS and iOS. The FFIGen tool can be used to generate bindings for Objective-C and Swift
We will cover briefly:
- What’s FFIGen
- What’s new in FFIGen
- Dart CLI App and integrate objective-c based libraries
- Testing FFIGen
What is FFIGen?
Before explaining the answer to this question, you need to know about FFI (Foreign Function Interface).
FFI Programming explained
FFI stands for Foreign Function Interface and allows one programming language to work with libraries written in another language. It's a common technique used by many programming languages, including Java, which refers to it as JavaNativeInterface. FFI was originally created in CommonLisp but can be used in any language.
When a low-level language is referred to as the "host" language and a high-level language is referred to as the "guest" language, communication between them is established as follows:
- The host language must create a bridge for communication with the guest language by writing functions that the guest language can call.
- An API is provided for the host language to connect with guests.
- A tool that doesn't belong to either language is used to build the bridge.
- The guest language is also responsible for bridging the gap with the host language. The guest can call any function in the host language, but must have support for low-level features to communicate effectively.
According to Wikipedia, these are the things to consider for FFI:
- If one language supports garbage collection (GC) and the other does not, care must be taken that the non-GC language code does nothing to cause GC in the other to fail.
- Complicated or non-trivial objects or datatypes may be difficult to map from one environment to another.
- One or both languages may be running on a virtual machine (VM); moreover, if both are, these will probably be different VMs.
Dart has a library called "dart:ffi" that enables using FFI (Foreign Function Interface). Starting from Dart version 2.12, FFI is available in the stable channel. This allows you to use existing code in C libraries, giving you the benefits of both portability and the performance of highly optimized C code. With FFI Programming, you're not limited to just C, as you can also write code in other languages like Go or Rust, as long as it's compiled to a C library.
Dart FFI can also be used when a Flutter app requires more control over memory management and garbage collection. For example, this could be useful for an app using TensorFlow.
Dart ffi is used to read, write, allocate and deallocate native memory. There are some packages that already use this feature:
FFI Programming: Ways to use Dart FFI
There are times when you want to create your own fresh library, but more often, the library already exists (created by some other team) and you simply want to use it. In either case, we have the following choices:
- Manually creating the FFI bindings
- Automatically generating the FFI bindings
If you like automation, you probably chose the second option. As a result, we have package:ffigen
The "package:ffigen" is created to save time when integrating large APIs with C code. Writing Dart bindings for these APIs can be very time-consuming. The Dart team created a binding generator, called "ffigen," which automatically generates FFI wrappers from C header files.
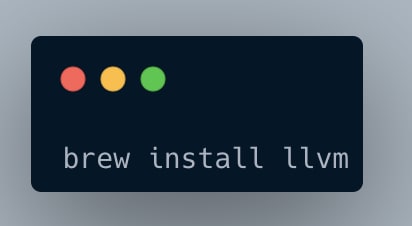
Under the hood, this package uses LLVM and LibClang to parse C header files. To install LLVM inside macOS, run:
There are multiple types provided by dart:ffi for representing the types in C. However, they broadly are classified by:
- Instantiable Native Types
- Purely Marker Native Types
Instantiable Native Types: In Dart code, you can create instances of arrays, pointers, structs, and unions, or their subtypes.
Purely Marker Native Types: Platform agnostic types like Bool, Double, Int64, Int32 cannot be created in Dart code.
There are also ABI marker types that extend AbiSpecificInteger, like Size Short, etc.
So, we’ve explained FFI and ffigen— let’s explore what’s new in ffigen in Dart 2.18.
FFI Programming: What’s new in FFI Gen

The Dart team wants Dart to support interoperability with all the primary languages on the platforms where Dart runs.
As of Dart 2.18, Dart code can now call Objective-C and Swift code since these are used for writing APIs for macOS and IOS. This interop mechanism supports across all types of apps from CLI apps to backend apps to Flutter code.
This feature is not limited to command-line apps. Even Dart mobile and server apps running on the Dart Native platform, on macOS, or on iOS can use dart:ffi.
This unlocks many possibilities since before 2.18, it was only possible to call the C/C++based libraries.
According to the official blog:
This new mechanism utilizes the fact that Objective-C and Swift code can be exposed as C code based on API bindings. The Dart API wrapper generation tool, ffigen, can create these bindings from API headers.
This support for Objective-C and Swift is marked as experimental starting from Dart 2.18. If you experience any problems, you can comment on the feedback issue on GitHub.
Dart CLI App with Objective-C-based libraries
In this section, we will create a Dart-based command line application that demonstrates how to call an Objective-C-based library using the new functionalities from ffigen.
We will choose any objective c library present inside the macOS, and integrate it inside the Dart CLI App.
One such library is NSURLCache.
macOS has an API for querying URL cache information exposed by the NSURLCache class.
The NSURLCache implements the caching of responses to URL load requests by mapping NSURLRequest objects to NSCachedURLResponse objects. It provides a composite in-memory and on-disk cache, and lets you manipulate the sizes of both the in-memory and on-disk portions.
We will be integrating the NSURLCache inside Dart and call some of its functions:
- currentDiskUsage : The current size of the on-disk cache, in bytes.
- diskCapacity : The capacity of the on-disk cache, in bytes.
- memoryCapacity : The capacity of the in-memory cache, in bytes.
Creating a Dart CLI App
We’ll start by creating the Dart CLI App using the below command. Also, upgrade to the latest Dart version 2.18!
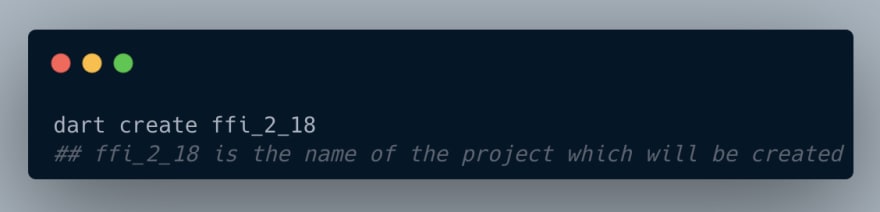
Note: There are various templates available for Dart; see below. By default, it selects console application.

This gives us a basic template with all of the necessary files, for instance, pubspec or linter. Open the pubspec file to check the dependencies that come bundled with this template.

Edit your pubspec file to add the ffigen dev dependency. Next, specify the configuration under this dependency. Configurations can be provided in 2 ways:
- In the project’s pubspec.yaml file under the key ffigen.
- Via a custom YAML file; then specify this file while running — dart run ffigen --config config.yaml
We will see option 2, separate config files for the libraries, first.
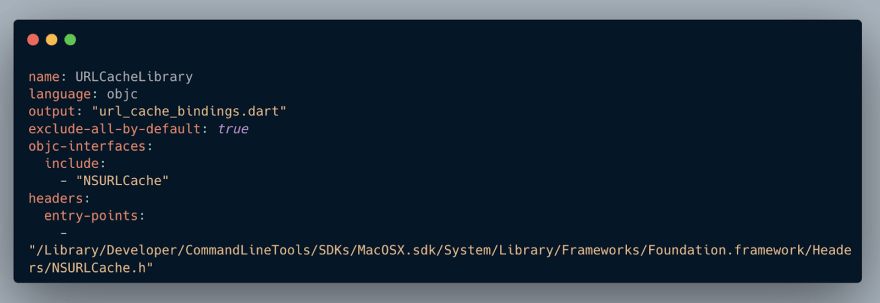
Create a file called url_cache_config.yaml and put the below contents inside it.
Let’s see the above configuration options:
- name The name for the class which will be generated, after we run the ffigen, this class will be called URLCacheLibrary
- language Must be one of
c\, or ‘objc’. Defaults to ‘c’. Since the library we select is written in Objective-C, we specify objc - output Output path of the generated bindings. This file will have all the FFI bindings which take care of the functions inside Obj-C
- headers This includes the path to the header files It includes everything from the location as specified under the entry points. In our case, the header files are present inside the Foundation.framework
- exclude-all-by-default When a declaration filter (eg functions or structs:) is empty, it defaults to including everything. If this flag is enabled, the default behavior is to exclude everything instead.
Objective-C Config Options
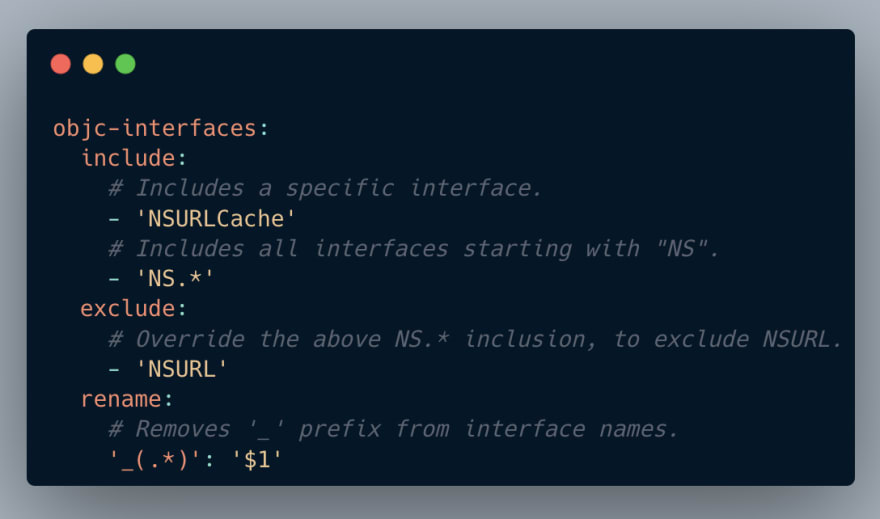
- objc-interfaces This filters for the interface declarations. In our case, we specify the NSURLCache interface
Generate FFI Bindings
To generate the bindings, run the following:
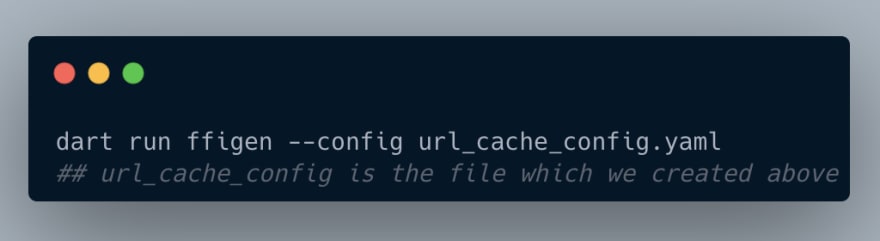
This command creates a new file (url_cache_bindings.dart) as specified inside the output parameter of the url_cache_config.yaml, which contains a bunch of generated API bindings. Using this binding file, we can write our Dart main method.
Integrate into Dart
We generated the bindings using the FFI Gen in the above step. Let’s see how to integrate it with Dart.
First, We create a new dart file called url_cache.dart.
Inside this file, we will be loading and interacting with the generated library.

We mentioned the path of the library in the first step. Since the library we are using is an internal library, the dylib points to the macOS’s framework dylib. We can consider this library to be dynamically linked.

Note: We can use our own library or a static library (linked inside our app).
Dynamic Linking: In this type, the external libraries are placed inside the final executable; however, the actual linking happens at the run time. In dynamic linking, only one copy of the shared library is kept inside the memory which reduces the program size, memory, and disk space. Since the libraries are shared, dynamic linking programs are slower in comparison to static linking programs.
A dynamically linked library is distributed in a separate file or folder within the app and loaded on demand. A dynamically linked library can be loaded into Dart via DynamicLibrary.open.
Static Linking: In this type, modules are copied inside the program before creating the final executable. Since these programs include libraries, they are large in size. However, because the libraries are already compiled, these programs are faster than dynamically linked programs.
A statically linked library is embedded into the app’s executable image and loaded when the app starts. Symbols from a statically linked library can be loaded using DynamicLibrary.executable or DynamicLibrary.process.
Next, we construct the URLCacheLibrary by using the constructor which needs the dylib path. For this, we call DynamicLibrary.open. This loads the library file and provides access to its symbols.
Note: This process loads the library into the DartVM only once, regardless of the function calls.
Once the library gets initialized, we can call the different methods present inside it (which were generated).
We are looking for a NSURLCache class. This class implements the caching of responses to URL load requests by mapping NSURLRequest objects to NSCachedURLResponse objects. For getting an instance of this class, we call sharedURLCache.

Since we have the instance of URLCache, we can access the different methods currentDiskUsage, currentMemoryUsage, diskCapacity, and memoryCapacity. Let’s run the Dart code using:

The result is:

Using Configuration Inside Pubspec
In the above section, we saw how to use the configuration specified inside a separate config file. Let’s see how to use the configuration inside the pubspec.
We’ll choose another Objective-C library present in macOS. One such library is NSTimeZone.
This API is used for querying the time zones and standard time policies of a region. These time zones have identifiers such as America/Los_Angeles and can also be identified by abbreviations such as PST for Pacific Standard Time.
The header for this library is present inside the NSTimeZone, which can be found inside the Apple Foundation library. Let’s include the configuration inside the pubspec:

In the above configuration, we specify:
- name This class will be called TimeZoneLibrary
- language The library we select is written in Objective-C, we specify objc
- headers The path to the header files which is present inside the Foundation.framework
For generating the bindings we run the following:

This command creates a new file (timezone_bindings.dart) as specified inside the output parameter that contains generated API bindings. Using this binding file, we can write our Dart main method.
We create a new dart file called timezones.dart. Inside this file, we load and interact with the generated library.

We construct the TimeZoneLibrary by using the constructor which needs the dylib path. Once the library is initialized, we call the different methods present inside it.
We will be integrating the NSTimeZone inside Dart and calling some of its functions:
- name: The geopolitical region ID that identifies the receiver.
- secondsFromGMT: The current difference in seconds between the receiver and Greenwich Mean Time.
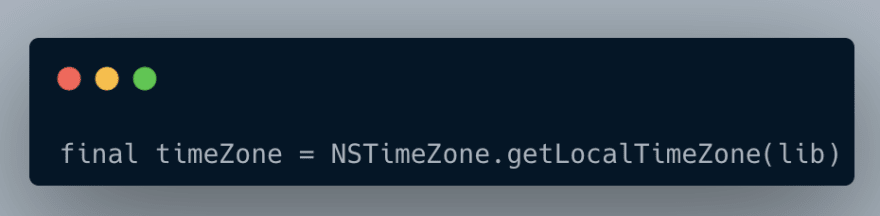
For getting an instance of this class, we call localTimeZone.
Since we have the instance of NSTimeZone, we can access the different methods named secondsFromGMT. Let’s run the Dart code using:
The result is:

Garbage Collection
Objective-C uses reference counting for memory management, but on the Dart side, memory management is handled automatically. The Dart wrapper object retains a reference to the Objective-C object, and when the Dart object is garbage collected, the generated code automatically releases that reference using a NativeFinalizer.
Limitations of Objective-C Interoperability
The current issues with multithreading are a limitation to Dart’s experimental support for Objective-C interop. However, these limitations are not intentional, but due to the relationship between the Dart isolates and OS threads and how Apple handles multithreading.
- While FFI Gen supports converting Dart functions to Objective-C blocks, most Apple APIs don’t guarantee on which thread a callback will run.
- Dart isolates are not the same as threads. Isolates run on threads but aren’t guaranteed to run on any particular thread. The VM can change which thread an isolate is running on without warning.
- Apple APIs are not thread-safe.
Since the VM can change the thread in which an isolate can run, this means a callback created in one isolate might be invoked on a different or no isolate. However, there are some tweaks around this, as implemented in cupertino:http.
FFI Programming: Testing FFIGen
Up to this point, we’ve learned how to generate bindings and consume them from a Dart CLI. In this section, we’ll see how to test the generated bindings.
We’ll install the dependencies YAML and logging and create a file called ffi_2_18_test.
Note: The tests should follow the naming pattern _test.dart.
The YAML dependency helps in the parsing of a YAML file, whereas logging provides us with the APIs useful for logging (based on the configuration as specified).
Set up Logging
We’ll configure the logging level and add a handler for the log messages. The level is set to Level.SEVERE. Next, we’ll listen to the onRecord stream for LogRecord events.

The function logWarnings is called inside setUpAll. The function registered under setUpAll will be run once, before all of the tests.
Test for NSURLCache

We’ll begin writing a test using the test method. The first thing we do is create the url_cache_config.yaml using a file object.
Next, we use the loadYaml function, which loads a single document from the YAML string. Since this method expects the parameter to be a string, we use the readAsStringSync to convert the file contents into a string synchronously.
The return value is mostly normal Dart objects. Since we are using the YAML file, we specify the result as YamlMap. YAML mappings support some key types that the default Dart map implementation doesn’t have.
Next, we use the Config from the FFI Gen to create the configuration required for testing from the above YAML map. Finally, we use parse to generate the bindings.
The output from the above step is compared against the strings; for instance:

This is because once we run the test using:
It generates the config file during the run time, which then compares with the strings above.

Test for NSTimeZone

We created a file object using the pubspec.yaml file. Next, we use loadYaml, which loads the file from the YAML string.
Next, we use the Config from FFI Gen to create the configuration required for testing from the above YAML map. Since the pubspec file has the property FFI Gen defined inside it, we straight away refer to that and specify the output type to be YamlMap.
Note: For the NSTimeZone, we specified the FFI Gen configuration inside the pubspec.yaml.
Finally, we use parse to generate the bindings. The output from this step is compares against the strings, for instance:
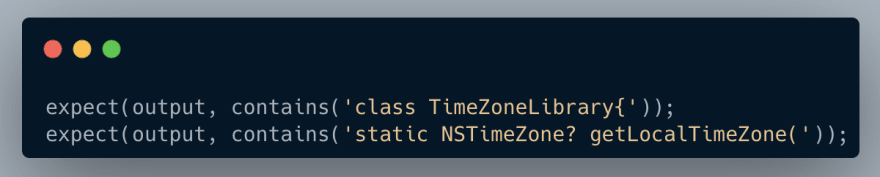
This is because once we run the test using this command:

It generates the config file during the runtime and then it gets compared with the strings inside the test.

Conclusion
In this article, we talked about FFI (Foreign Function Interface) and how to use it with Dart. It's a new feature in Dart 2.18 but still considered experimental. We showed how to create Dart CLI apps that connect to Objective-C libraries and explained different ways to set up the ffi bindings. Lastly, we tested our configurations.
Interested in learning more about Dart on CLI: Foundations?
For more information, consider reading the docs at dart.dev.


Top comments (0)