Good Day friends, nice having you here.
If you have been trying to figure out how to deploy your NodeJS application on Aws using GitHub, reading through this note would be a work-through for you.
So let's get started.
Prerequisites:
Make sure you have a GitHub account and a Git installed on your machine.
Make sure you have an AWS account setup.
Getting started
Firstly let's get started by pushing or app to Github
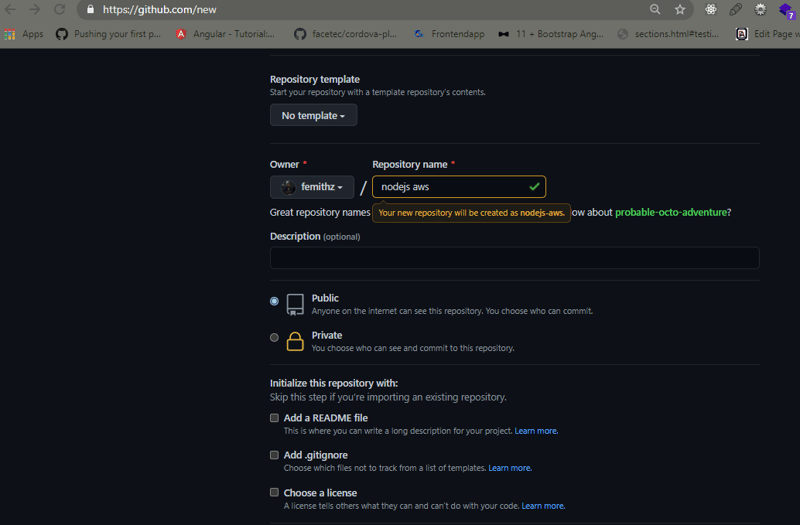
yea I have my repo created and the code has been pushed.
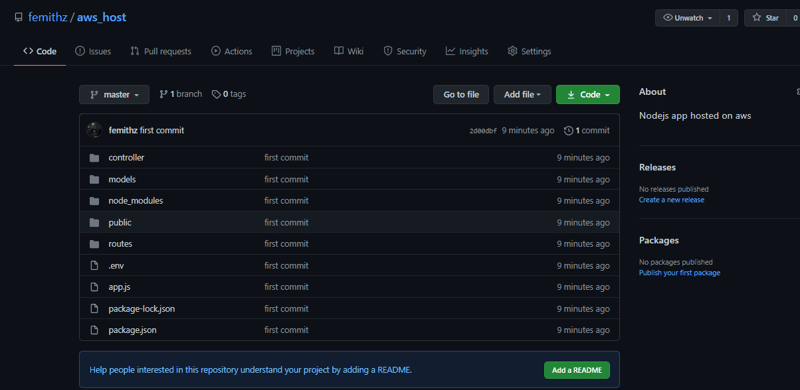
so finally you have your app push to GitHub now, Awesome we are moving gradually.
Let's proceed to our Aws account to set up the needed services need to have our app up and running.
My dashboard view below
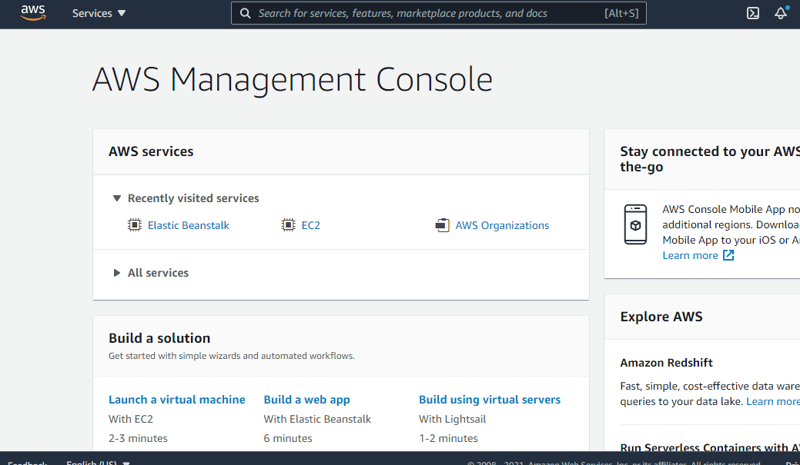
so let's dive into the services to set up a basic Nodejs app up and running.
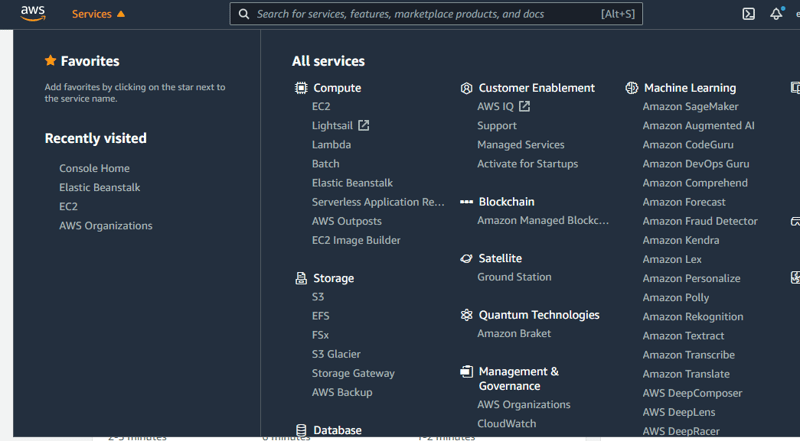
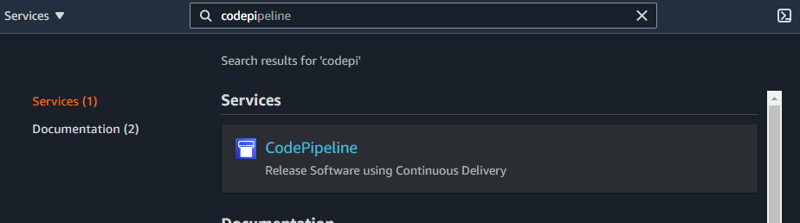
After taking a look at the different services available let's dive straight to the one we needed.
First Service (CodePipeline), What is a code pipeline?
AWS CodePipeline is a fully managed continuous delivery service that helps you automate your release pipelines for fast and reliable application and infrastructure updates. ... You can easily integrate AWS CodePipeline with third-party services such as GitHub, which is what we would be using GitHub.
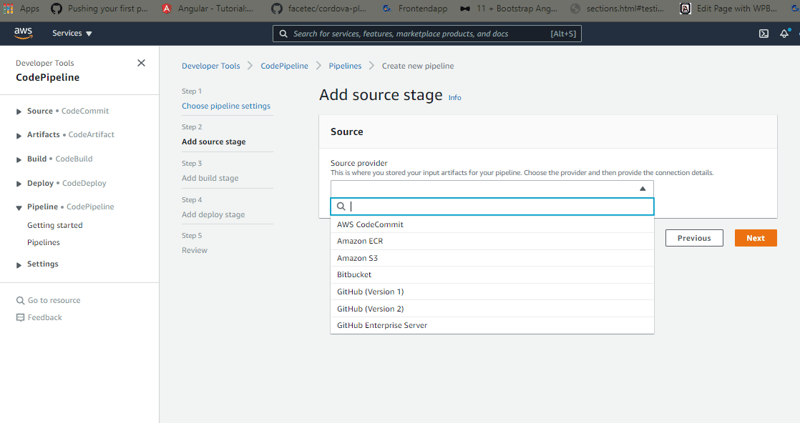
So we need to go further by creating a pipeline that handles getting updates from our repo push to Github.

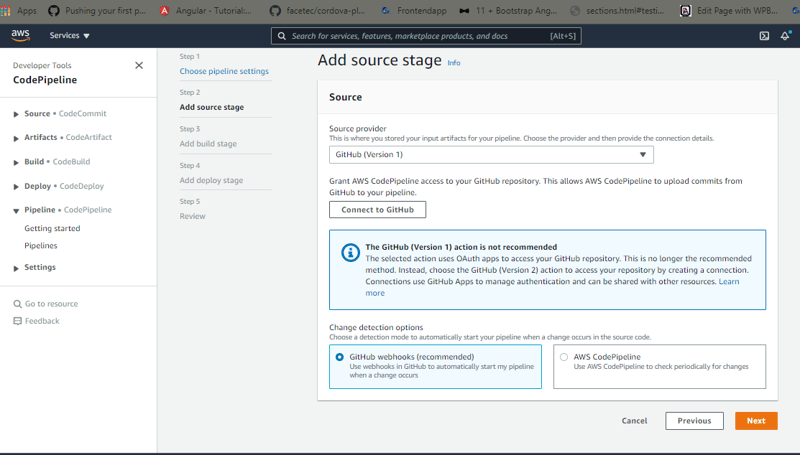
The image above clicks on connect to Github button which automatically pops up a modal for you to authorize the accessing of your repo and when this is done successfully you should have the outcome below.
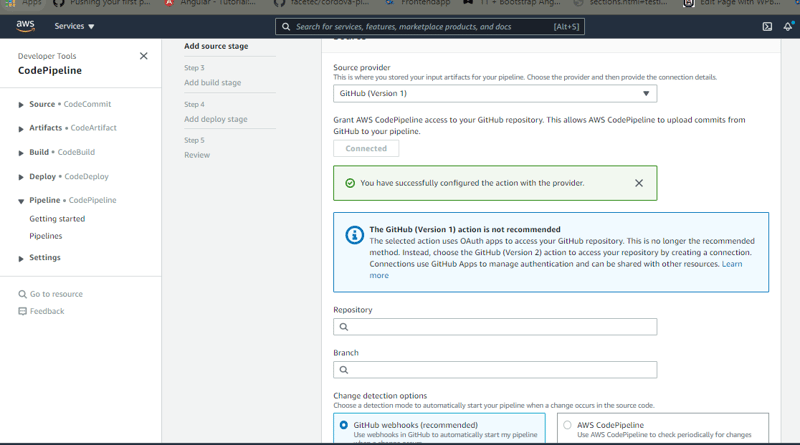
From here search for the repo you want to deploy and add it up alongside the branch.

You can decide to choose the build stage if you want to spice up your pipeline with some more configuration which won't be included in this note now, just click on the skip build stage button.

So the next is for us to choose the provider we would be using to host our app, there are a variety of provider listed but we would be using Elastic Beanstalk
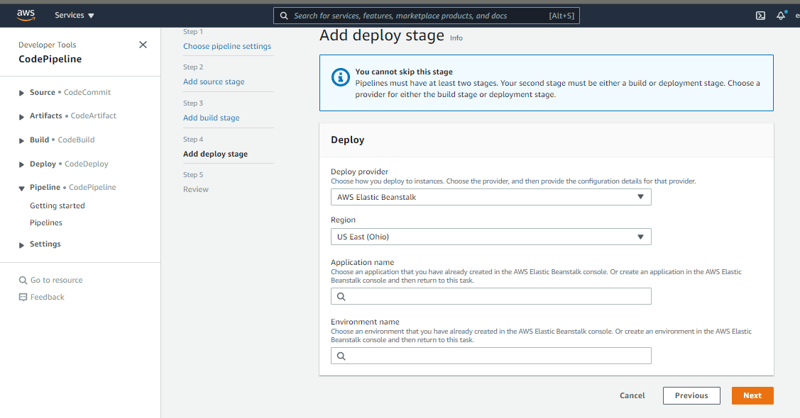
After selecting Elastic Beanstalk you would be asked to put in the application name which in your case as a first timer in deploying to AWS you would have no application name suggested for you.
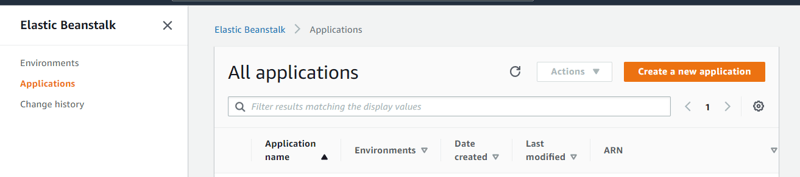
So click on the services dropdown to get to see the list of services, go on by opening Elastic BeanStalk in a new tab.
So to create a new application navigate to applications on the sidebar, so you can go further by clicking on create new application button.
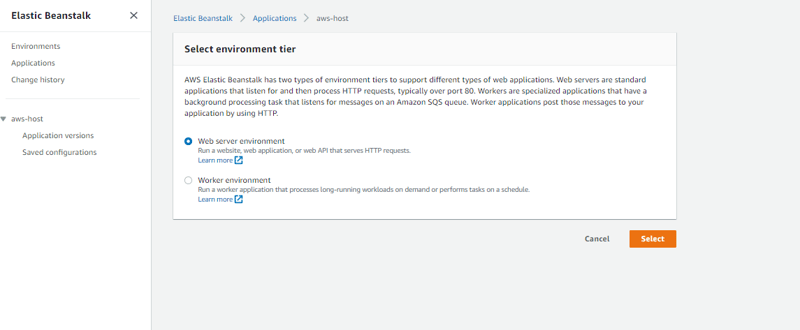
After you have your app created you would be redirected to create an environment.
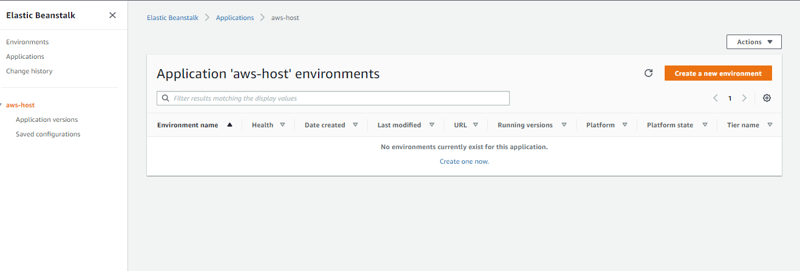
Go further to create an environment and select web server as the option.
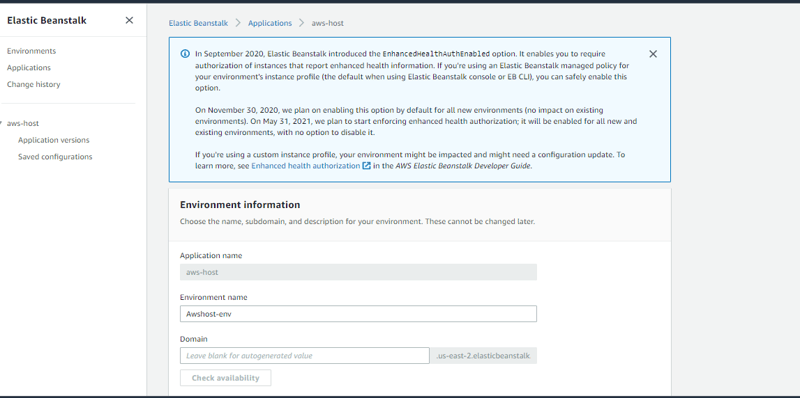
So now that you have your Application created and environment name generated go back to your abandoned tab to put in the info that is required of you is "application and the environment name"

So you can create your pipeline now, by just clicking create a pipeline.
--- Then we can go back to complete our Environment setup on the other tab.
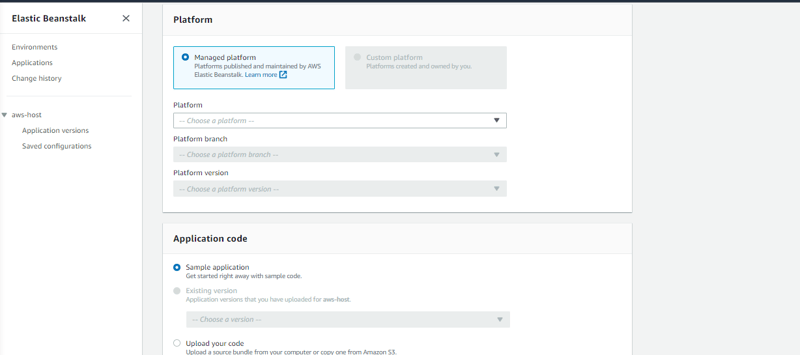
So you need to select a platform which is Nodejs, after you have done that you can click on create environment button.
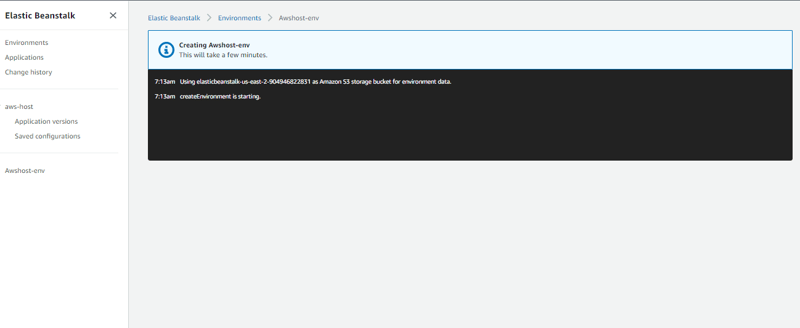
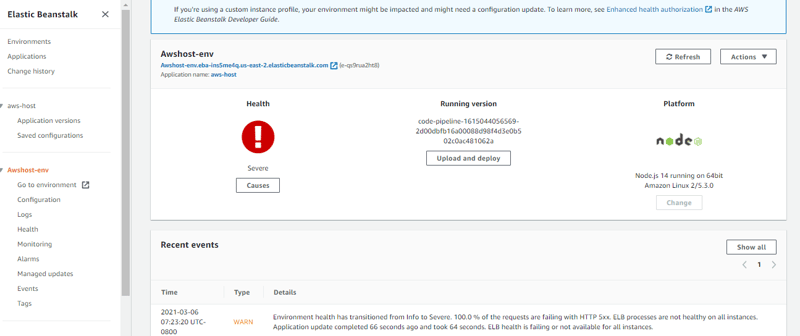
The image above would take some time to finally create the environment.
Finally, you have your environment created below image-
The image below shows a successful pipeline created

Hope this helps. Please share your valuable feedback.
That's it!!! I hope you had fun reading and learning from the not to continue the conversation you can follow me on Twitter: https://twitter.com/femithz
Gracias!!!


Top comments (0)