Intro
When I wanted to deploy my server, I was recommended Heroku and Render.
Using those was a pain in the ass because their interfaces are painfully slow and I didn't want to figure out their stupid alternative to DockerFiles.
I knew I could just get a server I can SSH into, but I couldn't find any tutorials online for doing that with Rails.
I find the following process much easier than anything else on the market.
Assumptions
This tutorial assumes you already have a project that:
- Is using React on Rails
- You can run and access through
localhost:3000 - Has site files at (or compiled to)
/public - Your database is based on PostgreSQL
- I wrote about migrating to it in a prior blog.
- Migrating to Postgres isn't exactly required, but using SQLite in production isn't recommended.
If you don't already have a project that meets these criteria, but you do still want something to test with, I recommend my React + Rails Template.\
This template is based on SQLite, not Postgres. Sorry.
Google Cloud Setup
Getting into Google Cloud
- Install the Google Cloud SDK in your preferred terminal
- Create a Google Cloud project
- Enable billing on that project
- Enable cloud compute in your project
Creating a new SSH Instance
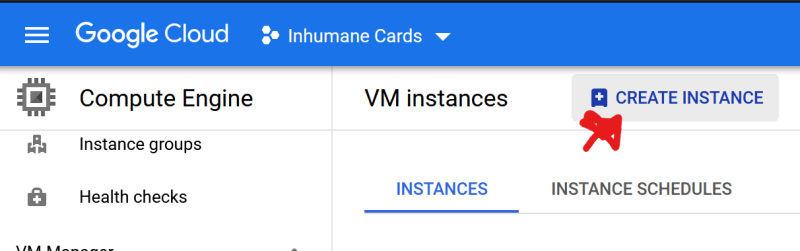
- Navigate to Compute inside your project
- Click Create Instance:\
- Select a region for your server to run on
- Select the machine you will be running your server on
- I recommend starting with E2-micro and moving up if you need more power.
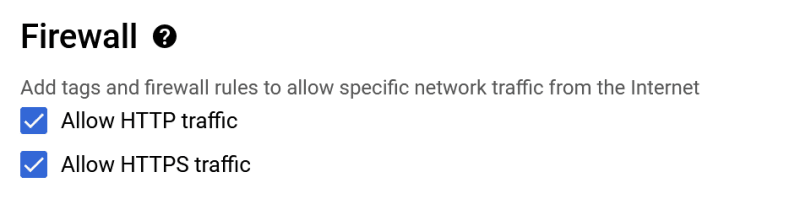
- Enable both HTTP and HTTPS traffic
SSHing into your new Machine
Navigate to Compute inside your project.
Click the dropdown to the right of ssh, and select "View gcloud command."\
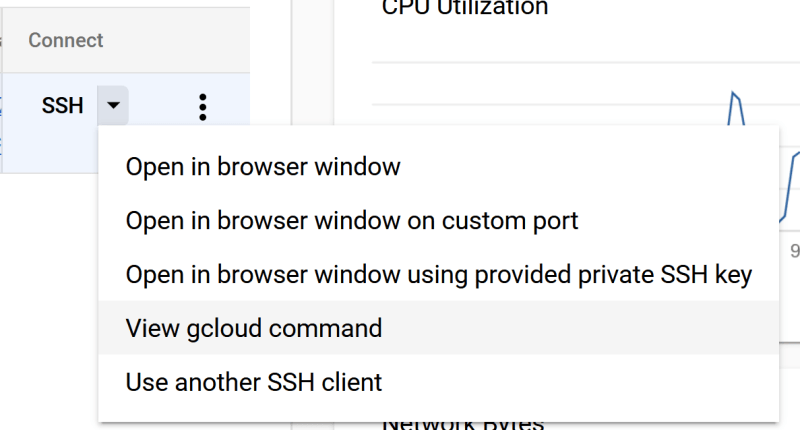
Click "Copy to clipboard" and paste that into your terminal.
Setting Up Your Machine
Google machines run stock Debian 11, without anything pre-installed.
Because of this, once you are SSHed in, first thing you want to do is install the essentials: git, ruby, and node. I have a blog with all the commands to do this on Ubuntu.
The method I shared there for installing RVM won't work on Debian, so here is a guide for that.
Also install Postgres by following everything except step 3 of this guide.
Setting up your Rails Server
Start by cloning down your project and cd into it.
git clone https://github.com/YOU/project
cd project
Install your project dependencies:
bundle install

cd client
npm i
cd ..
Compile your frontend to /public:
bin/build.sh
Nginx
Nginx does some magic bullsh█t that makes the server easily accessible, and makes setting up HTTPS much easier later on.
Setting up Nginx
Inside your Rails project, run pwd to get [PATH TO YOUR RAILS PROJECT]/, which you will use later.
Install Nginx:
sudo apt install nginx
Navigate to the Nginx's site config:
cd /etc/nginx/sites-enabled
Open a text editor with super user permissions on the file default. Nano is the most user friendly for this.
sudo nano default
Delete everything that already exists in the file.
Paste the following in to replace what you just deleted, filling in [PATH TO YOUR RAILS PROJECT]/ with the thing you got from pwd earlier.
upstream rails_server {
  server 0.0.0.0:3000;
}

server {
  listen 80;

  location / {
    root [PATH TO YOUR RAILS PROJECT]/public;
    try_files $uri @missing;
  }

  location @missing {
    proxy_pass http://rails_server;
    proxy_set_header Host $http_host;
    proxy_redirect off;
  }
}
ctrlx to exit, y to save, and enter to confirm file name.
Testing your Nginx Install
First, you need to restart your server to finish setting up Nginx.
Navigate back to Compute inside your project, and click the link to go into controls for your instance:\

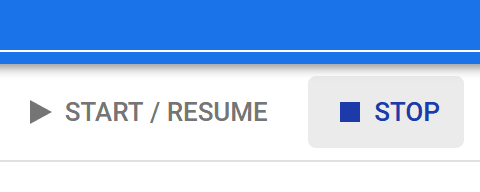
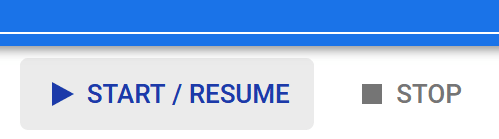
Click STOP on the top bar, wait about a minute for START/RESUME to become clickable, and click it.\

Then, SSH back into your server.
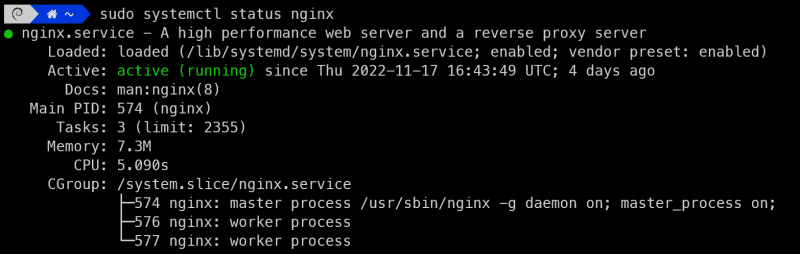
Run this to make sure your server is running:
sudo systemctl status nginx
You should see something like this:\
To get the IP your server is on, run this command:
wget http://ipinfo.io/ip -qO -
You may have to sudo apt install wget.
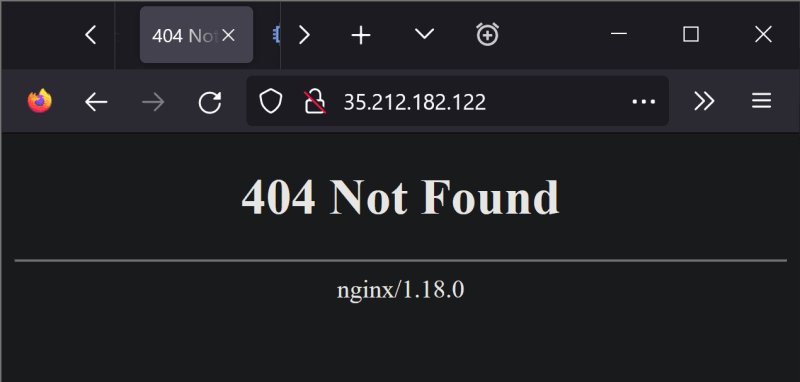
Then, go to that ip in your browser. You should see something like this:\
Testing your Rails Setup
Now that we can access our server, we can run Rails and use our website:
rails s -e production
If you refresh the page you were at earlier, you should now be able to see your app!
If you are having issues, click here for a guide covering some common issues.
Finishing Touches
Static IP
Having to get the ip every time it changes is a pain. Lets make it static!
Start by navigating to Compute inside your project, and click the link to go into controls for your instance:\
Shut down the VM:\
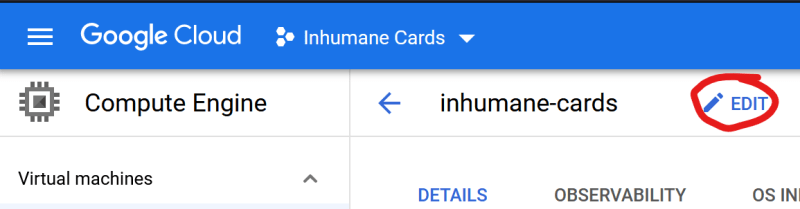
Click edit:\
Scroll down to Network interfaces, and click the dropdown next to default:\

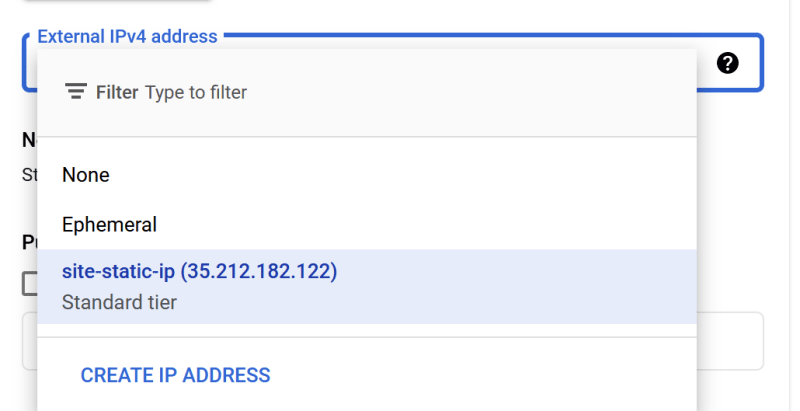
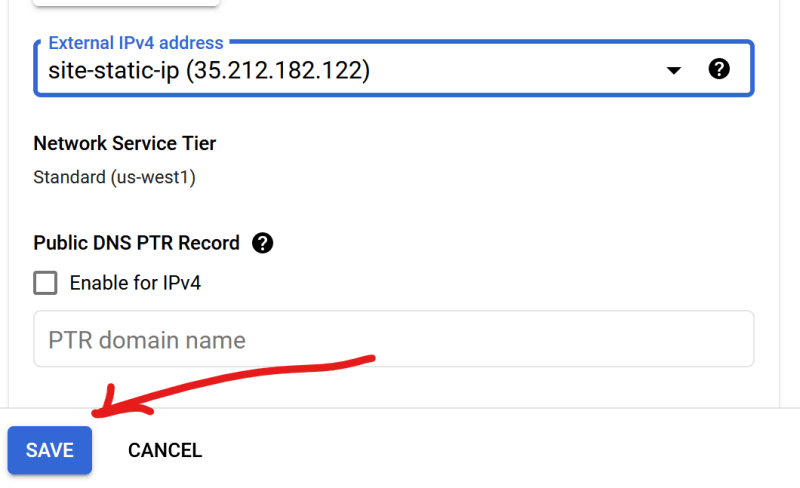
Scroll down to External IPv4 Address, and select static:\
Click save:\
Start the VM back up:\
SSH back in and get the IP one last time:
wget http://ipinfo.io/ip -qO -
Automatic Starting
Currently, you have to be SSHed into the server and have Rails running to be able to connect. It would be nice if we could just turn it on and let it go.
To do this we need to add a couple things. You can do this on your own machine, push the changes to git, then pull back down on the Google Machine.
Start off by adding the whenever gem to your gemfile:
gem 'whenever', require: false
Create a new file at /config/schedule.rb:
every '@reboot' do
  command 'sleep 30 && source /home/f53/.rvm/scripts/rvm && cd /home/f53/inhumane-cards && bundle exec rails s -e production'
end
Replace f53 with the output of whoami when run in your command line.
Replace inhumane-cards with whatever the name of your project is when its pulled down from git.
After that, SSH back in.
cd project
git pull
bundle install
whenever -w
This makes it so Rails runs on every restart!
Domain Name
Having a domain name is nice.
I am assuming you are using Google Domains for this, but the steps should be similar for other platforms.\
(I am not doing this right, but every time I try to do it the right way it breaks EVERYTHING)
Go to the DNS tab of Google Cloud, click show advanced settings, scroll down to Dynamic DNS, create one, click view credentials.
Fill in this url with those credentials, your domain, and your ip:\
https://username:password@domains.google.com/nic/update?hostname=subdomain.yourdomain.com&myip=1.2.3.4
For example:
https://XXXXXXXXXXXX:XXXXXXXXXXX@domains.google.com/nic/update?hostname=inhumanecards.com&myip=35.212.182.122
Then just paste that into your browser.
HTTPS
Without HTTPS, most browsers will yell at you about insecurity.
First, go back to your nginx config file and edit it with nano:
cd /etc/nginx/sites-enabled
sudo nano default
Add server_name example.com; to the server config:
server {
+ server_name example.com;

  location / {
Replace example.com with your actual domain name.
Use certbot to finish off your HTTPS setup.
Conclusion
Words.
Feel free to ask questions in the comments.


Oldest comments (0)