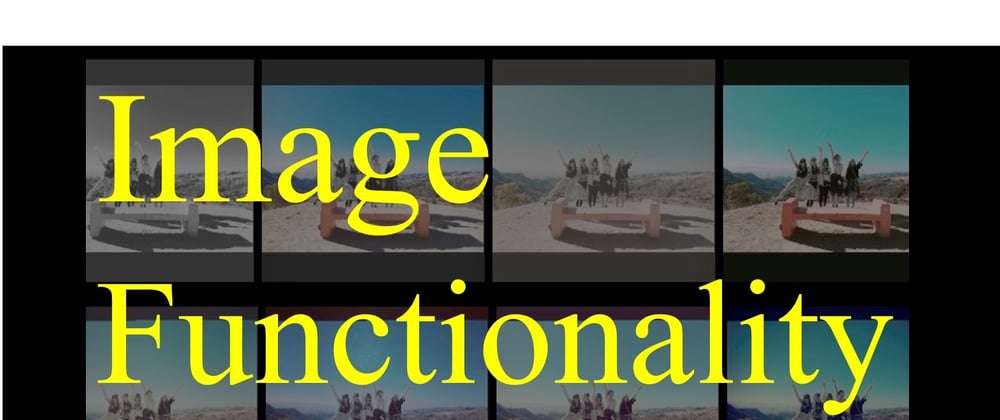

This is exactly how Instagram started
The founders of Instagram learned this image functionality when they were in Stanford’s introductory course, CS106A, and they found this filtering algorithm interesting. Not too long after that, they put the function into an app so that many people could use, and since the whole world loved it, now people across the globe know what Instagram is.
What does an image consist of?
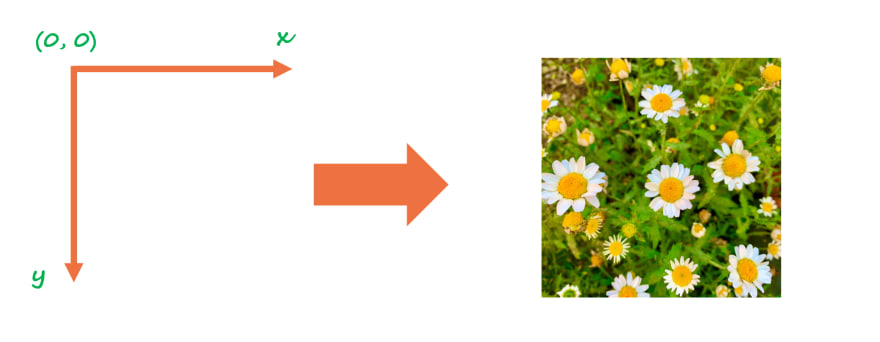
An image is made of square pixels, and each pixel has x and y axis to coordinate one image. Each pixel has single color that is coded as 3 RGB (Red, Green, Blue) values.
What's SimpleImage?
It is a library made by Nick Parlante from Stanford University, using Pillow library; extends Python’s functionality in terms of digital image processing. To use SimpleImage library, write this code on top of the program to import.
from simpleimage import SimpleImage
You can also find SimpleImage module here: https://github.com/EmilyWorld/SimpleImage/blob/master/simpleimage.py
Image Functionalities
- Read an image from a filename: Put the filename of an image between parenthesis () so that the image will be stored in image variable.
image = SimpleImage(filename)
-
Display the image: Use
.show()function to display the image stored in image variable.
image.show()
- Use ‘for-each’ loop to reach each pixel in the image:

This is to apply the codes below the loop to all the pixels in the image. The variable ‘pixel’ can be any word each individual chooses, but make sure that it is easily recognizable when looking back after the program completion. (e.g. px ) This type of loop can deploy to Greenscreening, for example.
def find_red(filename):
    image = SimpleImage(filename)
    for pixel in image:
        #your code here
        average = (pixel.red + pixel.green + pixel.blue) // 3
        #See if this pixel is 'sufficiently' red
        if pixel.red >= average * INTENSITY_THRESHOLD:
            #If so, overwrite pixel in original image
            #corresponding pixel from the back image.
            pixel.red = 255
            pixel.green = 0
            pixel.blue = 0
        else:
            pixel.red = average
            pixel.green = average
            pixel.blue = average
    return image
- Use ‘nested’ for loop to address each pixel by its (x, y) coordination:

This is used when (x, y) location is important to process the program. There is no functional difference between for-each loop and nested for loop, except that in the nested for loop, the code has access to the (x, y) values of the pixel currently looking at. This type of loop can apply to mirroring images, for instance.
def make_reflection(filename):
    image = SimpleImage(filename)
    #Create new image to contain mirror reflection
    reflection = SimpleImage.blank(width, height * 2)
    #loop over all the columns from x = 0
    for x in range(image.width):
        #loop over all the rows from y = 0
        for y in range(image.height):
            #your code here
            pixel = image.get_pixel(x, y)
            reflection.set_pixel(x, y, pixel)
            reflection.set_pixel(x, (height * 2) - (y + 1), pixel)
    return reflection
- Access data inside a pixel: To modify colors (RGB) and location (x, y), each pixel can be designated by using ‘dot.’ syntax. Each R, G, B value can range from 0 up to 255. If RGB values are (R, G, B) = (0, 0, 0), it shows the color white, and (R, G, B) = (255, 255, 255) results in the color black. However, the pixel’s location cannot be directly modified.
#Color properties
pixel.red
pixel.green
pixel.blue
#Location properties
pixel.x
pixel.y
- Access image size: To access and change width and height of the image, the code below is used with ‘dot.’ syntax.
image.width
image.height
- Create a blank image with a specified width and height: This is used when creating mirror images, image collage, and other artistic projects starting from a blank canvas. To make a blank image that is 600 pixels width and 400 pixels height, the code is below.
image = SimpleImage.blank(600, 400)
or
image = SimpleImage.blank(width=600, height=400)
-
Access (x, y) coordinates in a pixel:
 This is to make the program remember and store information of the image in (x, y) coordinates level of all the pixels. x and y in (x, y) should be integers.
In addition, the respective range is 0 ≧ x ≧ width-1, and 0 ≧ y ≧ height-1
This is to make the program remember and store information of the image in (x, y) coordinates level of all the pixels. x and y in (x, y) should be integers.
In addition, the respective range is 0 ≧ x ≧ width-1, and 0 ≧ y ≧ height-1
pixel = image.get_pixel(x, y)
- Specify the place of each pixel in the image:

This is to locate the value of a certain pixel in a new image by (x, y) coordinates.
def put_patch(patch, row, col, final_image):
    for y in range(PATCH_SIZE): #height of the image (patch)
        for x in range(PATCH_SIZE): #width of the image
            pixel = patch.get_pixel(x, y)
            #your code here
            #put the patch into 6 different locations
            final_image.set_pixel(PATCH_SIZE * col + x, PATCH_SIZE * row + y, pixel)
            #in the case of putting the patch
            # where it is or top left corner
            final_image.set_pixel(x, y, pixel)
    return final_image
Thank you for reading
Feel free to comment if you have any questions or requests.
Have a great coffee break!


Top comments (4)
Hi,
Your article is interesting. Is there any way that I can get the python package?
thanks in advanced
HI, you mean in general like this (pypi.org/) or my codes?
I tried to install the package you used "simpleImage", and found out it's not posted. So I guess its a script, lol. I'm wondering if you would like to share the script? :)
You can download it from here: github.com/EmilyWorld/SimpleImage/...