
Disclaimer: This is my first post, please feel free to leave any comments and suggestions in the comments.
Prerequisites: Knowing Vue, knowing what is an API.
Introduction
I've been working with Vue.js for a couple of months now. Since I heard about NativeScript-Vue I've been looking for an opportunity to try it out. This week I got that opportunity. Im currently taking a business class and at some point we where asked for business ideas. A girl in my team said that it would be cool to have an app that let you take a picture of some medicine and see what it was for, its characteristics and similar medicines. For me it sounded interesting since it would be easy to do a proof of concept with Azure's Custom Vision API.
Planning
I've been told that I should think about the specific problem I have before choosing which technologies I'm going to use. However, for this project I knew I wanted to try NativeScript-Vue and Azure's Custom Vision API so the decision was made.
Objective: Build a simple app that takes the picture of a medicine and tells you which one it is.
Since this is a proof of concept and was made basically just out of curiosity in 1 day it won't be very elegant and will only work with 3 types of medicine (At least for me, you can train your model on anything you want).
Design
This app is divided into 2 main parts:
- Back End (Azure's Custom Vision API)
Using this API is free and extremely easy. The hardest part about this is getting the pictures of the things you want to classify. I found 3 different medicines that I ended up using and took about 300 pictures of each one. I uploaded them and trained the model. The only thing we need from the API is the URL and the Prediction Key.

- Front End (NativeScript-Vue)
This is where the meat of the application is. Although, in reality is not going to be a lot of work. We basically need to do N things.
- Create a basic UI
- Set up the data model with the picture and medicine name
- Make use of the camera
- Send the picture to the API for classification and display the classification
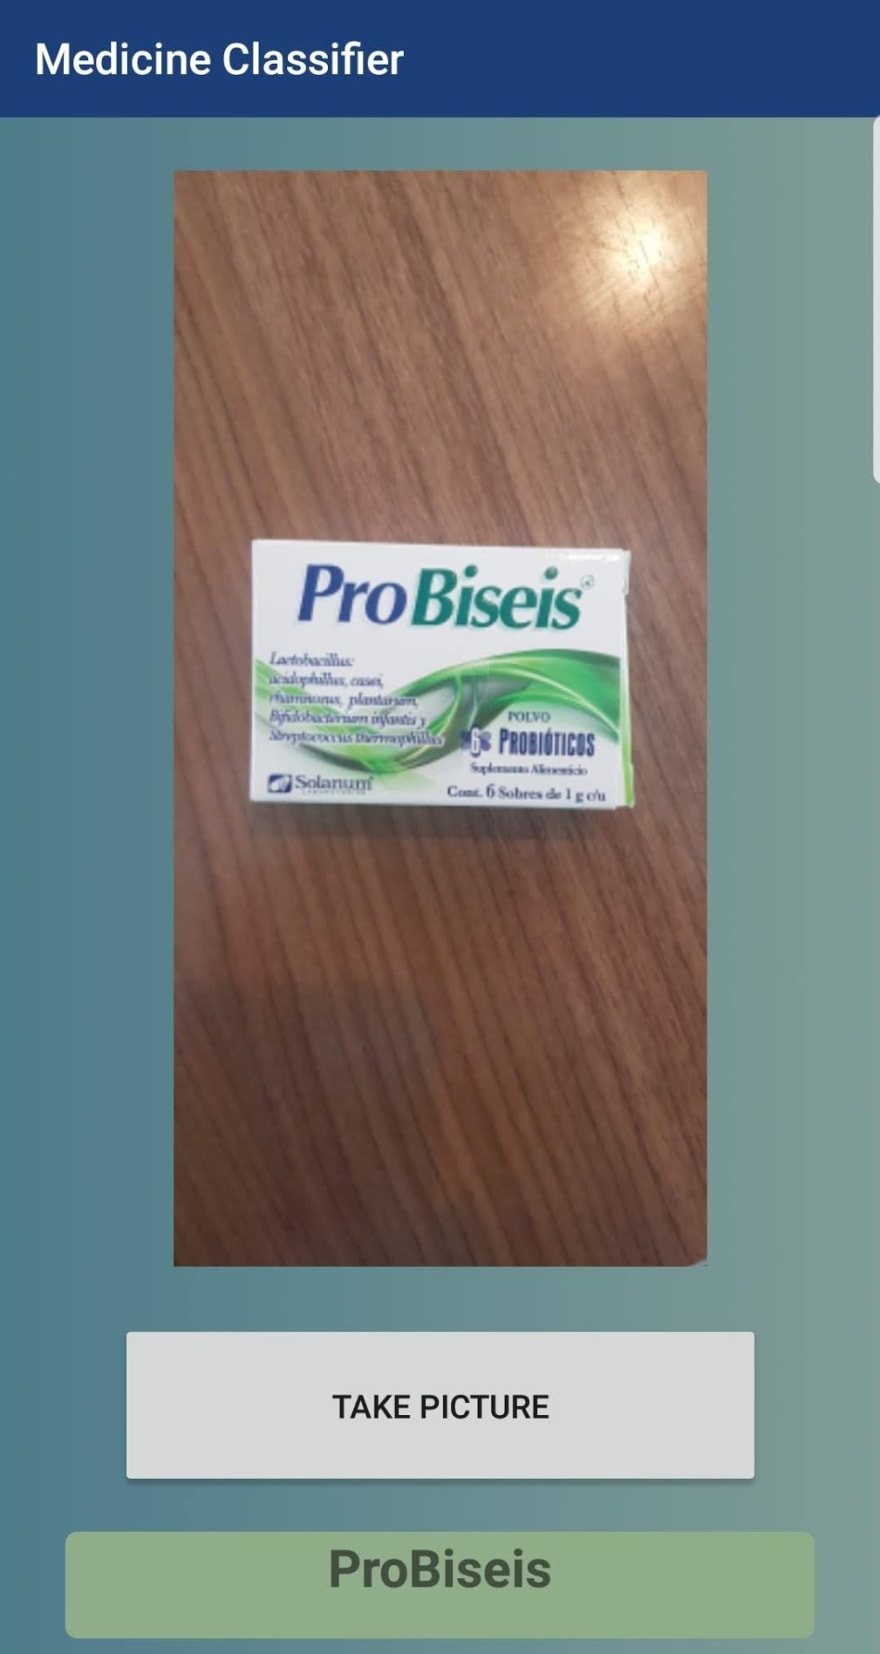
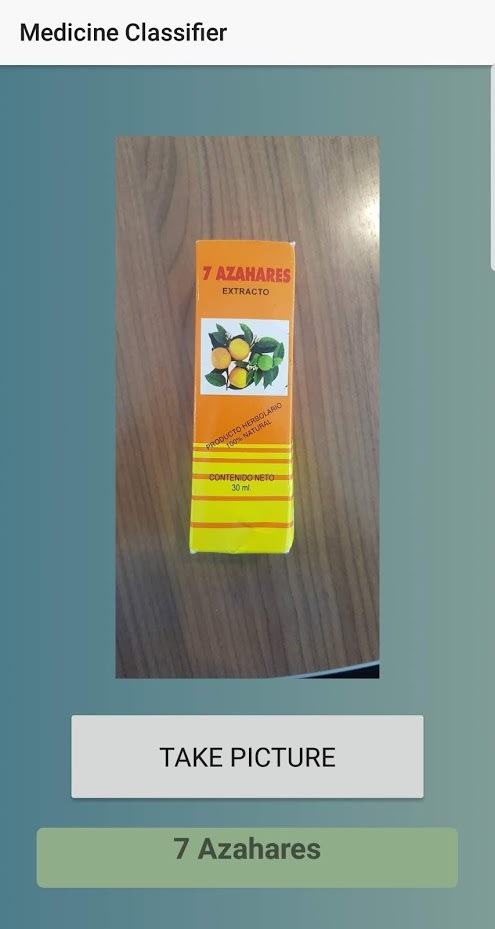
The UI will allow you to press a button and take a picture. After that it will display the image you took and the name of the medicine. Something like this:
Code
To code the app we will use the NativeScript's web based IDE. You can access it here or at play.nativescript.org
Before we start you need to do the following:
- Create an account
- Create a new Vue Project by clicking new at the top left
- Change the name of the project to something you like
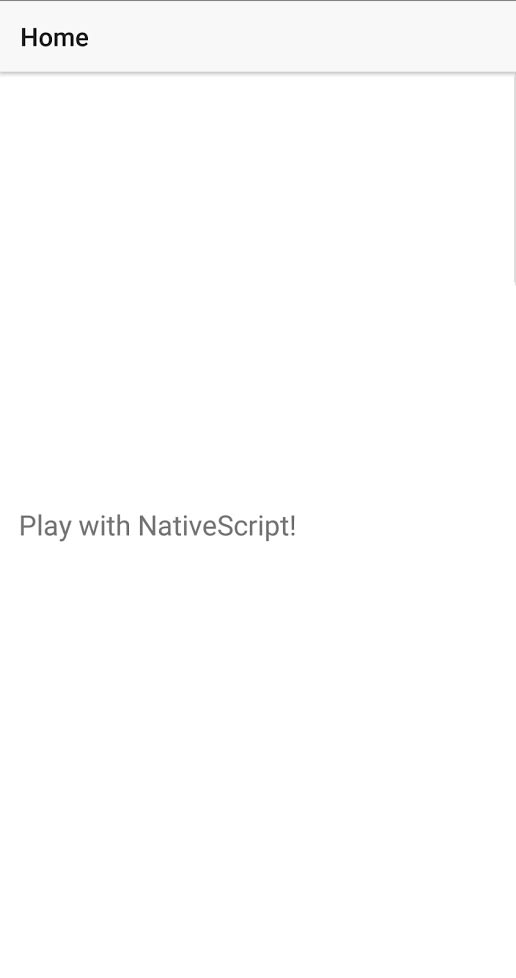
- Get rid of the unnecessary HTML, CSS and JS until it looks like this
HTML
We got rid of some labels we weren't going to use
<template>
    <Page class="page">
        <ActionBar title="Home" class="action-bar" />
        <StackLayout class="home-panel">
            <Label textWrap="true" text="Play with NativeScript!" />
        </StackLayout>
    </Page>
</template>
JS
We left the same
<script>
export default {
    data () {
        return {
        };
    },
}
</script>
CSS
We got rid of one class.
<style scoped>
.home-panel {
    vertical-align: center;
    font-size: 20;
    margin: 15;
}
</style>
To try the app while you press on QR code at the top and scan the code using the app that it tells you there to download. It should look like this.
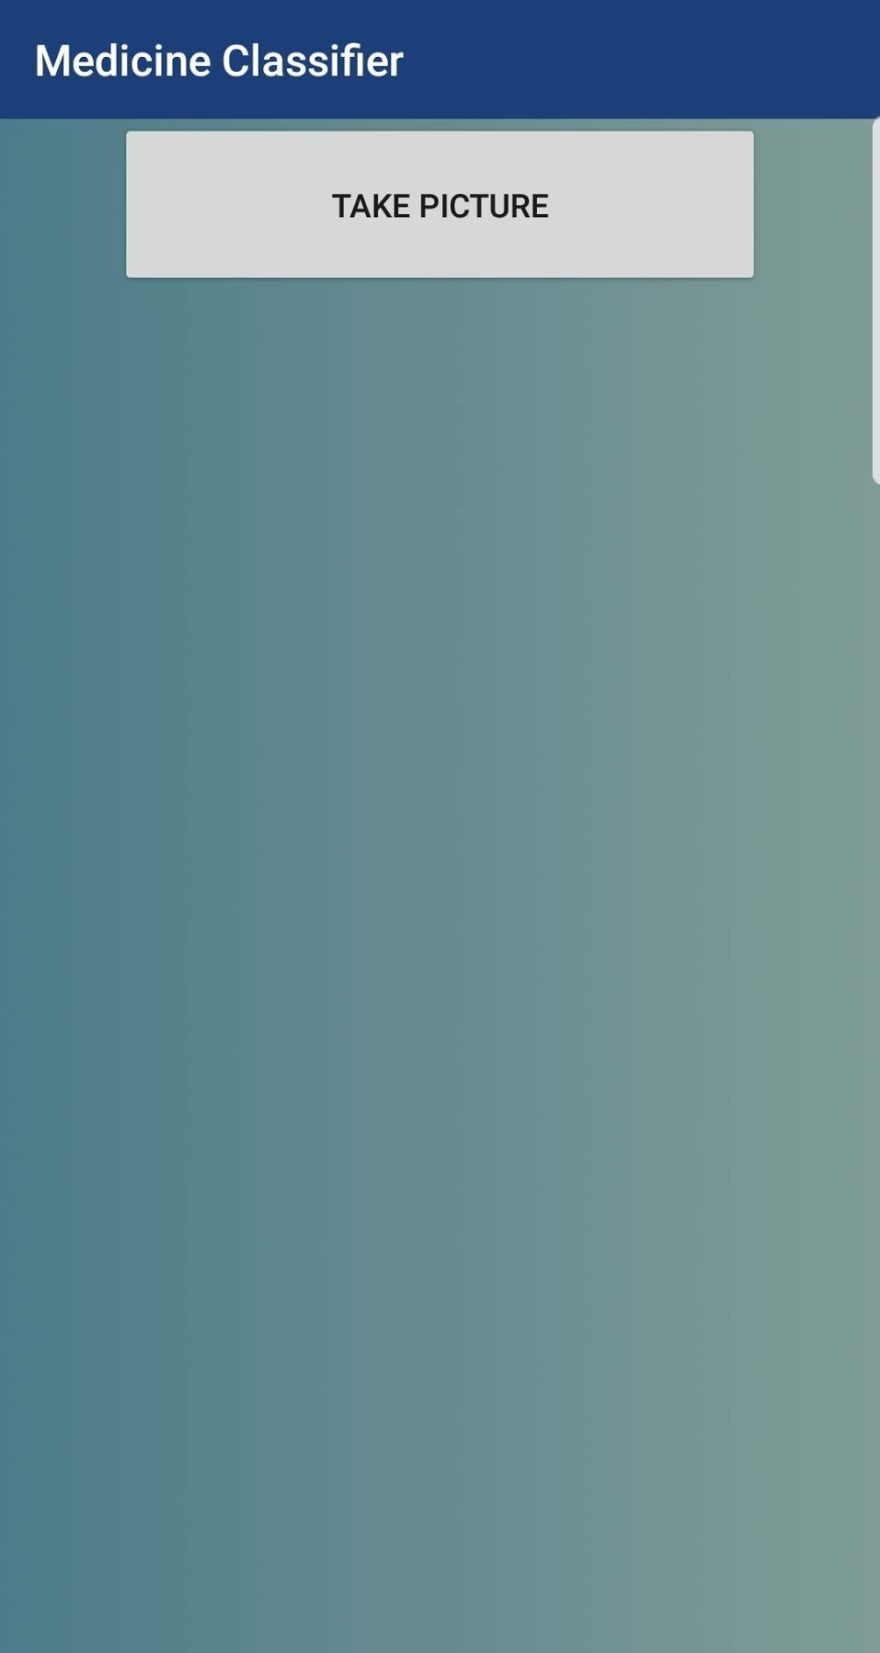
UI
First we need to remove the label we had and add the image, the button and a label to display the name of the medicine. This is pretty straightforward since NS has the needed elements pre made. You can look at the docs here. We will have placeholders in the elements for now. Also, I changed the title in the ActionBar to something relevant. The template should now look like this:
<template>
    <Page class="page">
        <ActionBar title="Medicine Classifier" class="action-bar" />
        <StackLayout class="home-panel">
            <Image class="mainImage" src="https://github.com/edlgg/NativeScript-Vue-MedicineClassifier/blob/master/postImages/example.jpg?raw=true" />
            <Button class="button" text="Take Picture" height="80" width="300" />
            <Label class="data" text="7 Azahares"
                height="50" width="350" backgroundColor="#8fad88" />
        </StackLayout>
    </Page>
</template>
We will also add some CSS so it doesn't look so ugly. The CSS I wont explain since its out of the scope of this post but it is very basic CSS.
<style lang="scss" scoped>
    .home-panel {
        vertical-align: center;
        font-size: 20;
        margin: 15;
    }

    .page {
        background-image: linear-gradient(to right, #4D7C8A, #7F9C96);
    }

    .actionBar {
        background-color: #1B4079;
        color: #ffffff;
    }

    .mainImage {
        margin: 200px;
        margin-bottom: 25px;
        margin-top: 25px;
        border-radius: 15px;
        padding: 5rem;
        object-fit: contain;
    }

    .button {
        margin-bottom: 50px;
    }


    .data {
        border-radius: 15px;
        font-size: 22;
        font-weight: bold;
        text-align: center;
    }
</style>
Result:
Data model
What we need to do right now is make the static data we have dynamic. To do that we need to create the variables we are going to use and bind them to the relevant elements. We basically just have 2 things that change the image and the predicted name. We will also add some v-if's so the elements only show if there is something set. Make sure to add the : in front of src and text since we are now binding it to a variable.
JS
data() {
    return {
        pictureFromCamera: "https://github.com/edlgg/NativeScript-Vue-MedicineClassifier/blob/master/postImages/example.jpg?raw=true",
        predictedName: "testName"
    };
}
Template
<StackLayout class="home-panel" orientation="vertical">
    <Image v-if="pictureFromCamera" class="mainImage" :src="pictureFromCamera" />
    <Button class="button" text="Take Picture" height="80" width="301" />
    <Label v-if="predictedName" class="data" :text="predictedName"
        height="50" width="350" backgroundColor="#8fad88" />
</StackLayout>
The app should look exactly the same as before but know we can change the values of or variables via a method call.
Set up the camera
This is were it starts to get interesting. We need to be able to take a picture and store it in our pictureFromCamera. We need to add methods to the Vue instance and add the takePicture method. Then, we need to add an @tap to the button so it runs the method when we press on it. We can also set the pictureFromCamera and predictedName to null so it doesn't load anything at the beginning.
IMPORTANT: For the camera to work you need to add the nativescript-camera package. To do that just click on the + sign at the top right of your file explorer. Then click add NPM package and search for 'nativescript-camera'. After that select latest version and click add. To include it you need to add it to the top of script as show below.
I used this article to learn how to use the camera.
JS
import * as camera from "../nativescript-camera";

export default {
        data() {
            return {
                pictureFromCamera: null,
                predictedName: null
            };
        },
        methods: {
            takePicture() {
                camera.requestPermissions();
                camera.takePicture({
                    width: 108,
                    height: 162,
                    keepAspectRatio: true
                }).then(picture => {
                        this.pictureFromCamera = picture;
                    });
                }
        }
    }
What this method does is take a picture and then save it on our data model. Feel free to change the width and height so it fits your phone.
Template
<Button class="button" text="Take Picture" height="80" width="301" @tap="takePicture" />
After that you should be able to take an image and display it.
Custom Vision API call
For this I'm assuming that you already set up your API here and you have the URL and Key mentioned before at the beginning of the article.
This is probably the most complicated part of the whole project. Since we are sending an image we can't use the normal http module that NS uses for basic http calls. Instead, we are going to use nativescript-background-http. Please add it in the same way we added the last package. Other then that we are going to user the imageSourceModule and fileSystemModule to save images and access our phone file system. We need to include them in the script.
JS
import * as camera from "../nativescript-camera";
import * as bghttp from "../nativescript-background-http";
const imageSourceModule = require("tns-core-modules/image-source");
const fileSystemModule = require("tns-core-modules/file-system");

export default {
        ...
    }
To be able to send the picture to the API the way I did it was to save the image in the device and then made a bghttp call using the path of the saved image. The docs show you here how to save an image to the device and you can learn here how to use the bghttp module. Remember to set your URL and Key.
This is the modified method:
takePicture() {
                camera.requestPermissions();
                camera
                    .takePicture({
                        width: 108,
                        height: 162,
                        keepAspectRatio: true
                    })
                    .then(picture => {
                        this.pictureFromCamera = picture;
                        const source = new imageSourceModule.ImageSource();
                        source.fromAsset(picture).then(imageSource => {
                            const folder = fileSystemModule.knownFolders.documents().path;
                            const fileName = "picture.png";
                            const path = fileSystemModule.path.join(folder,fileName);
                            const picsaved = imageSource.saveToFile(path, "png");

                            if (picsaved) {
                                console.log("Saved");
                                var session = bghttp.session(
                                    "image-upload");
                                var request = {
                                    url: "YOUR-URL",
                                    method: "POST",
                                    headers: {
                                        "Content-Type": "application/octet-stream",
                                        "Prediction-Key": "YOUR-KEY"
                                    }
                                };
                                try {
                                    var task = session.uploadFile(path, request);
                                } catch (err) {
                                    console.log(err);
                                }
                                task.on("responded", data => {
                                    const result = JSON.parse(data.data).predictions[0].tagName;
                                    this.predictedName = result;
                                });
                            } else {
                                console.log("Failed");
                            }
                        });
                    })
                    .catch(err => {
                        console.log("Error: " + err.message);
                    })
            }
Take a couple of minutes to go trough the function. It is nothing complicated. It just saves the image and then makes an http call with the saved image. At the end it reads the prediction from the response and sets it in our model.
Conclusion
The app is now finished. You should be able to take a picture with your phone and call the Custom Vision API. I hope you liked the article and if you think there is anything I should add, remove or change please let me know in the comments.
Thank you!


Top comments (0)