The key ingredients to spice up your terminal are Oh My Zsh, Oh My Posh, and Fig
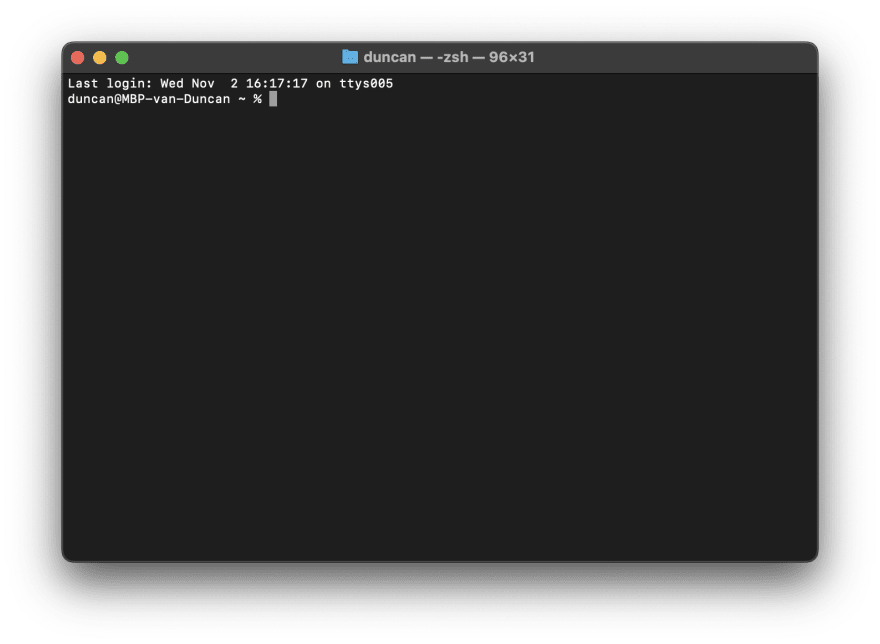
The macOS operating system comes preinstalled with a default Terminal app. As a software engineer, data scientist or if you like geeking around, there's a big chance that you will be spending a lot of time in the terminal running a variety of commands. The terminal with its traditional white text on a black screen is quite bland and uninspiring. It doesn't invite you to stay in that window in order to get more stuff done.
Upgrading your terminal experience can be done for productivity reasons. You can install a bunch of shortcuts, plugins, and helpers to speed up your everyday processes. Making your terminal more powerful can of course also be done for aesthetic reasons. It will definitely become a more delightful experience every time you use the terminal.
I will outline a five-step process to make your Terminal experience more powerful. Using your terminal will never be the same again after you've seen what's possible. Let's get started!
1. Replace the Mac Terminal 🕺
The default Terminal app for Mac leaves a lot to be desired. Other terminal emulators of competitors provide many extra features that are indispensable for the everyday Terminal user like split pane view, mouseless copy, and a paste history just to name a few.
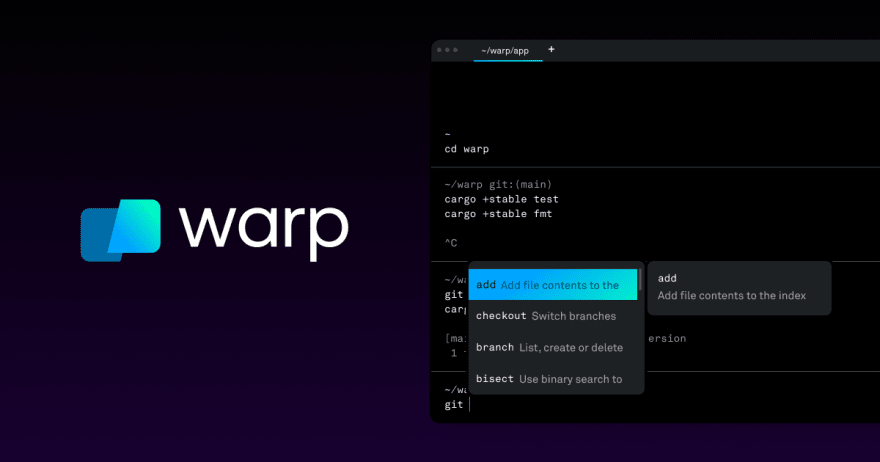
To get started, I would recommend using iTerm and seeing whether this Terminal emulator fits your needs. Visually, it is the most similar to the built-in Terminal app with added features on top. If you're more adventurous you can try out Warp or Hyper. They offer more cutting-edge features like AI-assisted command search and more editor-like command input.
Before installing iTerm, we need to install Homebrew first. Homebrew is a package manager for Mac and allows you to install packages by just executing them in your terminal application. If you haven't installed Homebrew yet, please install this first by running the following in your terminal:
/bin/bash -c "$(curl -fsSL https://raw.githubusercontent.com/Homebrew/install/HEAD/install.sh)"
iTerm can now be installed with brew by running the following command:
brew install --cask iterm2
2. Install a Zsh configuration and plugins 📦
Zsh is the default shell that comes pre-installed on all macOS systems since macOS Catalina. Zsh works as an interpreter that translates your terminal commands into instructions for your operating system to run. Zsh on itself isn't very powerful. To improve this, we will install Oh My Zsh which is a framework for managing your Zsh configuration. This will allow you to install plugins for your Zsh configuration.
To install Oh My Zsh, simply open up your terminal emulator of choice and run the following command:
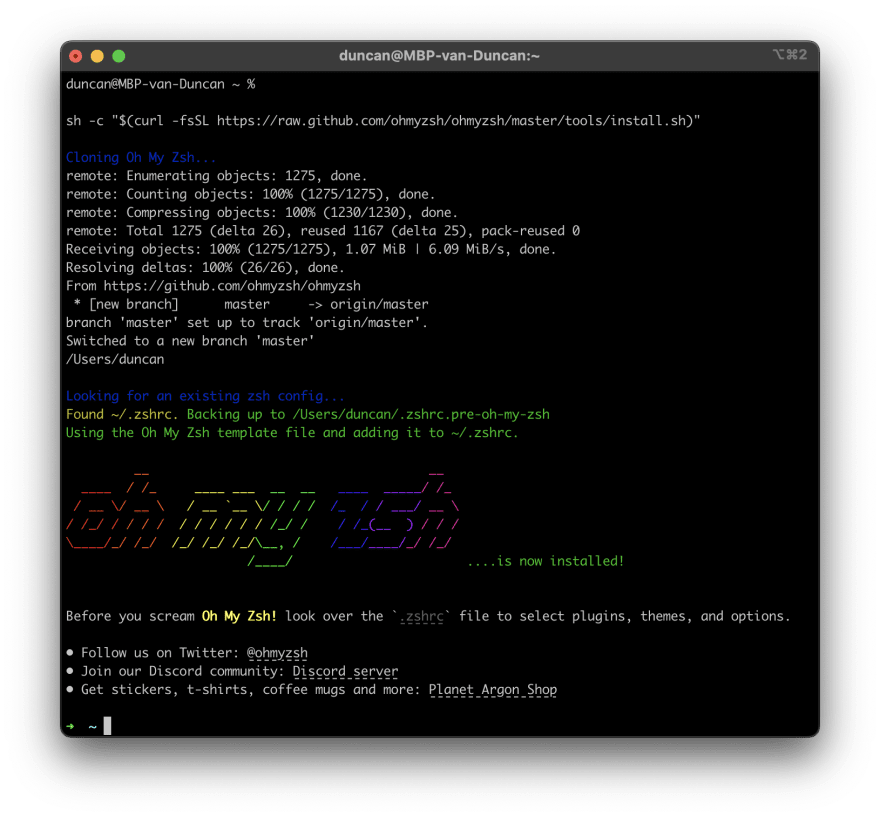
sh -c "$(curl -fsSL https://raw.github.com/ohmyzsh/ohmyzsh/master/tools/install.sh)"
After you've installed Oh My Zsh, the output is going to look like this:
Oh My Zsh comes pre-installed with the git plugin. This gives you a bunch of git aliases that you can use from your terminal. A handy few are:
gst = git status
gaa = git add --all
gl  = git pull
For the complete list, please check out the git plugin page for Oh My Zsh.
To install other plugins for your Zsh configuration, open the following file in your editor of choice: ~/.zshrc. The currently installed plugins are denoted by the following line:
plugins=(git)
The exhaustive list of all possible plugins can be found on this Oh My Zsh plugins page. Do you want to have aliases for 1Password, Spotify, Visual Studio Code, or one for the many engineering scripts that you run? Someone probably created a plugin for that. I would recommend installing the z plugin, which allows you to quickly navigate to a directory you have visited before with minimal keystrokes. Adding extra plugins to your zsh configuration can be done by simply editing the plugin line of the .zshrc file like this:
plugins=(git z brew)
After saving your changes, make sure to restart your terminal emulator or run the following command to make use of your latest changes:
source ~/.zshrc
3. Install a theming engine 💅
This is probably the most exciting step: theming your terminal emulator! The theming engine that we're going to use is Oh My Posh. Oh My Posh has a lot of preconfigured themes and colors for your terminal prompt and makes it very easy to install and configure.
3.1 Oh My Posh
You can install the Oh My Posh theming engine with Homebrew by executing the following command:
brew install jandedobbeleer/oh-my-posh/oh-my-posh
3.2 Fonts
Oh My Posh recommends installing Nerd Fonts. These fonts are patched to include beautiful icons which will be displayed in your terminal prompt. Fonts can be installed with the built-in Oh My Posh command.
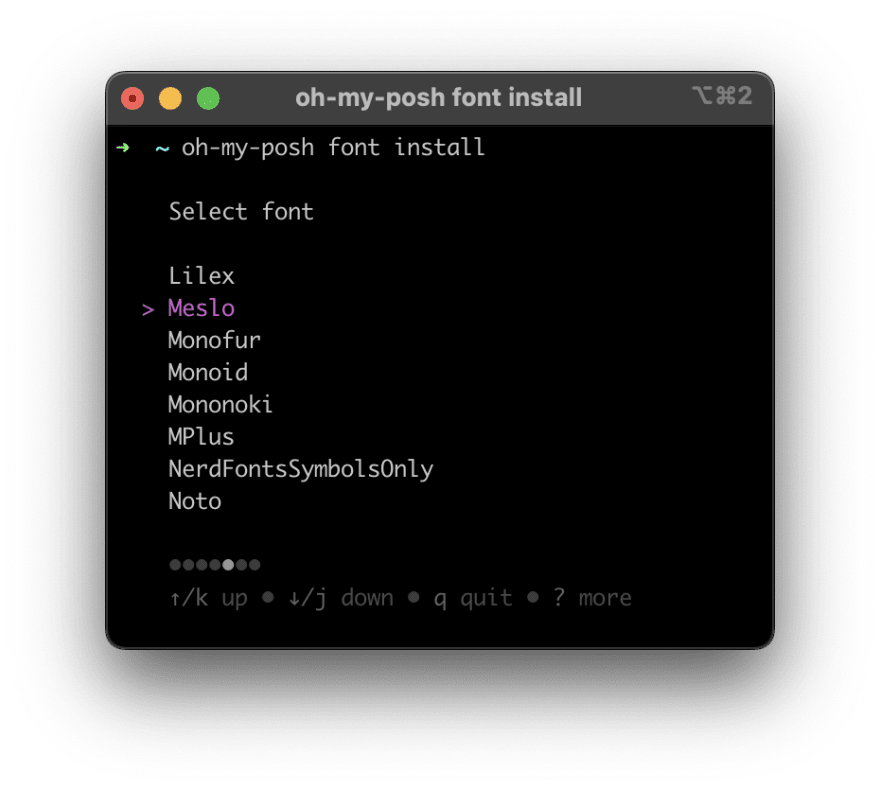
oh-my-posh font install
After running this command, you will be prompted to select a specific font. We will choose Meslo, since Oh My Posh recommends this font for its theming engine.
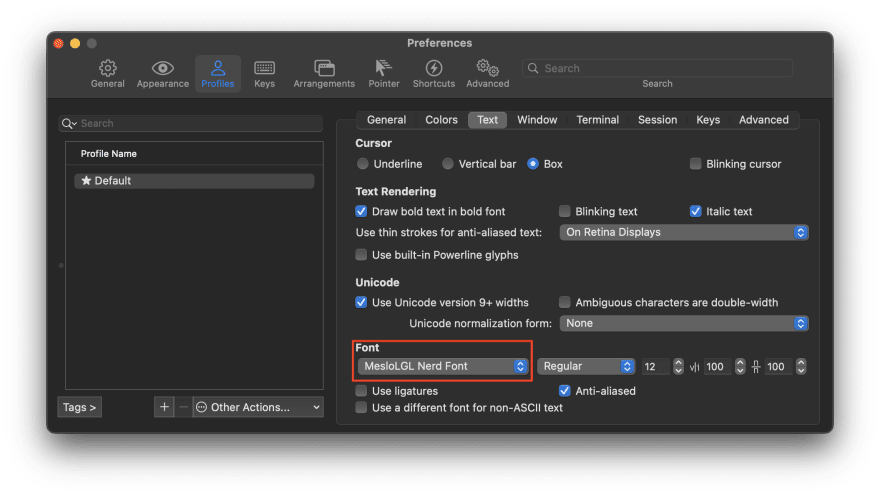
After having installed the Meslo font, you will probably need to configure this font in your terminal application of choice. Setting this up in iTerm settings will look approximately like this:
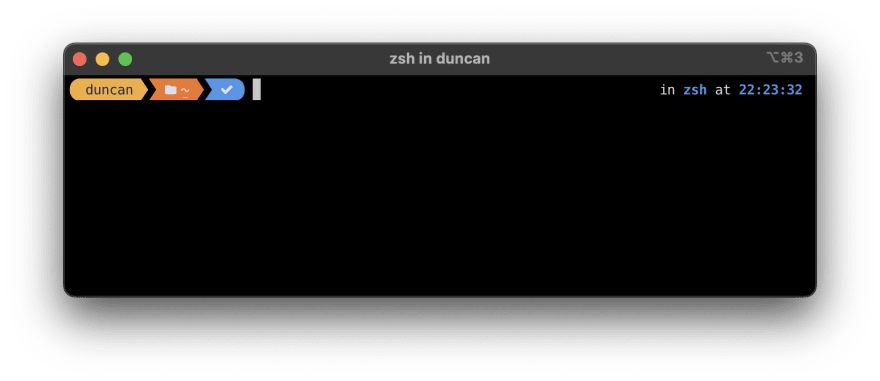
If all is set properly, your terminal should now look like this:
3.3 Optional: choose a different theme
You don't have to use the theme that Oh My Posh comes preinstalled with. That's the beauty of it. You can choose any of the predefined themes that are available on this page. To configure the theme look for the following line in your .zshrc file:
eval "$(oh-my-posh init zsh)"
When you've settled on a specific theme like M365Princess, you can change the Oh My Posh command in .zshrc file into:
eval "$(oh-my-posh init zsh --config $(brew --prefix oh-my-posh)/themes/M365Princess.omp.json)"
Don't forget to rerun the command source ~/.zshrc to activate your changes. 🚀
4. Beautify your ls command 👩🎤
When you use your terminal, you list the content of your directory very frequently. The list that is outputted to your screen is very unoriginal and not easy to scan.
Wouldn't it be nice if the output of your ls command could be more distinguishable and easier to scan? Exa to the rescue! Exa is a replacement for the boring ls command and improves it with color, icons, and additional metadata. To install exa, run the following command in your terminal:
brew install exa
Exa doesn't actually replace the ls command in your terminal. To run exa, you will have to give it a bunch of flags to denote what configuration you want your ls command to contain. We can make aliases to replace the standard ls command with exa so that you don't have to type all the flags every time you want to list the content of a directory. We will add 3 aliases for the commonly used ls commands: ls, ll, and la. Open up your .zshrc file and add the following lines:
alias ls='exa --icons --group-directories-first'
alias ll='exa -l --icons --no-user --group-directories-first  --time-style long-iso'
alias la='exa -la --icons --no-user --group-directories-first  --time-style long-iso'
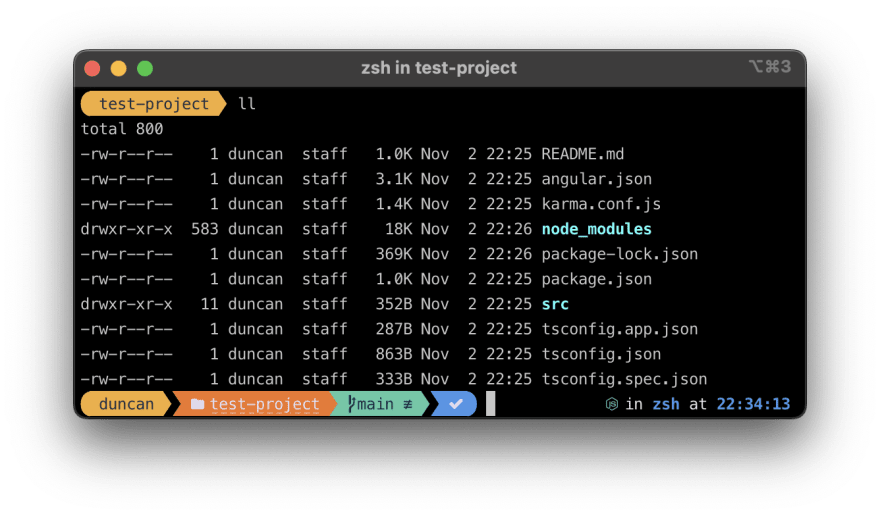
Rerun source ~/.zshrc and use the exa command anywhere and be delighted with the output! 🤩

5. Finishing touches: autocomplete magic 🦄
What is a terminal without some autocomplete magic? The intellisense for code completion you get with modern IDEs has become indispensable in a software developer's job. Why can't this intellisense be extended to the terminal? Well, that's possible with Fig! Fig is an extension that adds some autocomplete greatness to the most commonly used terminal emulators. It works smoothly to autocomplete many commands you can think of, like cdand git . To install Fig run the following command in your terminal:
brew install fig
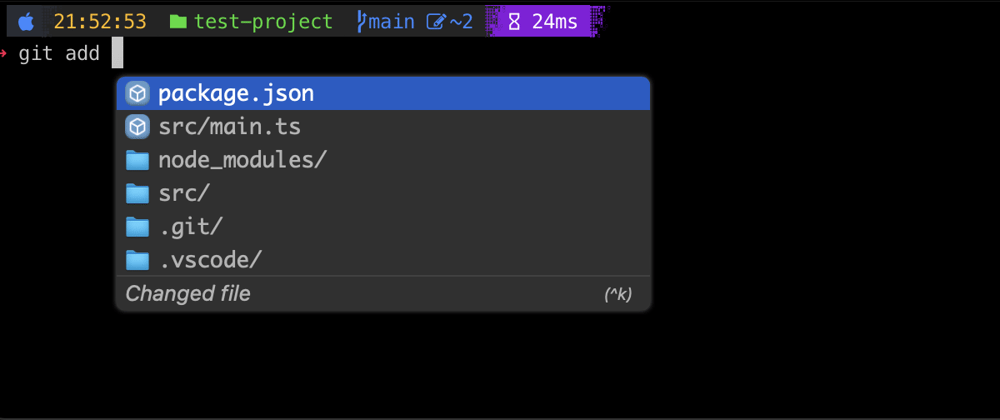
After installing Fig, open the application from your Application folder and follow the startup process to configure it correctly. When all it's done, you should be left with a terminal emulator that is a feast for your eyes. 🤩 Try using the git add command in a project to see how Fig suggests your unstaged files in the suggestion box.

Takeaway
Getting your terminal application to look sharp shouldn't be a difficult and daunting task. Almost all of this can be done quickly by just executing a bunch of commands in your terminal to get the desired results. It's a very small time investment that pays dividends. It may not make you more productive per se, but it will certainly make you feel like a boss using it! Happing coding! 😎
If the content was helpful, feel free to support me here:


Oldest comments (15)
Sorry, but not for me ... the default terminal with old-fashioned
bashand boring green on black colors works just fine for me - all of this tinkering (which I've done a lot in the past, way too much in fact) takes tons of time, there's only 24 hours in a day ... but kudos for this very neat and thorough write-up.+1 exactly for me, i tried zsh when Catalina arrived, but returned back to bash immediately
Point for me is - "Don't fix it if it ain't broken" ...
When I don't have a clearly defined problem that needs solving, then I don't want to waste time by changing my whole routine, and spending effort learning new tools.
I mean, I can almost certainly predict that a change like this is gonna be a hassle, that stuff (scripts) will likely break (which then need debugging and fixing) - so much for my productivity.
I don't need an all-singing all-dancing brightly colored hipster terminal, if I can't explain what problems it's going to solve for me - it just ain't worth it.
Well, i can admit only colouring, but chose starship and colorscript for bash or you can use Warp terminal, love it
Depends on what you're doing. Setting up OhMyZsh with Powerlevel10k takes less than 5 minutes and everything works perfectly. I never had to debug anything, and it's quite useful to see on which branch you are, what version of runtime you're using and how long some operation took, right there from terminal. It makes me way faster than I would be on a plain old bash.
Most of the things that you've mentioned (on which branch am I, what is my node.js version, etc) are things that I already have ... if it ain't broken, don't fix it. But if you start from scratch, yeah then it probably makes a lot of sense to start with zsh and not with bash.
But you still need to do some setup, right? Plain bash doesn’t contain any of these things by default.
Yeah but the point is I did that already, long time ago ;)
Like I said, it's different when you start fresh, but I already had my stuff working ... "migrating" to something else makes a lot less sense then.
Great post. I personally use a combination of iTerm2, oh my zsh and powerlevel10k, but want to try out warp after hearing about it so much. Also check out neofetch if you want to fetch your system data in the terminal in a cooler way.
+1 for powerlevel10k
try fish shell and oh my fish
also u will get good experience in terminal
I use OhMyPosh with my OhMyFish setup. It works great together.
You might like this one nushell.sh/
Or this one cogno.rocks
super helpful, thank you! gonna give warp a shot today