
Scenario
In case you have locked UFW (Uncomplicated Firewall) on your Amazon EC2 instance and then logged out. When you try to connect to this EC2 instance via PuTTY or just via SSH, it does not work because you forgot to add SSH (port 22) to the UFW rules.
This article will help you fix this problem and continue to use your volume.
Introduction
- To check the current status and output the UFW rules use the command
sudo ufw status verbose - To enable UFW, use the following command:
sudo ufw enable - To allow incoming SSH connections
sudo ufw allow ssh - To deny incoming SSH connections
sudo ufw deny ssh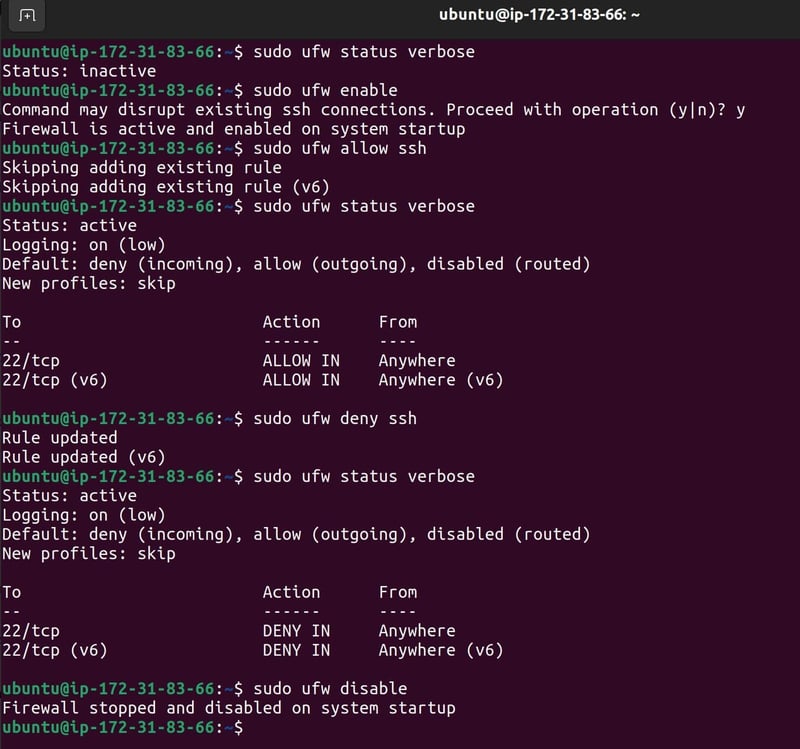 Accidentally close the SSH port.
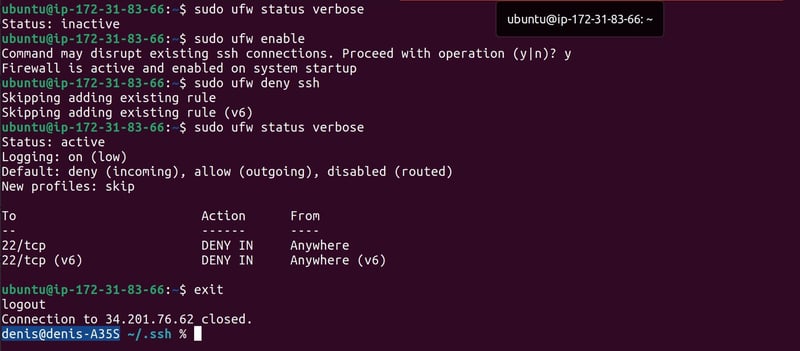 Check the result.

Solution
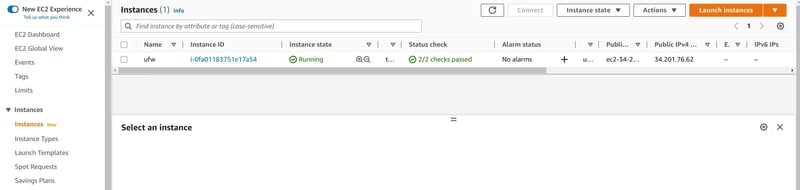
We need another running EC2 instance to fix the broken EC2 instance.

- Stop the broken EC2 instance and detach the volume.

Note that if you do not have an Elastic IP, when you stop EC2 instance, the IP address will change
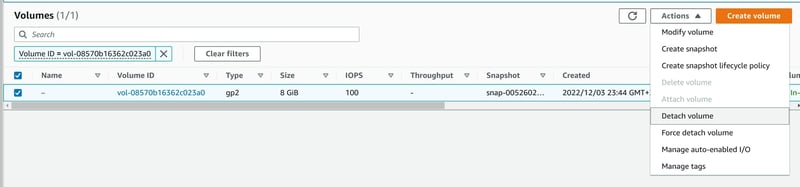
Detach the volume of EC2 instance.
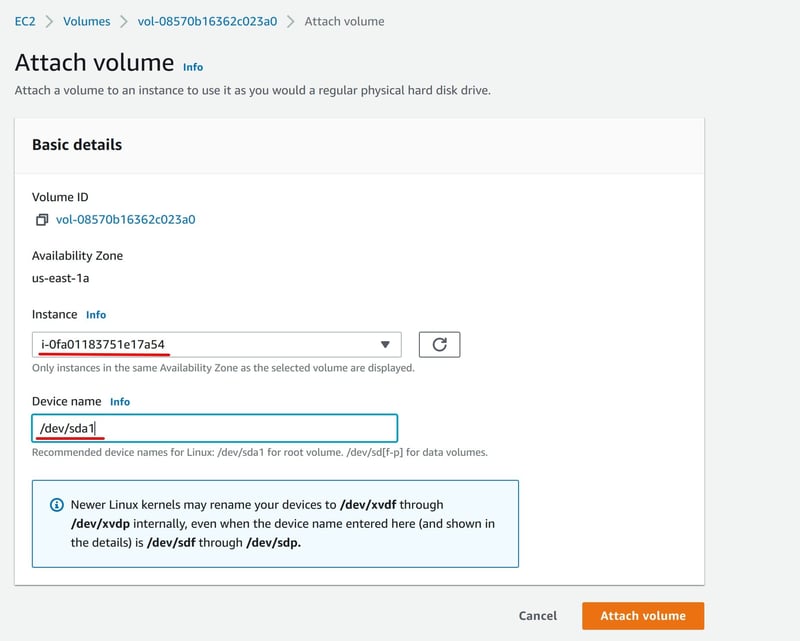
- Connect the volume from the broken EC2 to another EC2 instance.
It is important that your second machine is in the same Availability zone.


After you can see list of volumes:

- Now connect to the new EC2 instance via ssh. Connect via ssh to the second instance: ufw 2.
To display information about the disks and the partitions created on them, use the command: sudo lsblk

Create a folder called fixec2 (it can be any name you prefer).
cd /mnt && mkdir fixec2
Mount the volume to the fixec2 folder using the following command:
sudo mount /dev/xvdf1 ./fixec2 && cd fixec2
Note: newer Linux kernels may rename your device to /dev/xvdf (which was the case for me)

- After a successful mount, go to fixec2/etc/ufw and edit ufw.conf.
- Set it to ENABLED=no and save the changes.
- Unmount the volume using the following command:
sudo umount/dev/xvdf - Go back to the AWS console, detach the volume and attach it to the broken EC2 instance.
- Run this broken EC2 instance, now it is no longer broken, and you will be able to use SSH on that instance as before.
During the SSH security setup we may accidentally or intentionally block SSH for an instance. And that wouldn't be a reason to re-migrate all the files to a new instance. With a little bit of diligence, you will be fine.


Latest comments (0)