
What is Parcel Js?
Parcel Js is a code compiler for our website or application that gathers all our code and generates a new collection of files usually in a dist folder. With Parcel Js we can minimize our JavaScript, CSS and HTML, resize and optimize images, content hashing, automatic code splitting and much more.
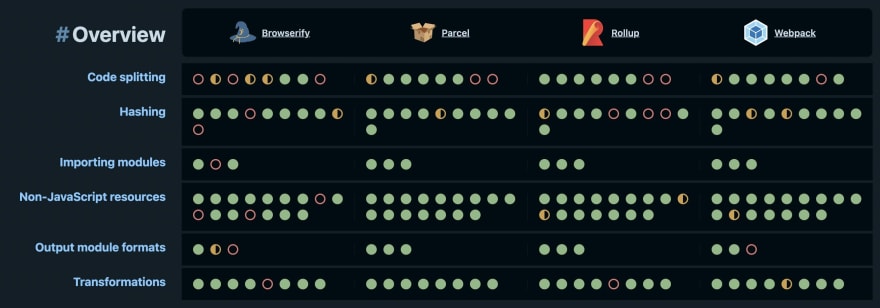
Parcel vs Webpack, Rollup, and Browserfly
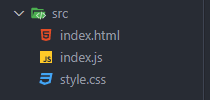
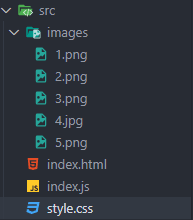
1 Initial folder structure
2 Parcel Installation
npm i parcel --save-dev
- We are using the --save-dev or --D flag to install it as a development dependency, since it is a developer tool.
npm init -y
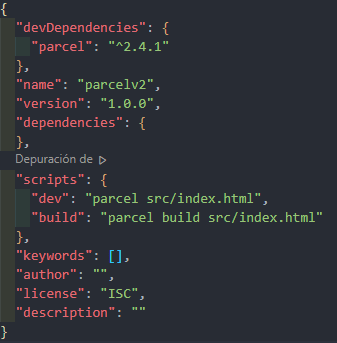
- Configuration of the command to start the compilation process. We add to package.json
3. Code Preparation
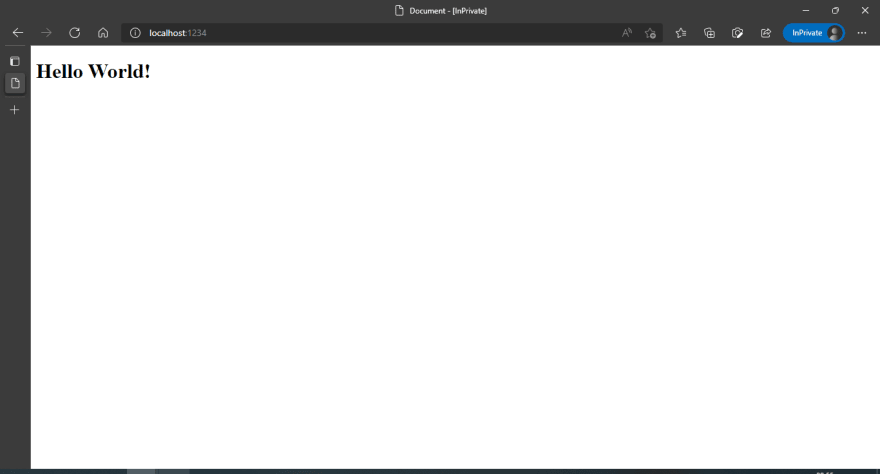
Our entry point is going to be the index.html file, since it will be the first file to be read by the browser. In the same way, we edit the src/index.html file and place a base HTML by typing ! and pressing TAB, we also add an h1 inside the body:

We link the .js and .css files, adding the corresponding HTML tags, just before the . Our
would look something like this: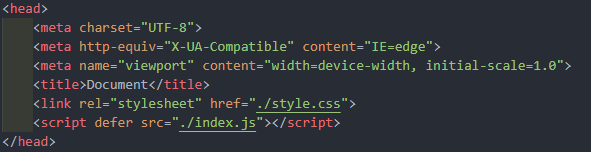
3.1 Start your build process
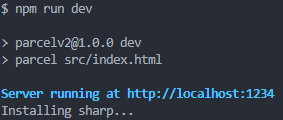
Run the build process with npm run dev or any command configured in the package.json file.
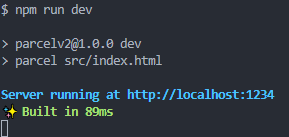
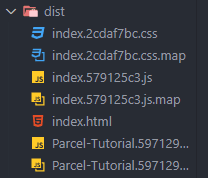
We will finally get something like this:
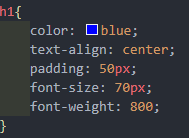
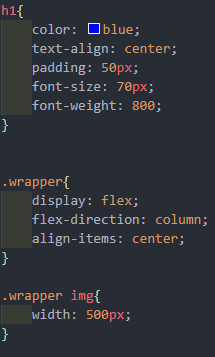
We add some styling
And we are all set to build our first site with Parcel JS
4. How to optimize images with Parcel Js?
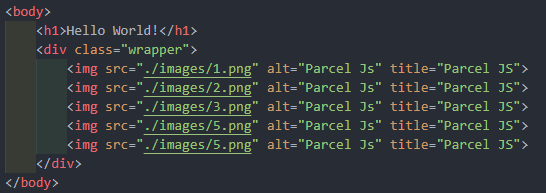
We add images in our index.html, along with some more styles
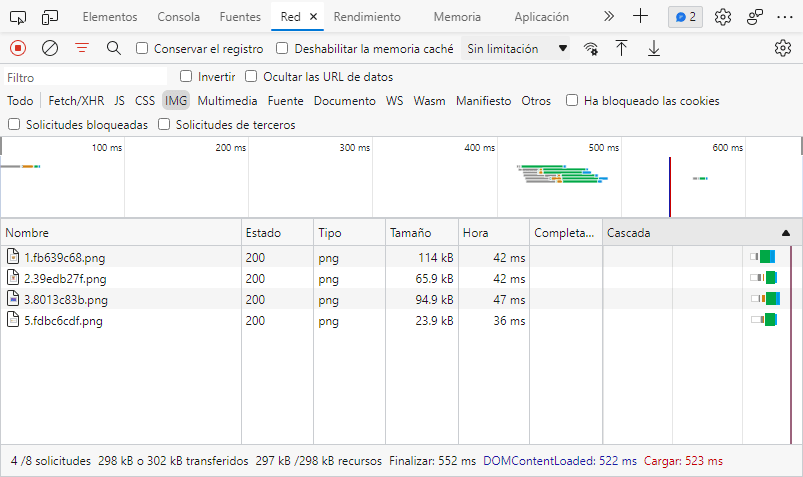
We will get this

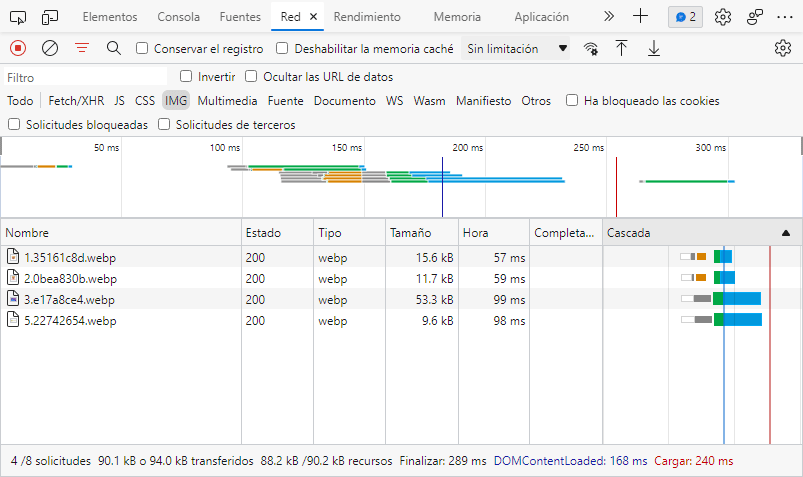
In the developer tool we can see that one of our images weighs 114kb
If we want to optimize our website we need to convert that image in a format like webp, then we do this
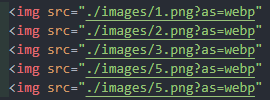
We make a change in the src attribute of the images adding "?as=webp".
Automatically a new package will be installed
Finally we can see a big change in the size of the images we go from 114kb in one of them to no more than 53kb.
But this is not only there, if we know the size we want to use in the images we can add more parameters to the above as "&width=300&height=300" with this the images will now have the dimensions that we pass and we will get a lower weight.


And if we go further, and we want to lazyload?
Well known packages like Lozad.js or LazyLoad will help us. In this case we will use Lozad.js we install it: npm install --save lozad.
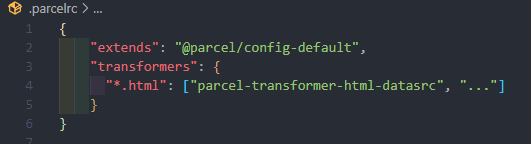
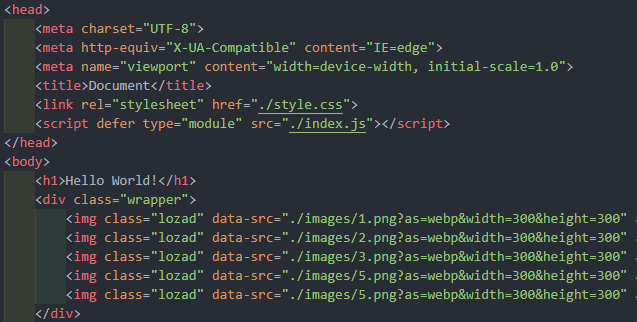
Because we need to change the src attribute to data-src, we need to install one more thing: npm i -D parcel-transformer-html-datasrc, this needs to add an additional configuration, we create the .parcelrc file in the root of our project adding what is shown below
Since now if we will add some javascript to initialize lozad.js, we must add the attribute module="true" in our script inside head.
Lozad also needs a class in our images lozad and as already said change the src attribute to data-src.
And so we have lazyload with our images optimized using Parcel JS.
If you made it this far, thanks for reading. I have added a repository with everything done in this post. Repository


Latest comments (0)