I wanted to add a transparent background image to each page of an app to create a visual through-line. I found this open source image on Pixabay
that perfectly captured the desired energy for the app:

I decided to add it to the bottom of each page as a minimized, repeating image. However, the original image at full opacity drew the user's eye and distracted from page content. Reducing the opacity and increasing transparency would improve the user experience.
Adding Background Image to App
First, I added the image as a background-image to the root html tag: body. My CSS file now looked like:
body {
    background-image: url("./images/cleaning-1294867_1280.png");
}
Opacity via CSS
Next, I attempted to add opacity with the CSS opacity tag:
body {
    background-image: url("./images/cleaning-1294867_1280.png");
    opacity: 0.3;
}
Unfortunately, the CSS opacity tag applies to ALL of its child elements as well. The background image is applied to body, the parent of the entire app, which means simply adding opacity onto body forced each element in the app to render with matching opacity. This was very hard to read:
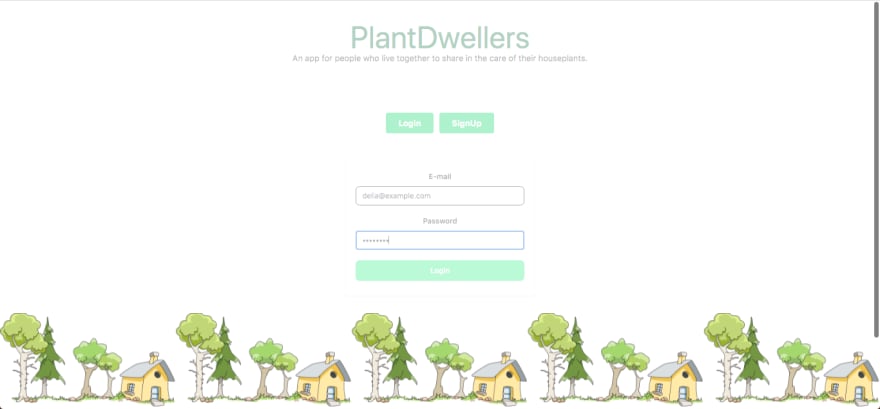
There are a number of workarounds to this issue, notably using pseudo elements. As I wanted a statically transparent image, I decided to edit the image itself to my desired transparency and load the edited image into the app.
GIMP to the Rescue!
GIMP is a free and open source photo editing service that you can download to your desktop.
Open your image up in GIMP. To edit transparency and opacity for a full image follow the steps below. (To select only part of the image you can try this tutorial)
Step 1: click Layer → Transparency → Color to Alpha

Step 2: This will open up a window where you can edit the transparency and opacity of the image
I changed the transparency to 0.300 and maintained opacity at 1.000, but you can play around with these to find the best combination. Make sure to have "preview" clicked so you can see your changes before applying them.
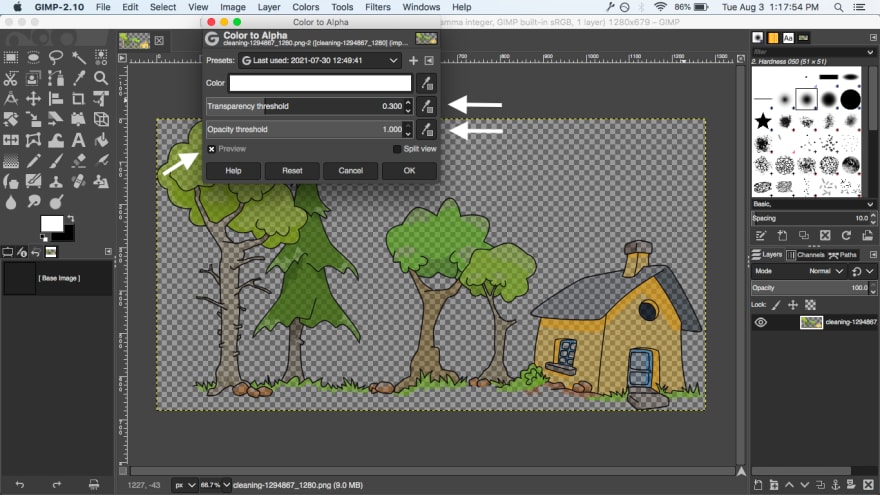
When you're happy with your image click "ok" to apply changes.
Step 3: Finally, export your image in the appropriate file type. I chose .png.
(Simply clicking "save" in GIMP will save the image as an .xcf file.)

Final Details: Location, Size, Repeat
Now import your newly edited image into your project and update the background-image url. (Be sure to remove the opacity tag if you added it.)
You can add any additional background styling you like. In my case I implemented:
-
background-size: 20% auto;- this sets the background image width at 20% of the viewport and height to auto in proportion to the width -
background-repeat: repeat-x;- repeats background horizontally -
background-position: bottom 5px center;- positions the background with an offset of 5px from the bottom of the screen -
background-attachment: fixed;- fixes background at it's designated position in the viewport, regardless of scroll
body {
    background-image: url("./images/tree-home-transparent.png");
    background-repeat: repeat-x;
    background-position: bottom 5px center;
    background-size: 20% auto;
    background-attachment: fixed;
  }
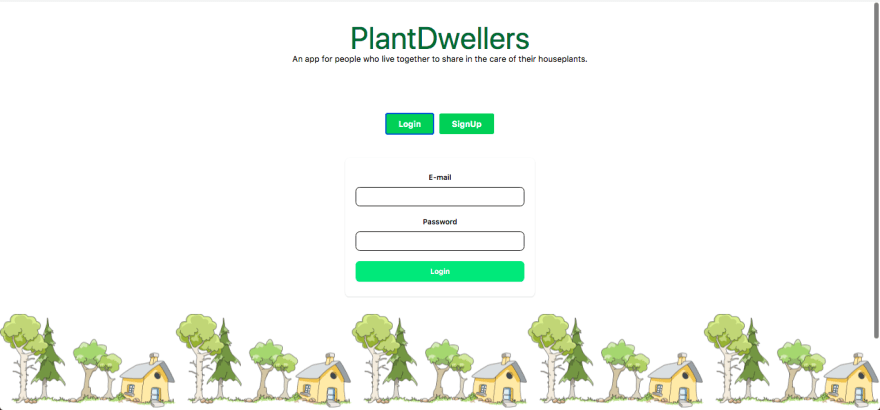
The Final Product:


Top comments (0)