I recently created a contact form for my portfolio website using Netlify and it took me some time to set it up. I wrote this post to help other poor souls out there trying to do the same.
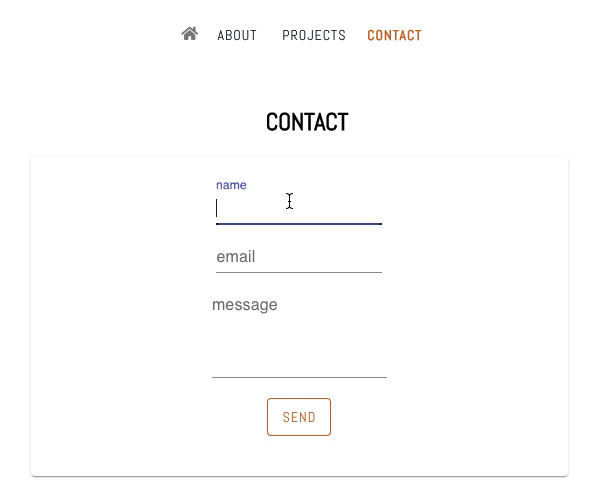
Here's how it looks:
Note: I used these two extremely helpful articles to guide me through: this one and this.
Step 1: Add the form with Netlify attributes
- Create a simple contact form (I used Material-UI here)
- IMPORTANT: Add Netlify built-in features to process form submissions. Look at
name,methodanddata-netlifyattributes inside theformelement - Also, Netlify recommends adding a hidden input inside the form. The important attribute here is
value, which should be the same as the form’s name: contact.
<Container maxWidth='sm'>
 <h2>CONTACT</h2>
   <Card>
     <form
       name="contact"
       method="POST"
       data-netlify="true"
      >
     <input type="hidden" name="form-name" value="contact" />
        <TextField id="standard-basic" label="name" name="name" />
        <TextField id="standard-basic" label="email" name="email" />
        <TextField multiline id="standard-basic" label="message" name="message" />
        <Button type="submit">Send</Button>
       </form>
      </Card>
   </Container>
Step 2: Add another form to your index.html file
- Netlify recommends adding the following block of code to your
index.htmlfile, right after the opening<body>tag in order to allow Netlify to process the form. - The
actionattribute here would be used for redirecting. More on this on the next step.
<!-- A little help for the Netlify post-processing bots -->
<form name="contact" netlify netlify-honeypot="bot-field" action='/' hidden>
  <input type="text" name="name" />
  <input type="email" name="email" />
  <textarea name="message"></textarea>
</form>
Step 3: Add a success message and avoid redirecting
- What's the goal here? To help people stay on your website.
- Add the following code, including
useEffectanduseStateas well as the message under the<h2>tag - IMPORTANT: Make sure that the
actionattribute inside theformelement takes the user to the right path. In my case it's"/contact/?success=true"contact here is my route and the name of my component.
Note: most of this code was taken from one of the articles I mentioned in the introduction.
//Final code
export default function Contact() {
  const [success, setSuccess] = useState(false);

  useEffect(() => {
    if ( window.location.search.includes('success=true') ) {
      setSuccess(true);
    }
  }, []);

  return (
    <Container maxWidth="sm">
      <h2>CONTACT</h2>
      {success && (
          <p style={{ color: "green" }}>Thanks for your message! </p>
        )}
      <Card>
        <form
            name="contact"
            method="POST"
            action="/contact/?success=true"
            data-netlify="true"
            >
        <input type="hidden" name="form-name" value="contact" />
          <TextField id="standard-basic" label="name" name="name" /> <br />
          <TextField id="standard-basic" label="email" name="email" /> <br />
          <TextField
            multiline
            id="standard-multiline-static"
            label="message"
            name="message"
          />
          <br />
          <div>
            <Button type="submit">Send</Button>
          </div>
        </form>
      </Card>
    </Container>
  );
}
Step 4: Finally, check your form submissions
- Assuming that you've already deployed your site, check your form submissions on your Netlify project dashboard
- It should look something like this:

That's it. Hopefully it worked as expected. If not, just let me know and we'll find a way 😉


Top comments (10)
Very timely - thank you.
I assume the TextField React components map almost directly to
<input type="text">fields?I'm looking to use Netlify without React.
Hi Mike, that's right. TextFields in Material UI are basically equivalent to input elements (and type="text") 👌🏽
This is so helpful Deborah ☺️☺️
How would I get this to work when the form is on my homepage? The form submits but the page reloads and takes the viewport back up to the top of the page. I've tried putting the whole url before the "?success=true" and i've tried with just the / before it, but neither way works.
I've tried using preventDefault but then the form just doesn't get sent.
I wonder is it something to do with the # getting added at the end of my urls?
No, all you've to do is make it action="/success=true". Hope it helps. :)
Thank you very much
Thank you! ;)
Thank you for making this post! You indeed saved me a lot of time haha
This was tons of help, I was beating my head against the wall ALL DAY today trying to get this to work :) Thank you!!
If I want to add multiple forms is it mandatory to add another form in index.html