
In a previous post I looked at how to set up Websockify behind an NGINX proxy. The ultimate goal was to accommodate multiple simultaneous users. Although the setup in that post worked, if the number of users is large then it becomes very resource hungry because there’s a Websockify instance running for each user.
We’re going to use token based target selection to implement the same setup but with just a single instance of Websockify. We’ll build a setup for two users, Alice and Bob, but the principles scale well to more users.
VNC Servers
We need a separate VNC server for Alice and Bob.
Run this as user alice.
vncserver \
    -localhost no \
    -geometry 1024x768 \
    -SecurityTypes None --I-KNOW-THIS-IS-INSECURE \
    :0
Run this as user bob.
vncserver \
    -localhost no \
    -geometry 1024x768 \
    -SecurityTypes None --I-KNOW-THIS-IS-INSECURE \
    :1
We now have two VNC servers answering requests on ports 5900 and 5901.
Websockify Token Configuration
Create a configuration file which specifies a token for each of the users.
U6F7msdQ: 127.0.0.1:5900
1oJw2DwG: 127.0.0.1:5901
The value of the token can be anything really. 🚨 The space following the first : is important!
Websockify
Now we are ready to start Websockify.
websockify -D \
    --verbose \
    --web /usr/share/novnc/ \
    --token-plugin=TokenFile \
    --token-source=/etc/websockify-token.cfg \
    6080
Things to note:
- Don’t specify host and port for VNC.
- Use
--token-pluginto specify the plugin for handling tokens. We’re using a token file plugin,TokenFile, but there are various other options likeReadOnlyTokenFileandTokenRedis. - Use
--token-sourceto specify the location of the configuration file. 🚨 Websockify doesn’t stop if it’s unable to open the configuration file. So, ensure that you are passing the correct absolute path, otherwise things just won’t work and it won’t be apparent why!
NGINX Proxy
The final component is to put all of this behind NGINX. First we need a simple HTML index page.
<a href="/novnc/vnc.html?resize=remote&path=novnc/websockify?token=U6F7msdQ">
  Alice
</a>
<a href="/novnc/vnc.html?resize=remote&path=novnc/websockify?token=1oJw2DwG">
  Bob
</a>
The key component here is the way that the path to Websockify is specified, passing the correct token for each of the users.
And a more concise nginx.conf, which now only needs to set up a proxy for a single instance of Websockify.
user www-data;
daemon off;

events {
}

http {
  server {
    listen 80 default_server;

    location / {
      root /www/data;
      try_files $uri $uri/ /index-both.html;
    }

    location /novnc/ {
      proxy_pass http://127.0.0.1:6080/;
    }
    location /novnc/websockify {
      proxy_pass http://127.0.0.1:6080/;
      proxy_http_version 1.1;
      proxy_set_header Upgrade $http_upgrade;
      proxy_set_header Connection "Upgrade";
      proxy_set_header Host $host;
    }
  }
}
Fire up NGINX.
nginx
And browse to the index page. Clicking through on either of the names takes you to the selected desktop. Notice that the token is passed through in the URL.
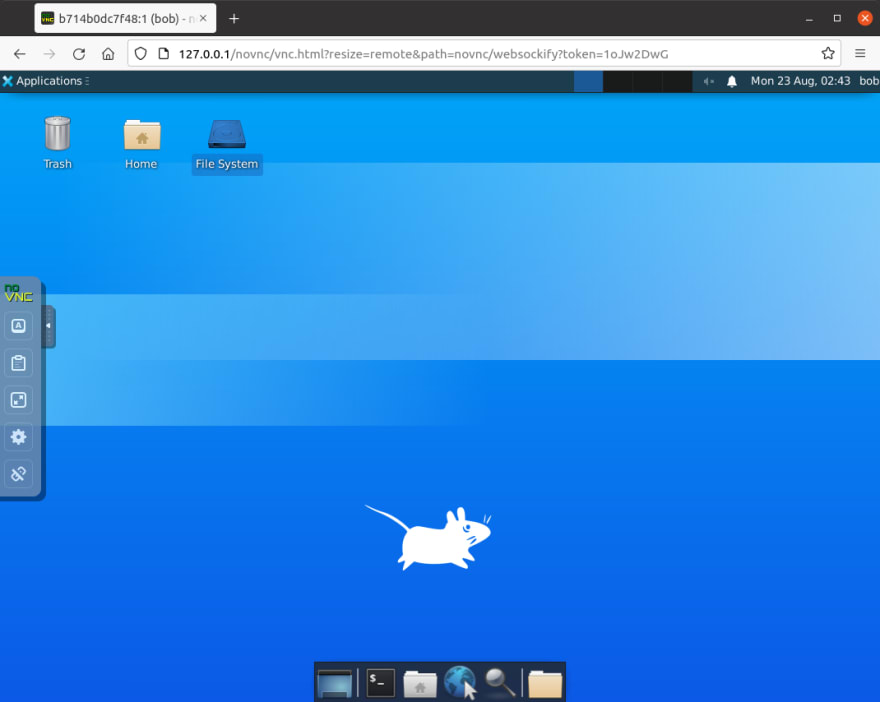
So now we have an appreciably leaner system: instead of a Websockify process for each user, we just have a single process which dispatches requests to the appropriate VNC service for each user.


Top comments (0)