What is an App without any pages?
Not much right, unless you are the person that made that million-dollar app back in the day.
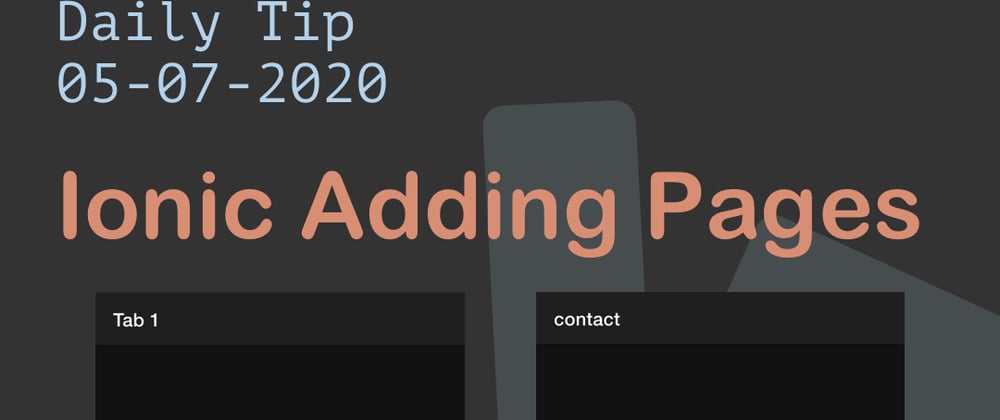
So today we'll, be looking into adding some pages to our application.
Ionic Generator
Luckily we don't have to create the page and link it manually.
Ionic comes with an awesome generator.
We can easily create a page using the following command.
ionic generate <type> <name>
So for the page:
ionic generate page contact
This generates the page and automatically adds it to our routing file.
Navigation to this Page
So let's create a button on our first tab, which will link to this page.
Open up tab1.page.html and add the following piece of code above <app-explore-container name="Tab 1 page"></app-explore-container>
<div class="button-container">
  <ion-button (click)="goToContact()">Contact</ion-button>
</div>
As you can see we define an ion-button with a click action which we will make in the ts file.
Then we add some SCSS in tab1.page.scss
.button-container {
  display: flex;
  justify-content: center;
  align-items: center;
  height: 80%;
}
Now open then tab1.page.ts file and add the click function:
import {Component} from '@angular/core';
import {NavController} from '@ionic/angular';

@Component({
  selector: 'app-tab1',
  templateUrl: 'tab1.page.html',
  styleUrls: ['tab1.page.scss']
})
export class Tab1Page {
  constructor(private navCtrl: NavController) {}

  goToContact() {
    this.navCtrl.navigateForward('contact');
  }
}
We are using the NavController and navigate forward to our contact page. This page is set up in our router by the generator.
Back to home
Of course, we want to be able to go back to our home app with the tabbar.
We can use the following HTML inside contact.page.html
<ion-content>
  <div class="button-container">
    <ion-button (click)="goBack()">Back</ion-button>
  </div>
</ion-content>
Then add the following SCSS to contact.page.scss:
.button-container {
  display: flex;
  justify-content: center;
  align-items: center;
  height: 100%;
}
Then we make the goBack function in contact.page.ts:
import {Component, OnInit} from '@angular/core';
import {NavController} from '@ionic/angular';

@Component({
  selector: 'app-contact',
  templateUrl: './contact.page.html',
  styleUrls: ['./contact.page.scss']
})
export class ContactPage {
  constructor(private navCtrl: NavController) {}

  goBack() {
    this.navCtrl.pop();
  }
}
There you have it, run ionic serve and we should see our contact button on our first tab, and be able to navigate to the contact page and back.
You can view this code on Github.
Thank you for reading, and let's connect!
Thank you for reading my blog. Feel free to subscribe to my email newsletter and connect on Facebook or Twitter


Top comments (0)