Now that we have the medusa server up and running let's go on and add the first visual system.
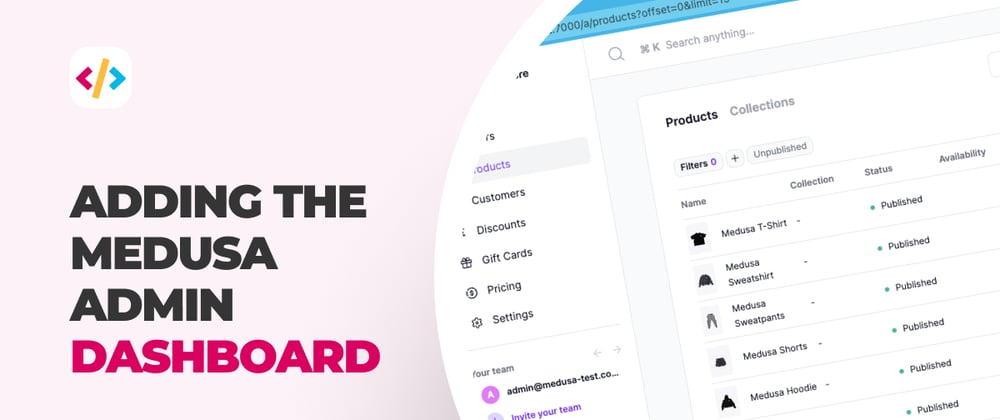
We'll connect the medusa admin dashboard to our server for this article.
The admin dashboard can perform all kinds of actions on your system data.
It provides a way to see/create/edit and delete your products, view orders, and so on.
Medusa installing the admin dashboard
To get started, we can use the basic admin template provided by medusa.
git clone https://github.com/medusajs/admin medusa-admin
This will clone the admin panel into the medusa-admin directory.
Now navigate into the folder in your terminal and install all dependencies.
cd medusa-admin && npm install
Once installed, make sure to run our medusa server first.
// Navigate to medusa server
cd medusa-server

// Start server
medusa develop
Then you can run your dashboard project.
npm run start
You should be able to visit localhost:7000 now and be able to see the login panel.
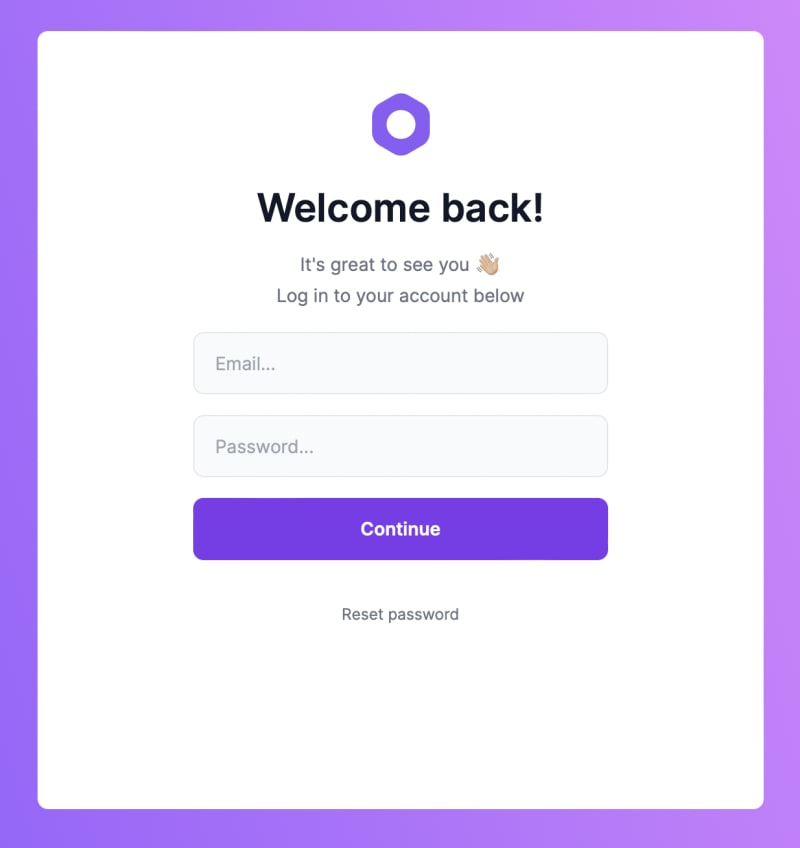
If you used the seed option on installation, you could log in with the base user: admin@medusa-test.com and password: supersecret.
And you'll now be able to explore the admin panel.

And that's it. Super easy to add a separate dashboard to our already existing medusa server.
Thank you for reading, and let's connect!
Thank you for reading my blog. Feel free to subscribe to my email newsletter and connect on Facebook or Twitter


Latest comments (0)