Amazon Lightsail is a service that provides virtual private offerings/services, which offer a variety of templates to choose from. It is also known as a virtual machine or a virtual private server, which basically offers all characteristics of a server/computing machine (SSD-based storage, data transfer, DNS management, and a static IP etc.) but can’t be physically seen. For a detailed introduction please read my previous article at

You can access Amazon Lightsail home page with below link.
In the startup page, already created instances will be shown. To create a new instance, click on Create instance button.

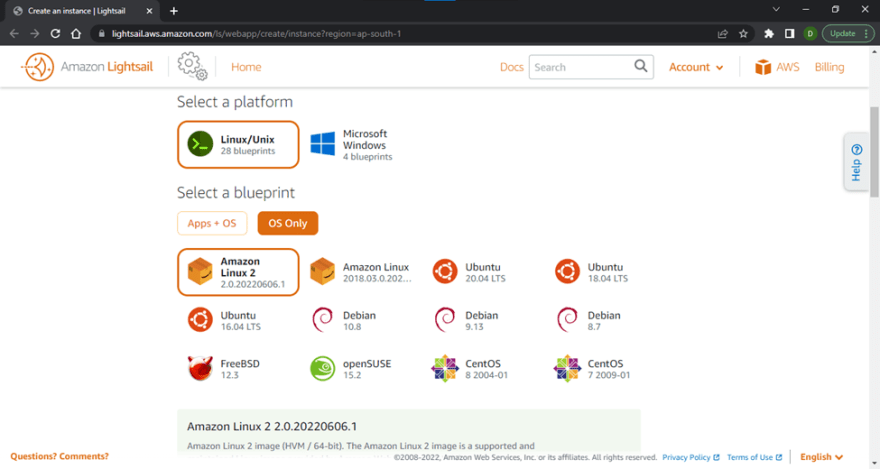
Here you can select OS for the instance, either Linux/Unix or Windows at the present. You have the Apps + OS option to select a Blueprint with an application you require (such as WordPress, Joomla, Node.js etc.) already included.

Else you can just go with OS only option to install only the OS. In this scenario, we’ll be using Amazon Linux 2 image for our instance.
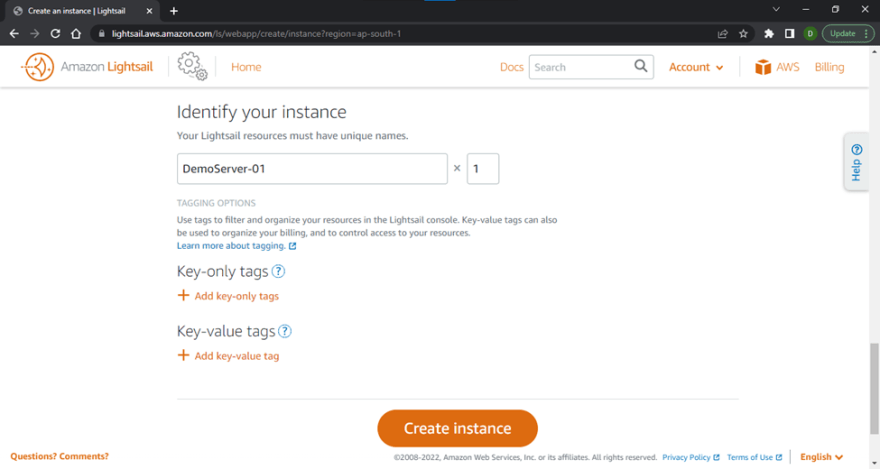
Next step is to name the instance. Each instance must have a unique name in Lightsail.
For ssh logins you can either use the default ssh key generated here or use a ssh key pair you already own.
After naming the instance, click on create Instance button.
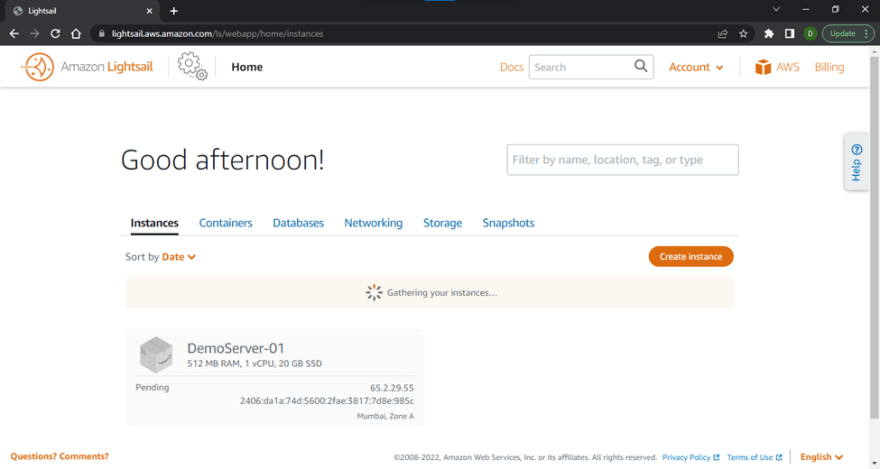
The page will be redirected to Lightsail home page and you can see the new instance is being created.
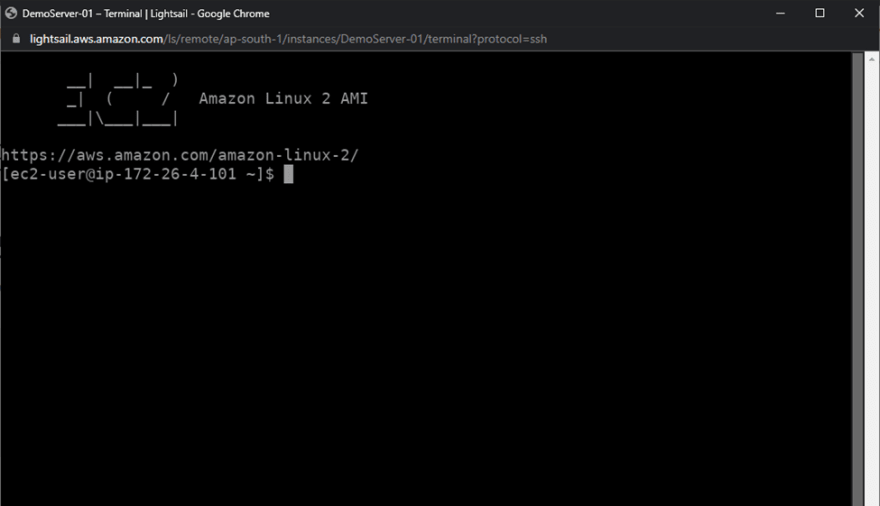
Within few minutes the instance is ready to use. Click on upper right corner on the instance and select manage to access the instance via ssh using a browser-based terminal.

You can now work in this server like a normal VM. Thank you for reading.


Top comments (0)