Sol address: 4mgnTysrA7kQVYCsE2CJcaJzpX8xPxGPoKPz2LyiN782
Twitter: https://twitter.com/OfficialCoreyS
Project overview
Today we are going to go over the steps on how to generate NFTS by providing image layers into a code.
I will go over exactly how to get the GitHub repo and how to update the code to make images.
Prerequisites
Yarn- https://classic.yarnpkg.com/lang/en/docs/install/#mac-stable
NPM-https://docs.npmjs.com/downloading-and-installing-node-js-and-npm
Solana Tool Suite- https://docs.solana.com/cli/install-solana-cli-tools
Git: https://git-scm.com/downloads
Atom(Code editor)- https://atom.io
Getting Started
After downloading all the prerequisites, we are ready to get started.
To start, let's create a folder on our desktop, or wherever you would like the Repo to be saved. I made the file name NFTProject. We are going to be downloading the GitHub Repo into this folder.

Fork the GitHub Repo here: NFT Generator
Once you have forked it, we are going to download it.
Open terminal and change the directory to the folder we created on the desktop(or wherever you have it). You can do this by copying the folder, going to terminal and typing CD and pasting the folder path.

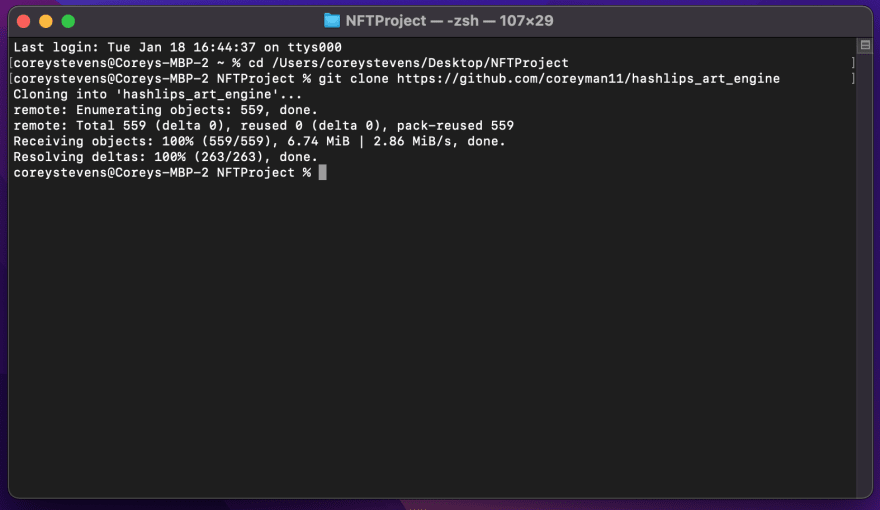
Next, we are going to clone the repo into our folder with this command :
Git Clone https://github.com//hashlips_art_engine
and of course, add your own Url to that so you download your own fork.
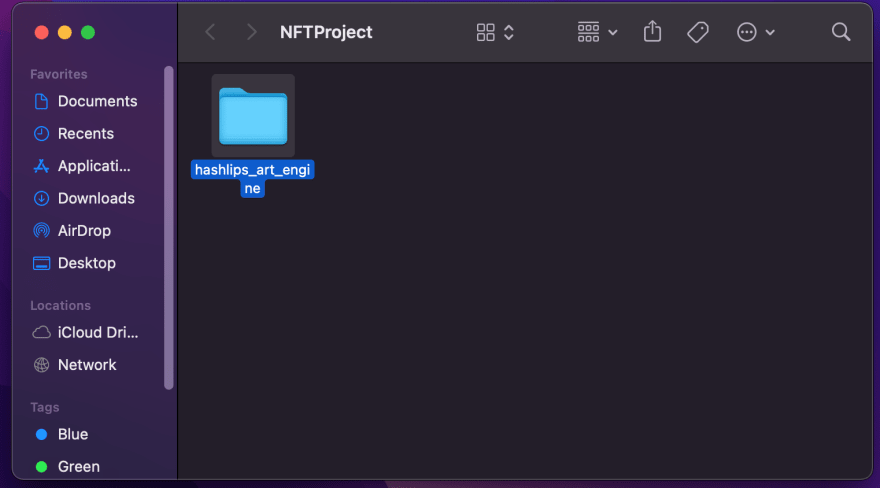
Okay, cool. We got it downloaded, now we need to download the dependencies. Let's go into the new directory that we just downloaded by copying the new folder inside the folder we made.
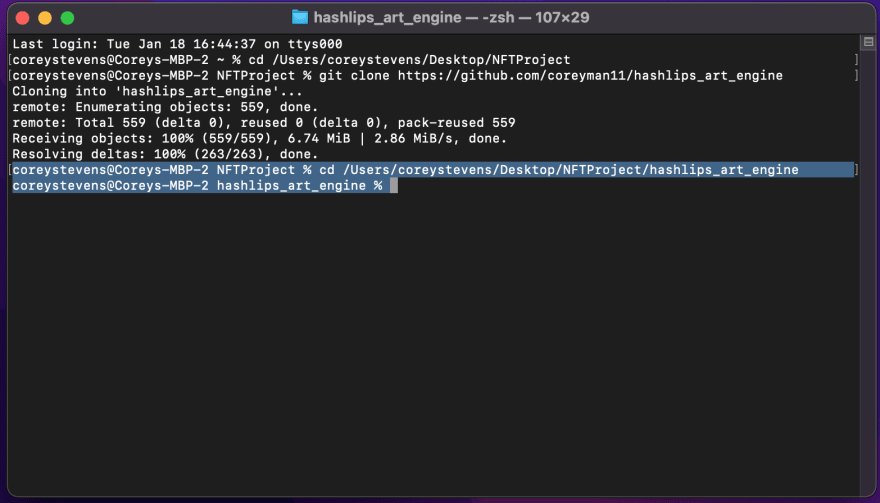
Then, go to your terminal window and type in CD and paste the new path.
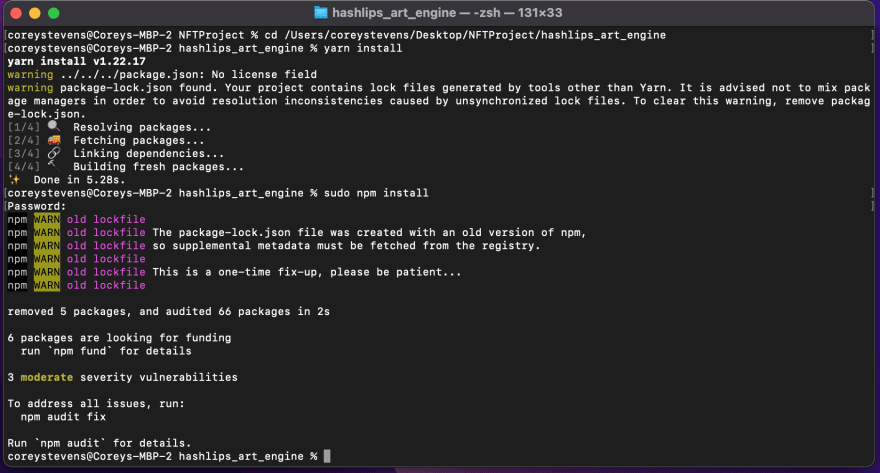
Once you're in the new folder we downloaded, let's install the dependencies by running a few lines of code.
Yarn install
Sudo NPM install
I use Sudo for NPM because sometimes it has authorization issues.
From here, we can actually build the images from the layers already provided! All we have to do is run a simple command in our terminal.
So, in terminal run this code while in the hashlips_art_engine directory(which you should already be in) :
npm run build
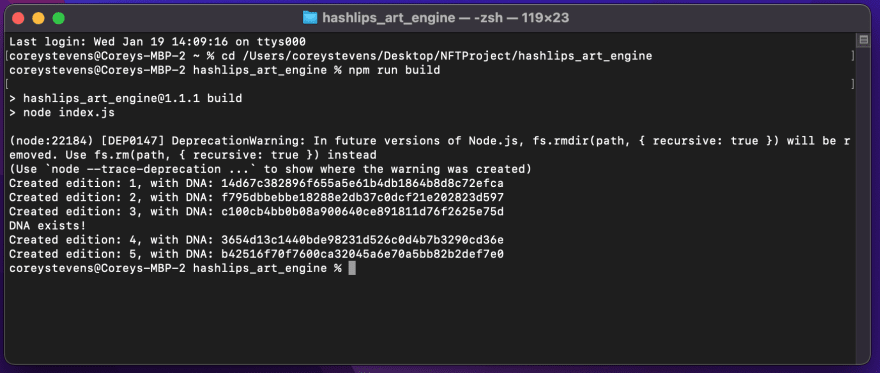
Now, if we go back into our Code Editor, you'll notice a Folder named Build was created. If we open that up, you'll see the images that were created.

That's cool and all, but ..let's add our own layers and build it...
Updating The Config.js File
I'm going to be using my own images that's an actual project, so I can't share them. Feel free to create your own.
Alright, let's open the hashlips_art_engine file in our Code Text Editor (I recommended downloading Atom in the peereqs).
Go to the SRC Folder and open up the Config.js file.
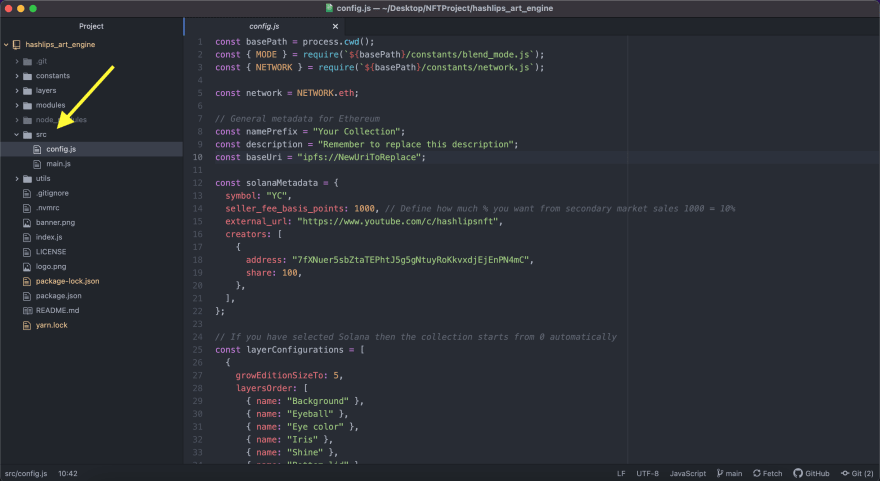
A few things we want to do in this file, so lets go over those..
First, let's change the name, description. This can be whatever you'd like. Just leave the baseUri as-is.

Next, lets change the Sol address to our personal one( use your own, or use mine haha).

The growEditionSizeTo is the amount of images you want to make. I'll just do a small amount for the example.
Now, lets add our own layers below that line. You'll see layersOrder below the editions. That is where we will update the layer order when we make new ones in the file.
Lets, head over to the hashlips_art_engine on our desktop(or wherever saved) and lets go into the layers folder.
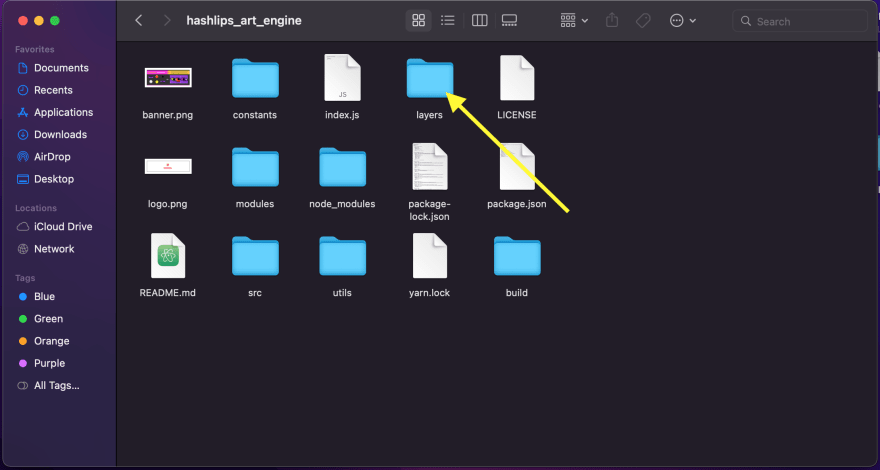
Once in the layer folder, you should see a list of layers with titles associated to them. These are the same titles that are in out Config.js file under layersOrder. The order of these DOES matter.

GO ahead and open up the Bottom lid file.
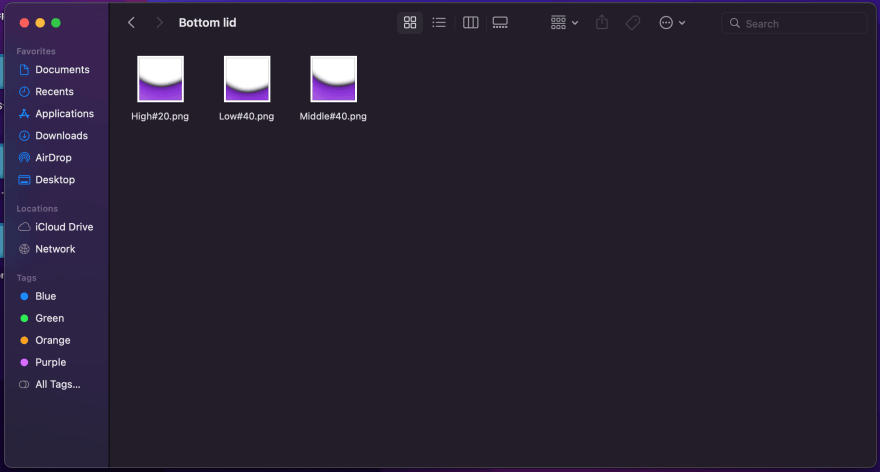
You'll notice there is the name of the file and then a # with a number. The # with the number is the rarity weight 1-100. 1 being the rarest and 100 being most common.
Since we have our own layers, we are going to delete all of the files inside of the layers folder, so it's fully empty.
Start by making a new folder inside the layer folder and name it.

Then, go ahead and put the new layers inside of that folder.. like this..
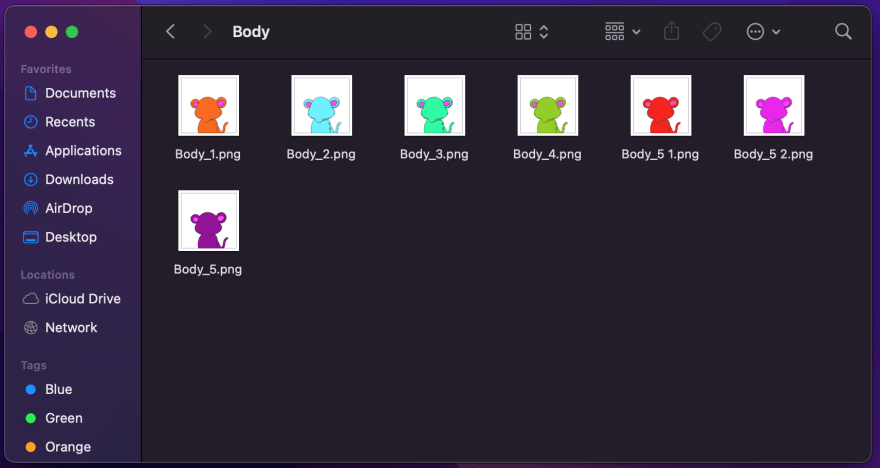
Your images will look different, these are just the ones I'm using.
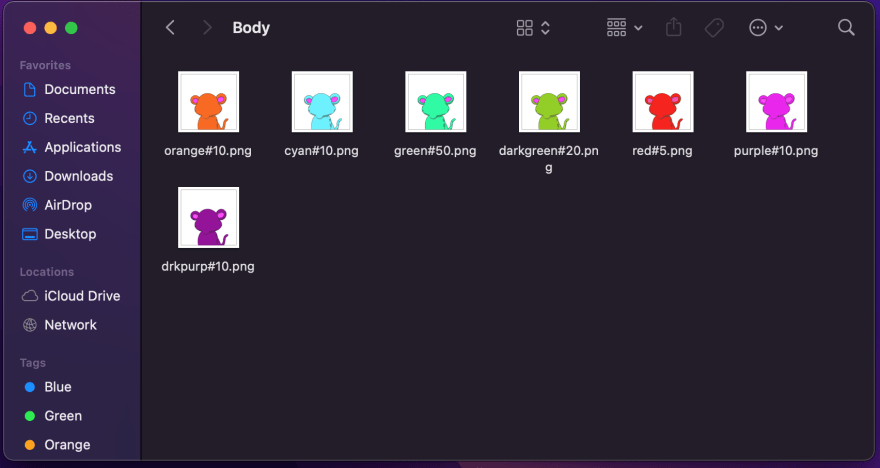
Now, let's rename the files in here so that it we have the rarity weights. You can name the files whatever you want, just make sure to add # and a number to say the rarity. For example : green#50.png
And just add all your layers the same way.
Now that we have all the layers added and all of our images correctly labeled in the format of green#50.png. My layers folder looks like this:

Now, we need to change the order of the layer in our code. Lets head back over to our Code Viewer, and go to the Config.js file.
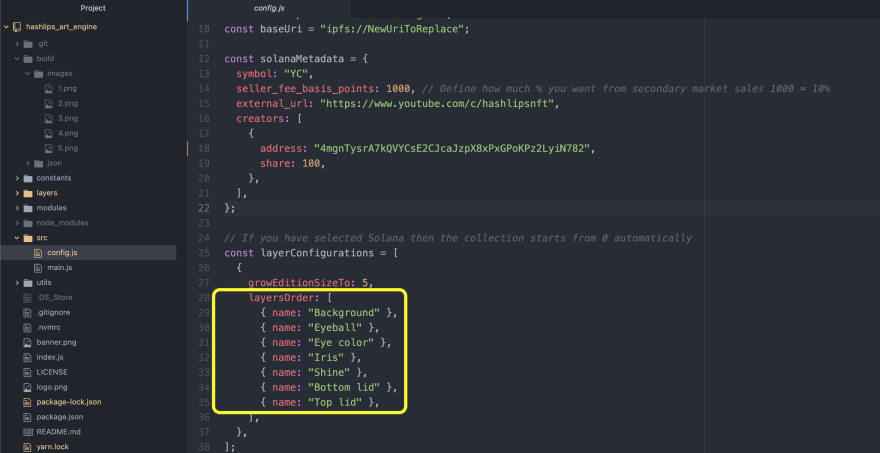
We need to match this order to the order we have in our Layer file we just made.
Your order will be different, but here is mine:

Okay cool, now all we gotta do is build it. Lets go back to terminal, and in our Cd hashlips_art_engine, we want to run:
npm run build

And.. if we head back over to our build file that we talked about before, you'll see the new images with the layers you updated.
Pretty sweet huh?!
Okay, there are a few other things that you can do. But first, let me just show you that the images also come with Meta data.
If you go back to you Code Editor and go to the build file, you'll notice there is a json file. Open it.
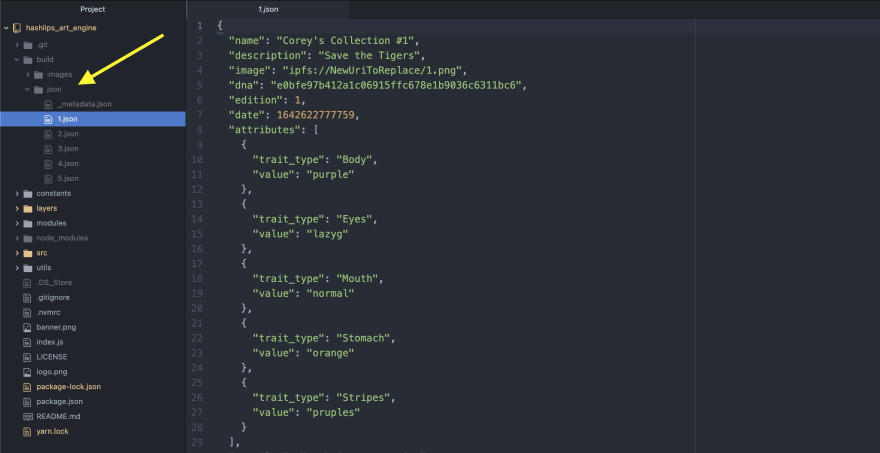
And you'll see each image has it's own Meta Data. Okay dope.
Lets head back to our Terminal and run :
npm run preview
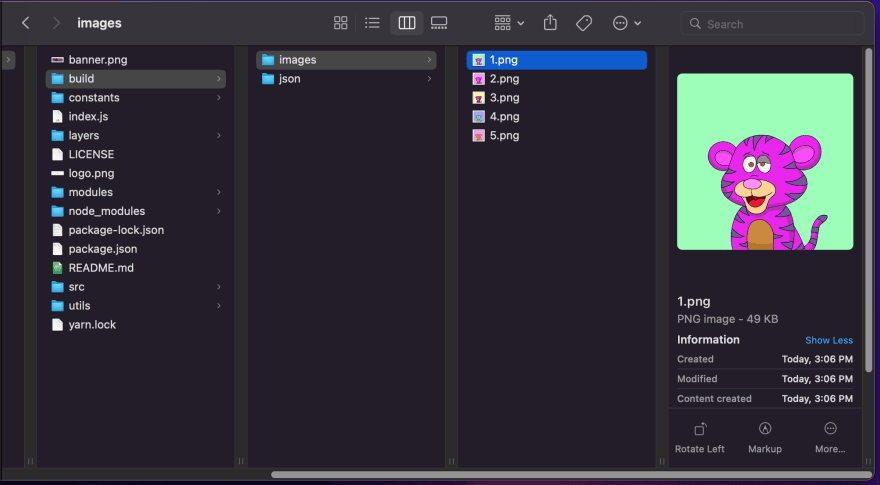
Now if we go back to our build file, you'll see a preview image that compiles all the images together into one big collage.

Okay cool, that's pretty dope, but let's try a different one.
If you want to create another folder with all the original pictures(this doesn't delete the originals) pixelated, you will run :
npm run pixelate
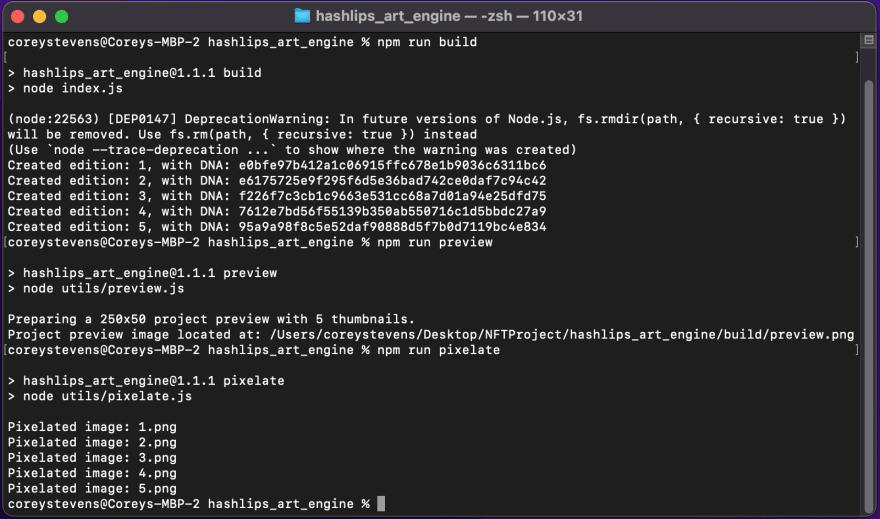
You'll now see a new folder with your images in pixelated form (which is MAD popular right now).
To change how pixelated the images come out, go over to our Config.js file in the code viewer and go down to line 68, and change the number to the left of the / where the arrow is pointing. The higher it is, the better the quality:

And that's it! If you read the bottom of the Hash Lips GitHub you'll see a bit more info on different things that you can do with it!
Thanks for tuning in with me and going through this Tutorial. I hope this helped out a few people!!!
Feel free to shoot me a follow on my socials!!!
Github: https://github.com/coreyman11
Twitter: https://twitter.com/OfficialCoreyS


Top comments (4)
This is how we started, and it's a great way to create NFTs. However, for most users, this is too advanced. That's why we created a No-Code platform that is "grandma-proof."
Our main goal is to attract more users to the Web3 space. We make difficult Web3 tasks like creating NFTs affordable, fast, and simple. 😍
Our NFT Creator lets users No-Code generate their images and create a smart contract to deploy on the blockchain.
Our website
imintify.com
Youtube:
youtube.com/@imintify
Very informative. I'd suggest cross-posting to metapunk.to as well!
Thanks! I'll head over there now and take a look!