Orginally published here with more screenshots.
Hello! Guest author Margaret here. This week I tried out the new Bulmatown theme and experimented with adding products using Snipcart. My test site is deployed here via Netlify, and you can take a closer look at the code here.
Getting Started with Bridgetown
I found Bridgetown approachable to someone with my level of experience. I have worked as a Ruby/JavaScript developer for about a year and a half, so at this point I feel like I know slightly more than nothing about programming. The Bridgetown installation docs and quick instructions were thorough and easy to follow. This is not always how it is! As a junior dev, I was constantly roaming a dense forest of terrible documentation, and this is not that! The longest part of the process was getting the requirements in place, and that’s mostly because I had to do a factory reset on my old work laptop because of reasons. Once that was done, I was able to get a basic Hello Bridgetown site up and running in a few minutes.
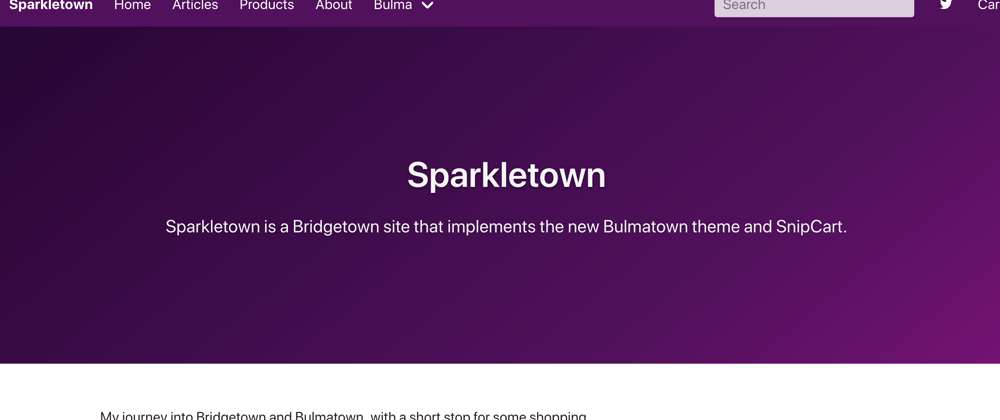
The Bulmatown Theme
Bridgetown strikes a nice balance between having features that are ready-to-go and leaving room for customization. The starter site is a blank slate as far as style goes, which leaves it open for you to make it your own. This is great if you are a CSS guru and know what you like, or if you already have a brand with a strong visual presence. If styling is not your jam, Bulmatown is a good option.
With a few Terminal commands, your site will look polished enough to go on the real Internet.
There are still choices within the theme and options for personalization. Bulmatown comes with a few out-of-the-box color options. I went with fuchsia, which looked great once I figured out how to spell it. I could also have gone with default (teal), rust, or fineart (black). If you prefer a different color, you can add your own custom Bulma variables.
Using Snipcart to Sell Products
Snipcart is a good option for adding a few products to a static site like Bridgetown. As described in the documentation, you need to add the Snipcart script and stylesheet, and then add specific attributes to an HTML button, or a button-like element, such as a styled link. Bridgetown content is written in markdown, and there are several ways to add an HTML button to a markdown file. I decided to go with plain HTML, because it seemed like the easiest format in which to read a button with several attributes. I added the public API key to a test product on my homepage, and that was that. The button and cart worked!
I went on to add Bulma class names to the button (“button”, “is-primary”) so that it matched the theme, and then added a link to the cart in the main nav. I needed to do a bit of tweaking to make sure that no part of the cart was hidden by the nav. Turns out, the Bulmatown nav has a z-index of 30, so I set the z-index for the cart to 31.
Using Bridgetown Collections
Now that I had Snipcart working for my single test product, I decided to make products a collection. This would give me an organized, styled products page similar to the built-in Articles page, and it would also avoid some unnecessary repetition in my code.
Here is the code for my products page:
---
layout: page
title: "Products"
---

{% for product in site.products %}
  <h2>{{ product.name }} | ${{ product.price }}</h2>
  <img src="{{ product.image }}" alt="{{ product.alt }}" width="550" height="600">
  <p>{{ product.description }}</p>
  <p>{{ product.content | markdownify }}</p>
  <button class="button is-primary buy-button snipcart-add-item"
    data-item-id="{{ product.data_item_id }}"
    data-item-price="{{ product.price }}"
    data-item-url="/products"
    data-item-description="{{ product.description }}"
    data-item-image="{{ product.image }}"
    data-item-name="{{ product.name }}">
    Add to Cart
  </button>

{% endfor %}
And here’s an example product:
---
name:  "100% Real Diamond"
image: "/images/diamond.jpg"
alt: "diamond"
price: "9.95"
description: "This genuine diamond is a steal at $9.95! But definitely not stolen haha!"
data_item_id: "1"
---
Anything added below the second three dashes of a product (or any collection item) can be accessed with product.content. For example, I would have put the description in the content area if it were longer, or needed more formatting that would work better in markdown, but this setup was sufficient for my purposes.
In Bridgetown, id is a protected word, which I discovered by accident when I tried to add id as a property of a product. When I inspected the button in the console, instead of 1, the id was products/diamond/, the URL for the individual product page. Changing the name to data_item_id fixed the issue. My test products didn’t have enough product information to warrant individual product pages, but if they did, I could have linked the title with product.id or product.url like this:
{% for product in site.products %}
<h2><a class="is-decorationless" href="{{ product.id }}">{{ product.name }}</a></h2>
Final Thoughts
One advantage of using Bulmatown with a Bridgetown site is that you are adding on a theme rather than trying to override an existing one. This is an issue with Jekyll mentioned in the Closing Thoughts section at the very end of this article. The Bulmatown theme is a good way to quickly get some base styles in place on your Bridgetown site.
Bridgetown can be effectively used for a small amount of e-commerce. Snipcart is one good option. It is easy to get started with it, and it plays well with Bridgetown.


Top comments (0)