I recently joined the Cloud Foundry Foundation as a Developer Advocate and I've been learning about the Cloud Foundry project lately and it's been a great experience so far. Most recently, I successfully deployed an existing Nodejs application on Cloud Foundry via one of its commercial distribution called Pivotal Web Services.
This tutorial will cover how I was able to deploy a Nodejs application on Cloud Foundry via Pivotal Web Services.
What is Cloud Foundry?
According to its official website, Cloud Foundry is an open-source platform that allows application development teams to build, test, deploy, and scale applications.
It also provides an underlying infrastructure including Kubernetes, developer frameworks, and application services.
Cloud Foundry is known for its awesome developer experience. The project is backed by Google, IBM, Microsoft, VMware (owners of Pivotal Web Services), SAP, SUSE, and more.
Cloud Foundry takes the workload off developers and lets them focus on only the application code and business outcomes by making all those tasking deployment processes disappear.
In summary, Cloud Foundry takes away the burden of managing complexity and running containerized workloads of an application from developers and allows them to worry or stay focused on application code and the business outcomes. Asides from just taking away the burden, it also provides benefits. For example, packing and containerization come free.
What is Pivotal Web Services
Pivotal Web Services (PWS) is a hosted version of the VMware Tanzu Application Service(formerly known as Pivotal Cloud Foundry).
The VMware Tanzu Application Service is a distribution of the open-source Cloud Foundry platform that includes additional features and services that expand the capabilities of Cloud Foundry. It is commercially available for everyone, and it is ready to use.
For this tutorial, we would need to create a Pivotal Web Services account and you can do that here, follow the link and sign up.
Deploying a Nodejs Application
After signing up on Pivotal and you have successfully logged in, you'll be asked to select "where to", click on Pivotal Web Services and you'll be taken to the Pivotal Web Services console.

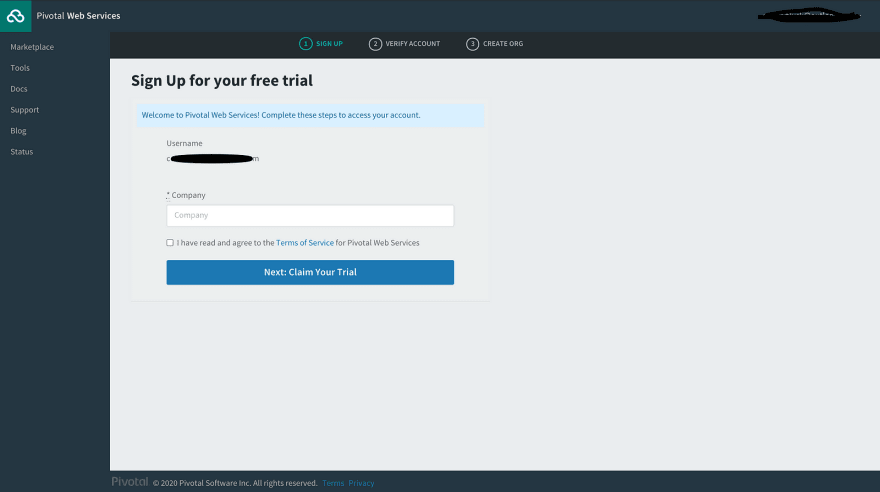
Next, you'll be directly taken to the console where you'll be asked to create a company, this company will serve as your organization name and it can be named anything. Go ahead and fill in the company name and start a free trial.
After you click on start free trial, you'll be taken to another process where you'll need to select your country and verify your phone number for security reasons. Fill the input fields and click on send my code, a six-digit code will be sent to you and you'll use this code to verify your account.
If all goes well with the verification, you'll be taken to the last process of verification where you'll need to create an organization, an organization (org) is a development account that encompasses computing resources, apps, and services. It can be owned and used by an individual or multiple collaborators.
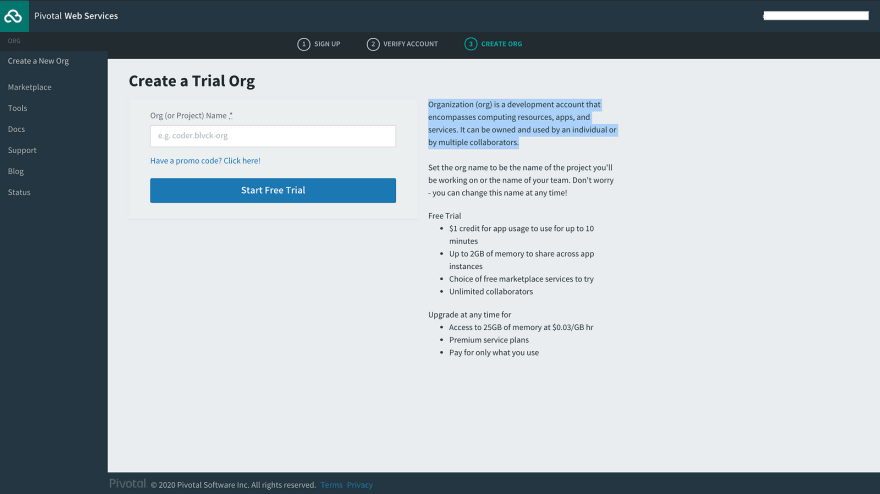
Now go ahead and name your organization whatever you choose to name it and click on Start Free Trial. (I named my organization "demo-12" ).
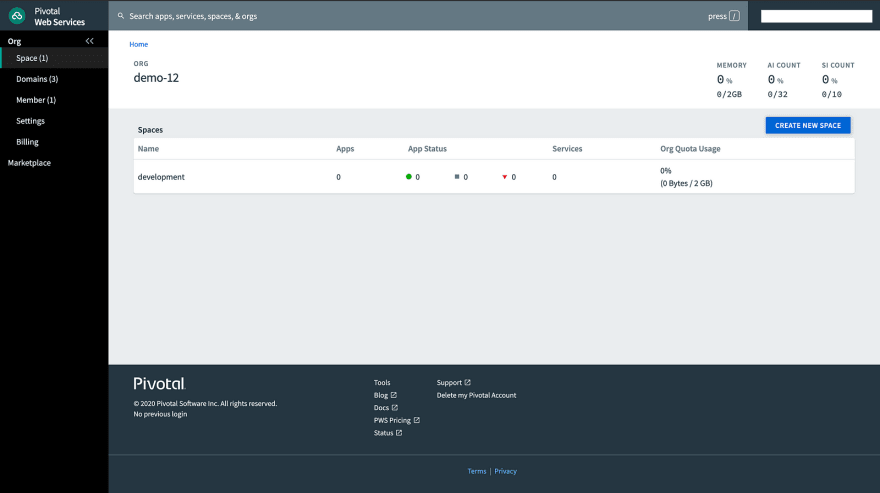
Now, you should see your PWS console with your organization name, and the space you created, in my case "development", will be displayed.
The Next thing we'll need to do is to go to our terminal and install the Cloud Foundry CLI, we'll be using the official Cloud Foundry CLI to interact with our Pivotal Web Services console.
To install the Cloud Foundry CLI, please visit here to find the installation instructions for your preferred operating system.
Interacting with the Cloud Foundry Official CLI
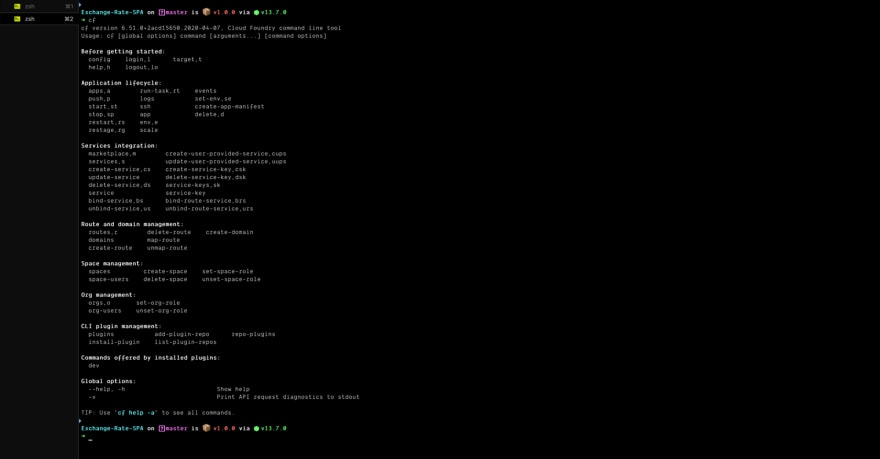
After you have successfully installed the Cloud Foundry CLI, in other to confirm that it's available on your machine, please run the following command.
cf
After running the command above, If it shows what it is displayed in the image below then the CLI is installed on your machine. If it doesn't you should try to go over the installation processes again.
Login to Our Pivotal Web Services Development Space
The next thing to do is that we need to is to log into our Pivotal Web Services development space so that we can have direct access to our console right from our terminal.
To login run the following command:
cf login
After running that command, you'll be asked for the API endpoint, type in https://api.run.pivotal.io, and press Enter.
You'll then be asked for the email address and password you used to create your PWS account, type that in and you'll be logged in if all your credentials are correct.
Below is an image of what the end of the process should look like.
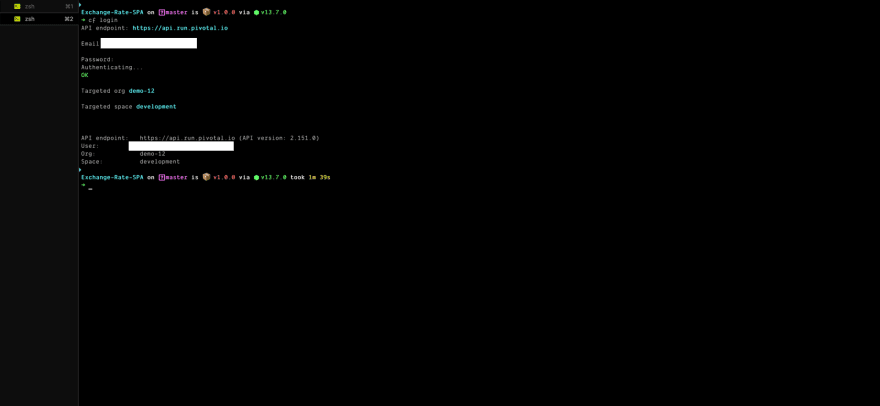
If you have not noticed already, the CLI shows the organization and space we created and that is available on our account.
The Power of CF Push
We can easily deploy our app to Cloud Foundry with just this command:
cf push <app name>
Where the should contain the name we want to give our application.
After running the command above it goes through a series of processes and it usually takes a while during the initial deployment, so sit back and relax.
If the deployment is carried out successfully, you should see the following details on your terminal:
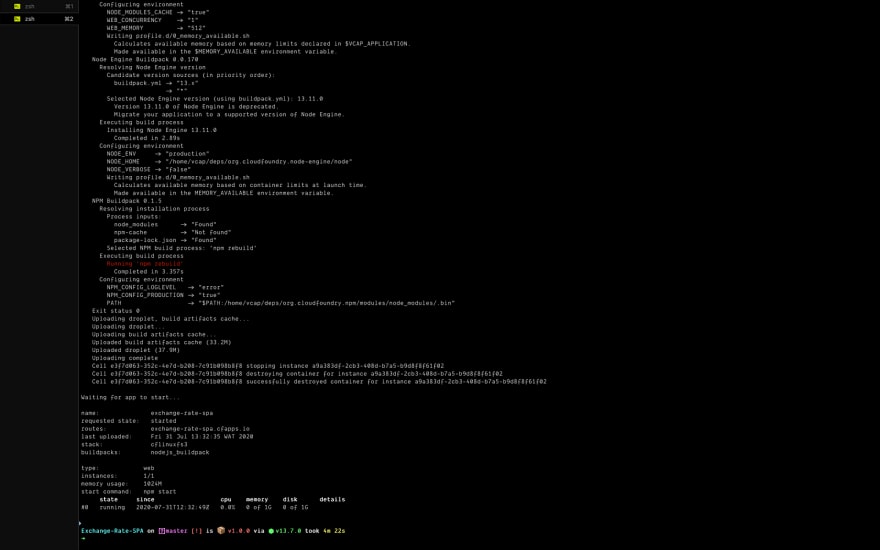
If you get something similar to the above image on your terminal, it means the deployment was successful.
What Happens When We Run cf push
Let's quickly run through the processes that were carried out when we run the cf push command.
The application manifest (manifest.yml) is pushed to the space specified on PWS.
The application information is also recognized and pulled
in by the Cloud Foundry CLI.A route for our application is created, this is the auto-generated link where we can see our application live.
The application files are uploaded on cloud foundry.
The application-specific buildpack will be recognized and loaded based on the buildpack.yml file.The application is uploaded completely in various steps.
The application is started and can be seen live using the auto-generated route link.
The application environmental variables will be injected into the application if we have specified some. We can specify environmental variables by running the following command:
cf set-env APP_NAME ENV_VAR_NAME ENV_VAR_VALUE
Where:
APP_NAME = The application name specified in the manifest.yml file.
ENV_VAR_NAME = The environmental variable name.
ENV_VAR_VALUE = The environmental variable value.
Viewing Our Application Live
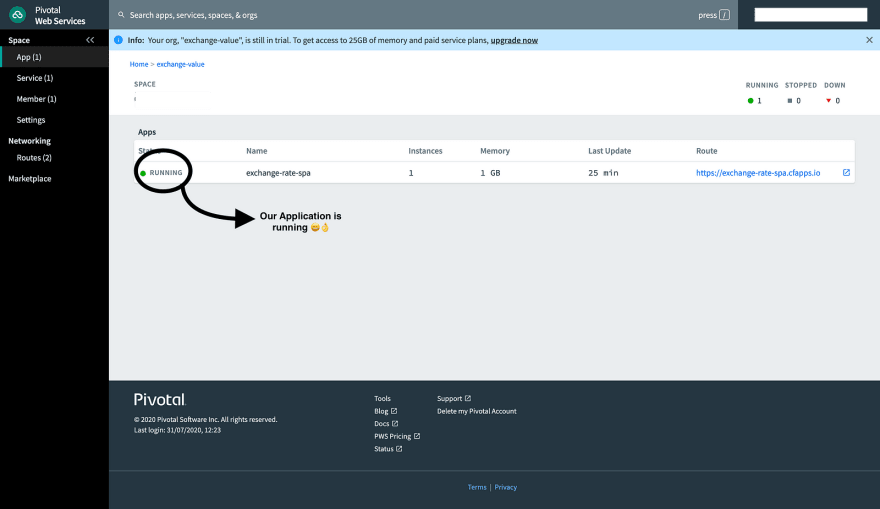
In other to see our application live, we have to confirm on the PWS console that our app is running. We can see that in the space where the app will be pushed.
Here is an image of the PWS console now that we've deployed our application.
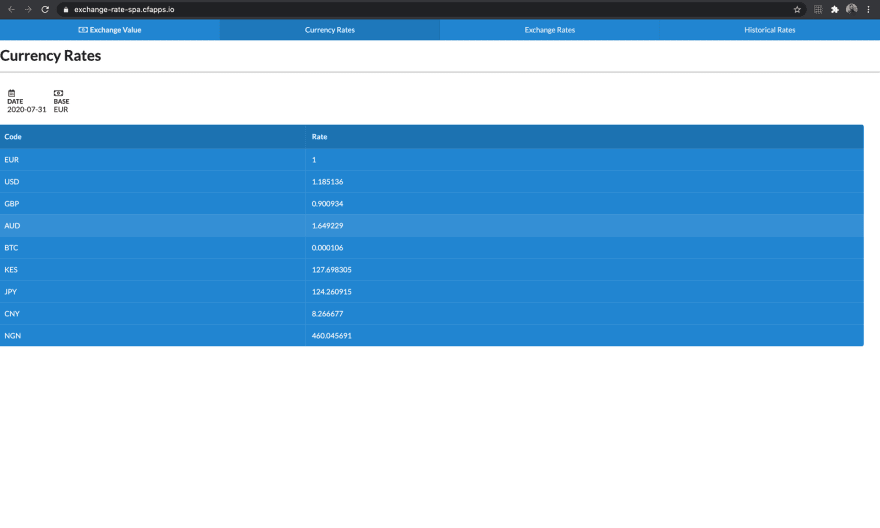
If we should visit the route generated, we should see our application deployed live.
Here is an image of how our application looks like when deployed.
And that's it, we have successfully deployed a nodejs application on Cloud Foundry via the Pivotal Web Services console and the Cloud Foundry CLI.
Starting & Stopping Our Application
If you decide to stop your application from running at any point, you can do this by running the following command:
cf stop <app name>
The above command will stop our application from running. We can always restart our application by running the following command:
cf start <app name>
Extra Configuration For Our Application.
In other to prepare our application for large scale deployment, we need to create files that will allow Cloud Foundry to recognize the technology used to build our application and also allow us specify custom setting like Memory Size etc.
Just like Heroku, it uses buildpacks to carry this process out and now we will need to specify the proper buildpack for our application which is the nodejs buildpack.
We are doing this because we need our application to be deployed without stress and also just in case we need some extra or custom settings or specifications for our app deployment.
In our application, we need to create two files manifest.yml and buildpack.yml.
The buildpack.yml file will hold all the configuration details for the buildpack we use for our application, read more about it here.
The mainifest.yml file will hold certain deployment information about our application, read more about this here.
In my case this the content of my manifest.yml file:
---
applications:
- name: exchange-rate-spa
- command: node server.js
- memory: 512M
Here is also the content of my buildpack.yml file:
---
nodejs:
version: 13.x
Possible Errors You Could Encounter While Deploying a Nodejs Application on Cloud Foundry Via Pivotal
Here are a couple of errors I encountered while trying to deploy a node app for the first time with cf push and how I was able to fix them.
Error 1.
Failed; The resource file mode is invalid: File mode '444' with path 'npm-cache/_cacache/content-v2/sha1/8a/03/9d2d1021d22d1ea14c80d8ea468ba2ef3fcc' is invalid. Minimum file mode is '0600' FAILED
Fix 1: Change the permissions of the app folder with and try to cf push again
chmod -R 700 *
Fix 2: If Fix 1 doesn't work, check if you're using the right PWS distribution or create a .cfignore file and add node_modules/.cache.
Error 2.
Error staging application: App staging failed in the buildpack compile phase
Fix: Check if the version of nodejs in package.json and buildpack.yml is the same thing and also make sure you're using a compatible version of node.
Conclusion
We have successfully deployed a nodejs and it was a pretty interesting process. You can learn more about deploying nodejs apps on Cloud Foundry by reading the official documentation.
Cloud Foundry really makes it easy to scale and deploy your applications, if you have a favourite feature of Cloud Foundry let us know in the comments section.
The supporting repo for this article can be found here.
Cloud Foundry Summit Europe 2020 is built by and for the Cloud Foundry community. Whether you're new to Cloud Foundry, you're a long-time contributor building the platform, or you're using Cloud Foundry to attain your business goals, Cloud Foundry Summit is the place to collaborate with other developers, operators, CIOs and IT professionals to shape the future of the project, share best practices and innovate together.
Dates: Oct 21st & 22nd 2020
The best way to connect with the Cloud Foundry community is to join our Slack Workspace at (https://slack.cloudfoundry.org/). Those in the Slack community help you get quickly connected with other members or someone from the Cloud Foundry Foundation.


Latest comments (4)
Good guide easy to follow.
Thank you Andrew!
Nice article! I made a short recording of deploying to IBM Cloud using Cloud Foundry - youtube.com/watch?v=uvSnIxFxn5M
This is nice, thanks for sharing :)