
It's time to get started with the Rails API and React front end. In Part 0, I gave some background about the project, what technologies would be used and why. Feel free to check it out if you haven't already.
Prerequisites
To get started with this project, you will need the following installed on your system. Let's get downloading!
- Ruby - I will be using version 2.4.2 for this project. rbenv is a popular way to manage your Ruby versions, but RVM is still an option. I recommend reviewing the two options and deciding for yourself.
- PostgreSQL - PostgreSQL is a robust, feature-rich database system, and it's the one I'll be using.
- Postman - Postman will make it easier to build the API and test out the API calls.
Get the right version of Rails
For this project, I'll be using Rails 5.1 (currently the latest is 5.1.4), so if you don't have it, be sure to install the correct version:
gem install rails -v '~> 5.1'
Set up the API app
Let's go ahead and generate our new API app:
rails new freelance-api --database=postgresql --api
Not too many changes here, just setting the database to Postgres and using API mode. For testing, this project will stick to the default MiniTest.
Go ahead and look at the directory structure in your text editor or in your terminal with tree. If you've worked with Rails for regular web applications, you'll notice this app is a lot slimmer.
The first changes to make are with the Gemfile and the CORS initializer:
Uncomment the gem rack-cors line in the Gemfile and run bundle install in your terminal.
And in the API directory, open config > initializers > cors.rb, uncomment and modify it to read:
Rails.application.config.middleware.insert_before 0, Rack::Cors do
  allow do
    origins '*'

    resource '*',
      headers: :any,
      methods: [:get, :post, :put, :patch, :delete, :options, :head]
  end
end
This will allow the API to play nicely with the front end app. The origins can be adjusted once you know what domain you'll use for the front end app and are ready to deploy.
Version control and documentation
While this API needs a lot of work before it's done, it's a good idea to get in the habit of updating the documentation and keeping track of changes as we go.
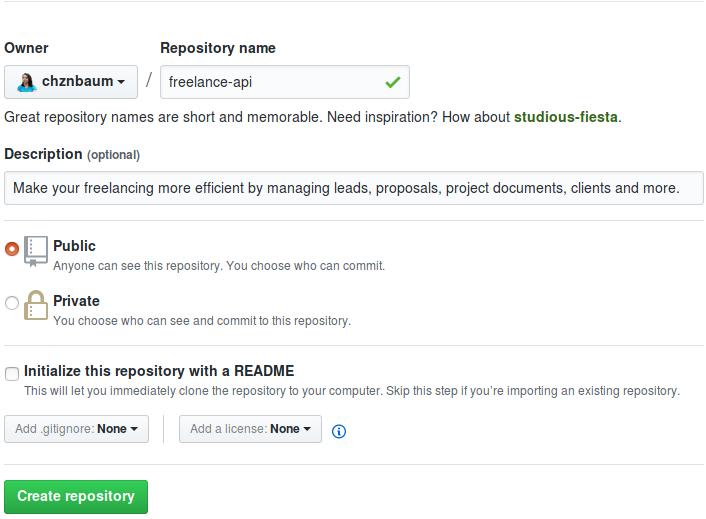
You can start by creating a repository in GitHub or another repository hosting service that uses git. It should be fairly straightforward:
Before adding the files to the repo, it's a good idea to start on some of the basic files you may not feel like working on as the project wraps up: the README, LICENSE, and CONTRIBUTING files.
Your README should already exist, but go ahead and modify it to make sense with what you have so far. For example, right now mine looks like:
# Freelance API

Make your freelancing more efficient by managing leads, proposals, project documents, clients and more.

*This is a work in progress.*

## Getting Started

### Prerequisites

#### Ruby ~> 2.4

Download and manage via [rbenv](https://github.com/rbenv/rbenv) or [RVM](https://rvm.io/)

#### Rails ~> 5.1

    gem install rails -v '~> 5.1'

#### PostgreSQL ~> 9.6

Follow the [instructions for downloading PostgreSQL](https://www.postgresql.org/download/) based on your operating system, and be sure to [create a database user with privileges](https://wiki.postgresql.org/wiki/First_steps).

### Installing

Clone the repository:

    git clone https://github.com/chznbaum/freelance-api.git
    cd ./freelance-api

Install the gems:

    bundle install

And set up the database:

    rails db:create
    rails db:migrate

Start the development server:

    rails s

You can test this by making a GET request to `localhost:3000` using Postman or an alternative.

## Tests

### End to End Tests

TBA

### Coding Style Tests

TBA

## Deployment

TBA

## Built With

* [Rails](http://rubyonrails.org/) - Web Framework
* [rbenv](https://github.com/rbenv/rbenv) - Environment Managemet
* [Bundler](http://bundler.io/) - Dependency Management
* [Heroku](https://www.heroku.com/) - Deployment Platform
* [Travis CI](https://travis-ci.org/) - Continuous Integration

## Contributing

Please read [CONTRIBUTING.md](CONTRIBUTING.md) for details on the code of conduct, and the process for submitting pull requests.

## Versioning

TBA

## Authors

* **Chazona Baum** - Initial work

## License

This project is licensed under the MIT License - see the [LICENSE.md](LICENSE.md) file for more details.

## Acknowledgements
There's still a long way to go, but already a surprising amount can be included!
Go ahead and create a CONTRIBUTING.md file and a LICENSE.md file in your project root. My CONTRIBUTING file just lists TBA, and I am using the MIT license for my project.
Now that these documents are set up, the files can all be added to the repository you created.
git add .
git commit -m "initial commit"
git remote add origin https://github.com/<YOUR GITHUB USERNAME>/freelance-api.git
git push -u origin master
Wrapping up
You're almost done with the basic setup! To create and update the database, go ahead and run:
rails db:create
rails db:migrate
It seems like we've done a lot without much to show for it, but we've set up the environment we'll need to start giving the API functionality.
At this point, you can test the API out by opening Postman and starting your Rails server in the terminal:
rails s
Once the terminal indicates the server is running, in the Postman request bar, send a GET request to localhost:3000. You should see the following:
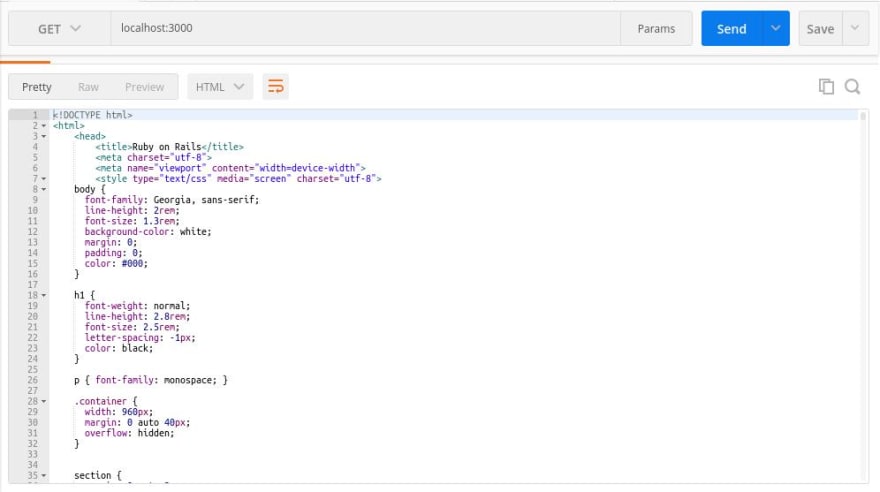
Look deeper into the HTML you received, and you'll see it's Rails' "Yay, you're on Rails!" success page.
With that accomplished, the next step is to actually plan out what the API should do in a little more detail and actually start creating the data models.


Top comments (1)
Where are the rest of the steps?