This part we will start to make some view elements to visualize item objects and an info panel to display item stats. A very basic inventory system as you guess. I'll focus on inventory panel for this part and we will complete this series with finishing info panel in the next part.
But first let's overview for this part:
- Visual components for Item Info and Inventory
- Item View Prefab in Inventory
- Populate inventory with Item View
- Debug.Log item info on click to Item View
We have a lot to do!
First of all, set display resolution:

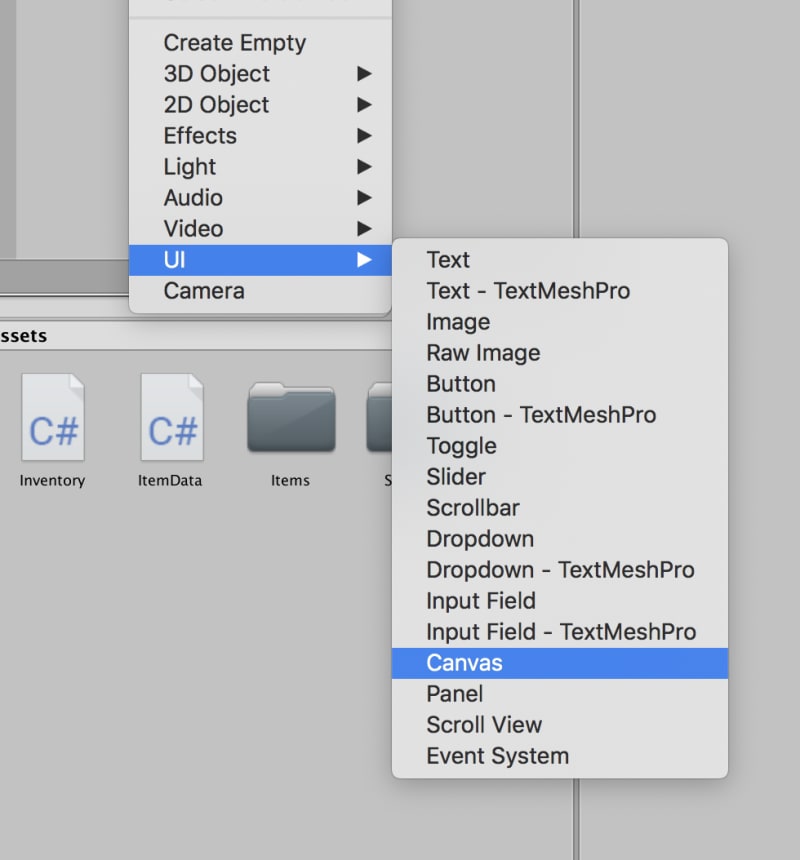
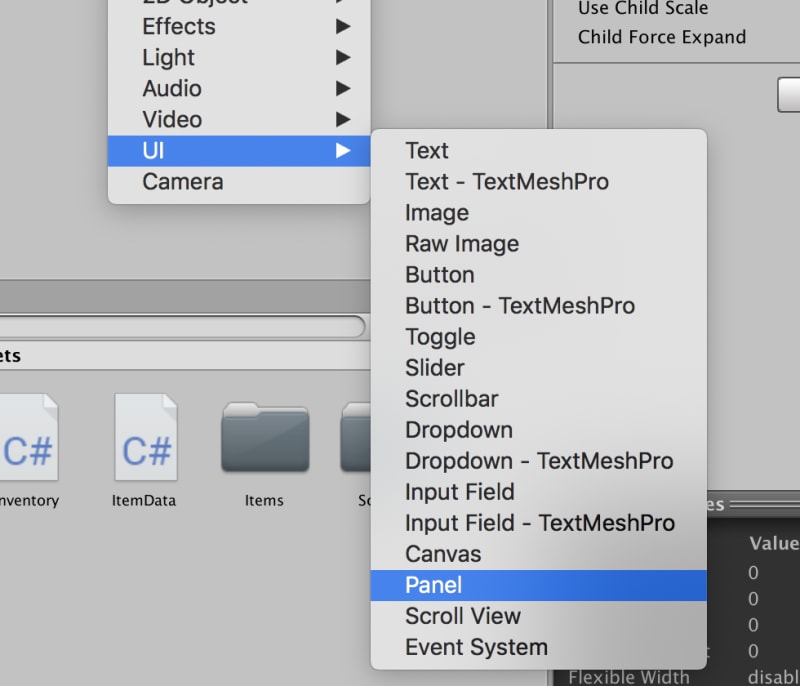
Start with view. We will use Unity UI objects. Let's first create an empty canvas(Right-click in hierarchy-> UI-> Canvas)
I will make two panels, item info, and inventory panels.
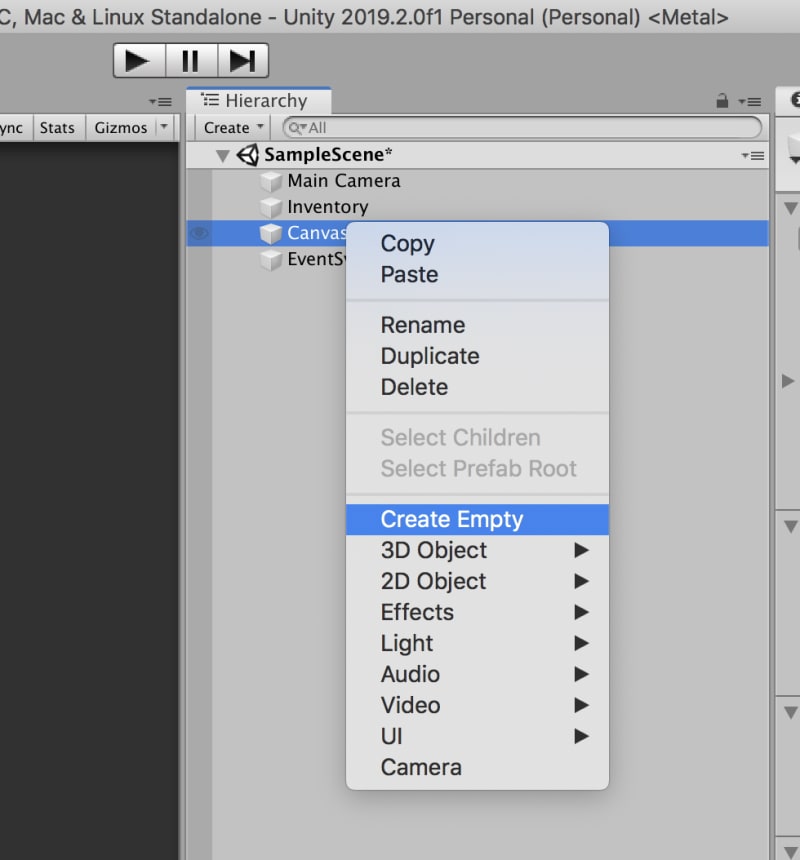
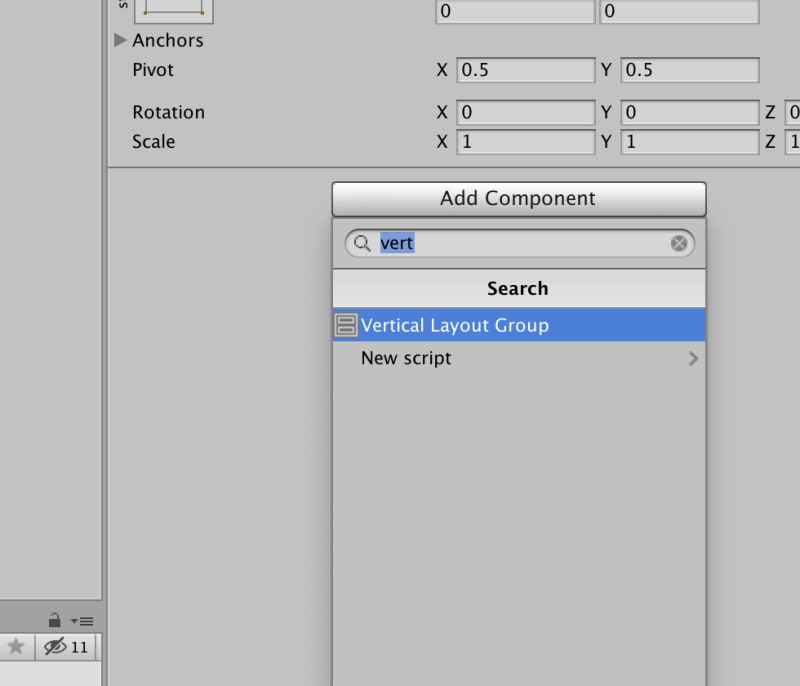
I'll make an object for background, name it BG and assign it a Vertical layout component.
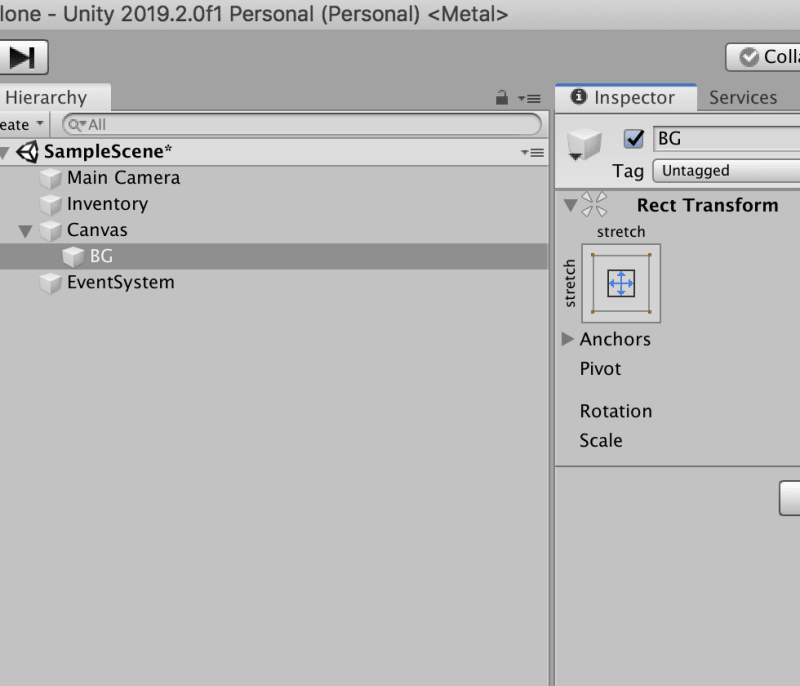
Now BG object's childs will line up vertically. Let's create a panel inside BG.
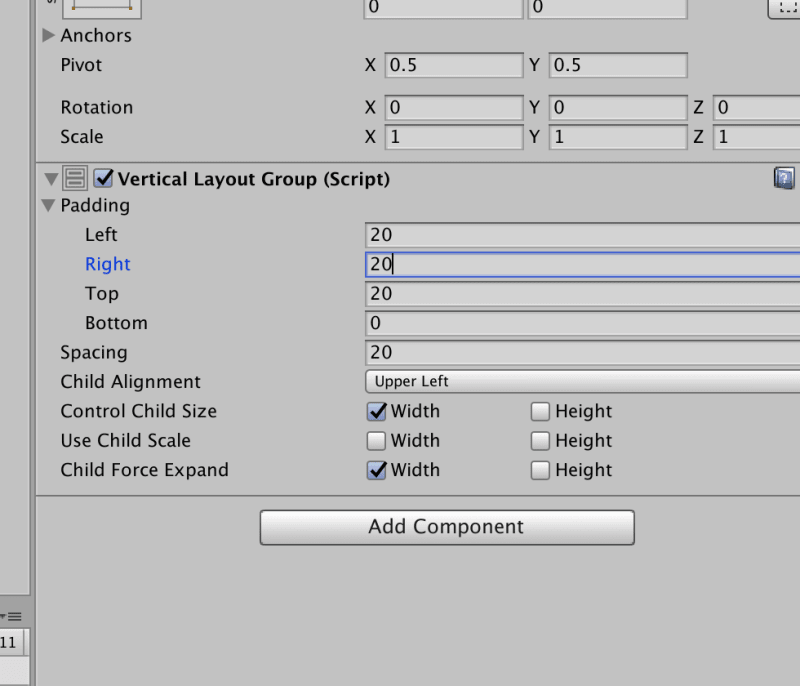
I'll only set panel height on RectTransform to 300 and the width will size automatically based on Vertical Layout component. Here are my settings on BG:

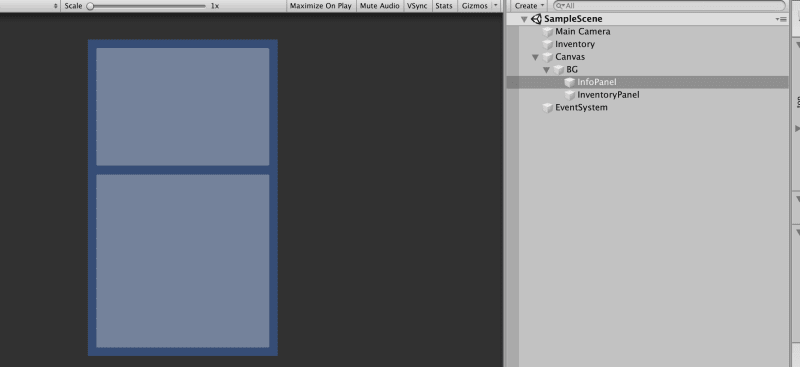
Now duplicate the Panel object and give it a height of 440.
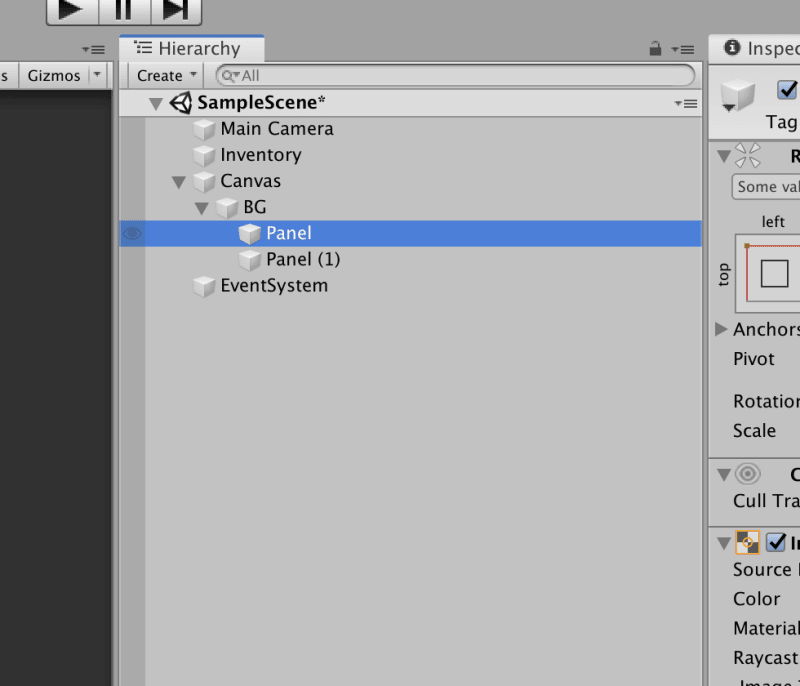
I've set the height of second panel to 440.
Rename them properly.

This is how it looks.
I will continue to Info Panel next part.
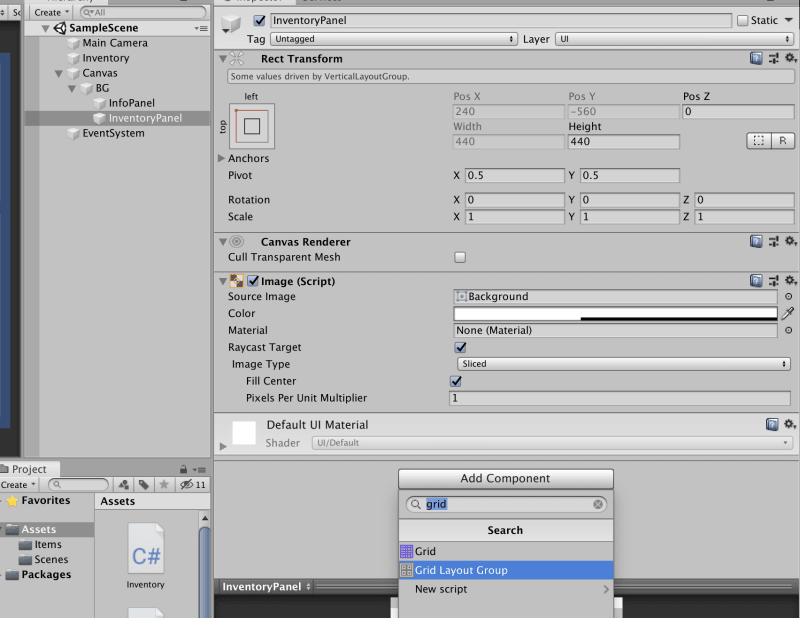
Next, prepare an Item View and make it a prefab from it. To do, I'll create a button inside the inventory panel. To achieve a proper inventory visual there is a cool component for this: Grid Layout Group. Select InventoryPanel object and add that component.
Now each child of Inventory panel should place in the screen in order to constraints of grid layout group component. Let's create a button.

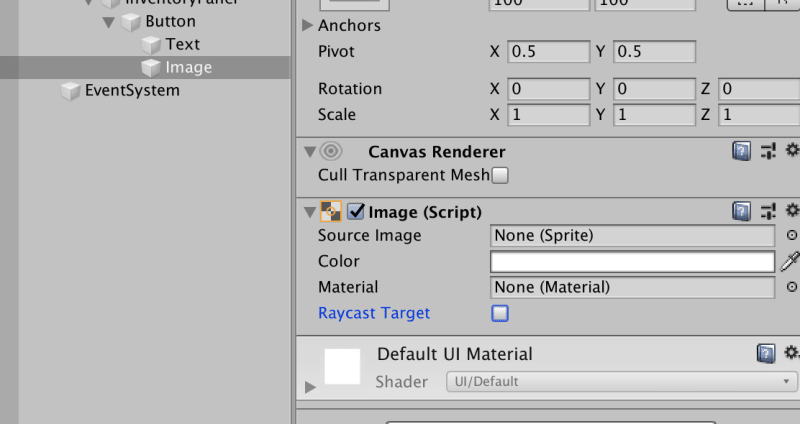
Button went crazy, that's because we haven't work on grid layout component. I'll add an Image object to button as a child object for item icon and don't forget to uncheck Raycast Target property on Image component, this way it won't block mouse events for button click.
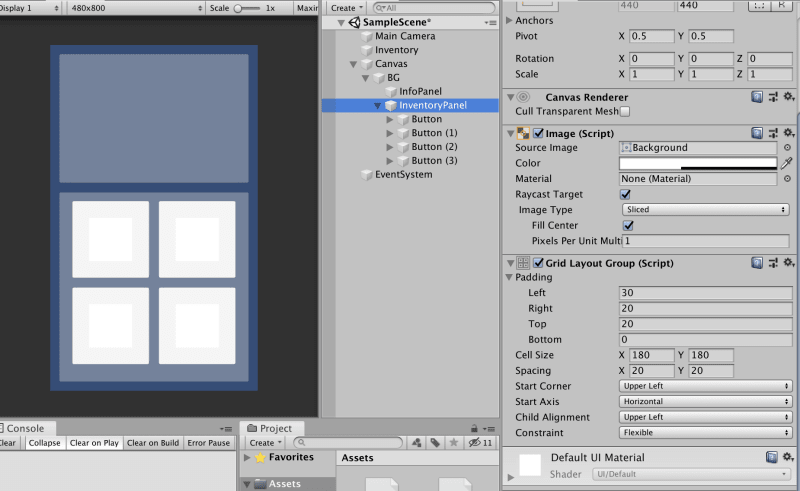
I've duplicated the button a few times. Four items fit and look pretty enough for this tutorial. How it looks:
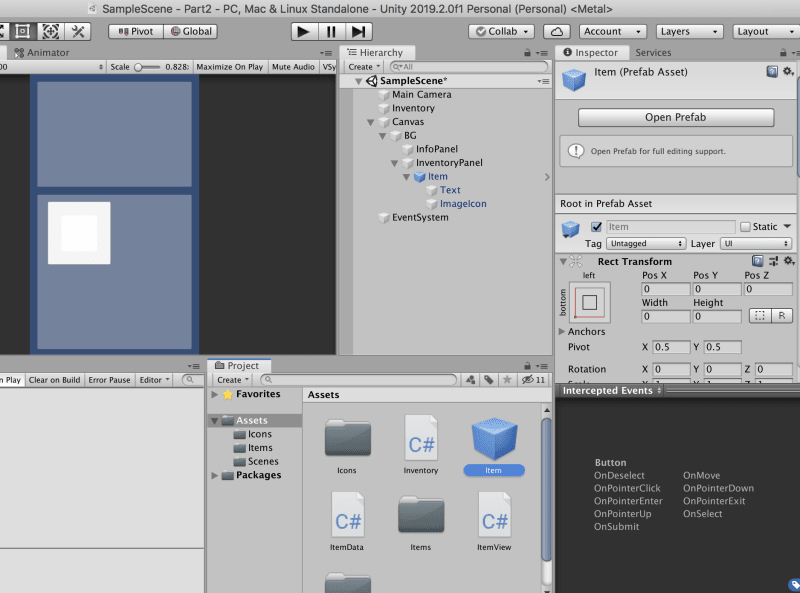
Before moving further, we have to make a script for view for the item. This view will responsible for holding item data and will fire up an event on click(Debug.Log item stats for this blog).
Create a new script, name it ItemView.

ItemView is responsible for carrying data, visual references, on click action and initial state for injecting item data.
using System.Collections;
using System.Collections.Generic;
using UnityEngine;
using UnityEngine.UI;

public class ItemView : MonoBehaviour
{
    public Button button;
    public Image ItemIcon;

    private ItemData itemData;
}
And define a method for inital state:
using System;
using System.Collections;
using System.Collections.Generic;
using UnityEngine;
using UnityEngine.UI;

public class ItemView : MonoBehaviour
{
    public Button button;
    public Image itemIcon;

    private ItemData itemData;

    public void InitItem(ItemData item)
    {
        this.itemData = item;

        button.onClick.AddListener(ButtonClicked);
    }

    private void ButtonClicked()
    {
        Debug.Log(itemData.name);
    }
}
I think we need some sample icons to use in our project. I've quickly searched for it and found this free package from asset store. Let's import it.

Now I can add a variable to hold icon data in ItemData.
using UnityEngine;

[CreateAssetMenu]
public class ItemData : ScriptableObject
{
    public string itemName;
    public ItemType type;
    public float attack;
    public Sprite icon;

    public float GetPrice()
    {
        return attack * 40;
    }
}

public enum ItemType
{
    Dagger,
    Axe,
    Hammer,
    Potion
}
Next, in ItemView we can add an icon to view.
public void InitItem(ItemData item)
{
  this.itemData = item;
  itemIcon.sprite = itemData.icon;

  button.onClick.AddListener(ButtonClicked);
}
I'll assign this script to my button in the scene and I'll name it my button to Item. Afterward, drag and assign button and image for icon.

I'll delete other buttons that we have duplicated for the test, and save the Item gameobject as a prefab in project folder dragging into it.
The view is almost ready. I need four item to populate my inventory. I'll create and assign icons to my models that I've created the last part.
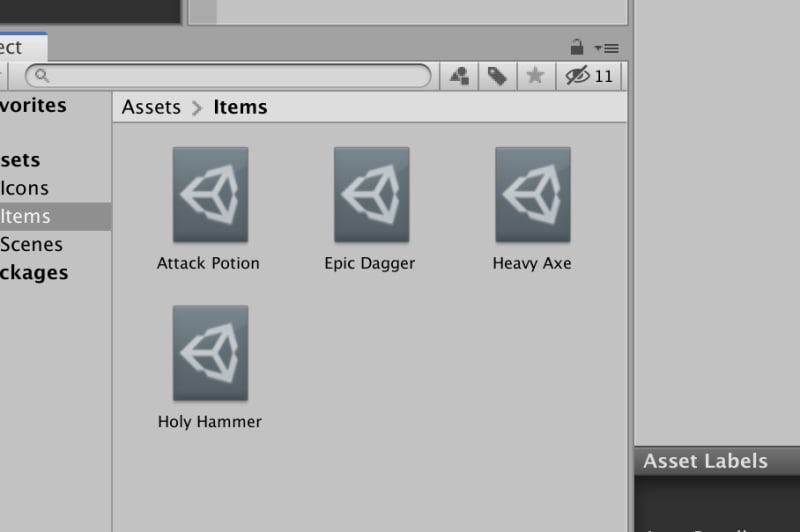
Models are ready.
Next, create a script ItemViewController.
using System.Collections;
using System.Collections.Generic;
using UnityEngine;

public class ItemViewController : MonoBehaviour
{
    public Inventory inventoryHolder;
    public Transform inventoryViewParent;
    public GameObject itemViewPrefab;

    private void Start()
    {
        foreach (var item in inventoryHolder.inventory)
        {
            var itemGO = GameObject.Instantiate(itemViewPrefab, inventoryViewParent);
            itemGO.GetComponent<ItemView>().InitItem(item);
        }
    }
}
So we have references to inventory that holds ItemData that we have created in the project folder, a transform reference for creating ItemView objects as a child of inventory view in the scene and the item view that we have saved in the project folder as prefab. Then, in Start method, I create an instance of item view and calling InitItem method to initiate that view with Item data for each item in the inventory holder.
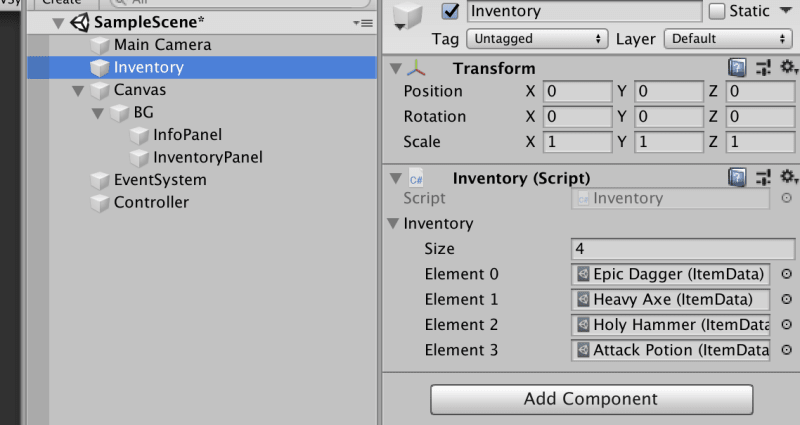
Lastly, I'll make an empty gameObject to attach this controller and drag and assign its references in the scene.

Make sure that your models all assigned into inventory.
Wow, we've done a lot without test but now is the time.
Hit to play!
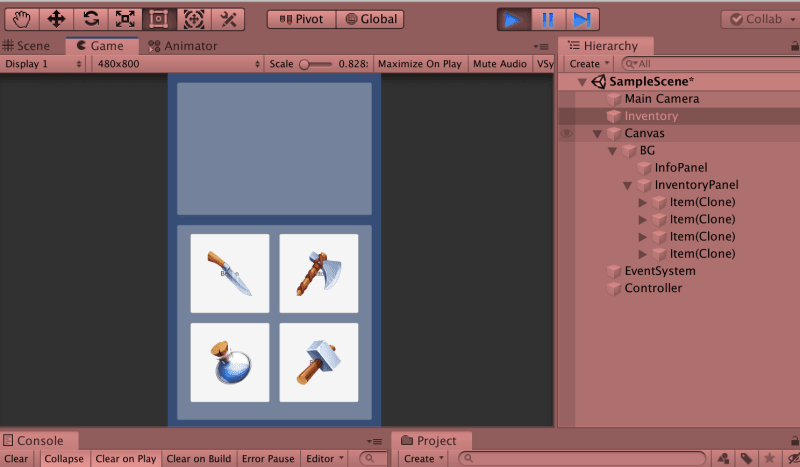
Items have created but I forgot to delete Text object from button. When you create a button in unity it comes with Text object. To do that, open the prefab that we have saved in the project folder. It'll open project edit in Scene tab. Delete Text object and return to the scene.

Now, give it another go.

It works!!! Congrats😎👏!
Next part we will complete the info panel.
Here is the github page
Until next time, cheers!


Latest comments (0)