Photo by Linus Rogge on Unsplash.
A bit of context
I’ve been using Home Assistant for a while to manage my connected home. Home Assistant or Hass is a Python based application I have installed on a Raspberry Pi and which is able to connect. to many services from Google Assistant, Philips Hue, The Zigbee Protocol, and many others -1857 at the time I’m writing this post-.
The software gaves us a perfect way to organise our homes, but I needed a powerful system that can allow me to get notified and request the instance from outside my home. Basically, the usages are :
- Getting notified I left my home without setting my alarm up, then being able to activated the alarm
- Asking a room temperature to activate or deactivate the heater
- Turning on and off lights
- Knowing when it is time to get the trash out for the morning collect
There are many ways to do this with Home Assistant, but I needed something that gets my attention quickly: when working on my laptop, I barely look at my phone. When I’m out, I generally don’t have access to my laptop. Moreover, I need something that is capable to notify all my family when something has to be done, especially when it is as important as setting the home security alarm.
I made many tests of many Home Assistant integrations, and finally the one that checked all my requirements was Discord -which I’m using for many other things-. Since some points where not trivia, here is a step by step guide to set and get data between a Discord instance and a Home Assistant instance.
The Software and requirements
First of all, I need a Home Assistant instance, which in my case is installed on a Raspberry Pi. I will not explain in details how to install it right here since the tutorial on the website are good enough. Also, I think you should play around with your instance before considering connecting it with Discord. To make an installation on your own, you can head to the documentation.
Creation of a Discord Bot
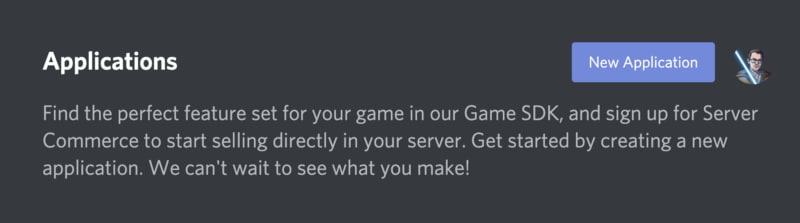
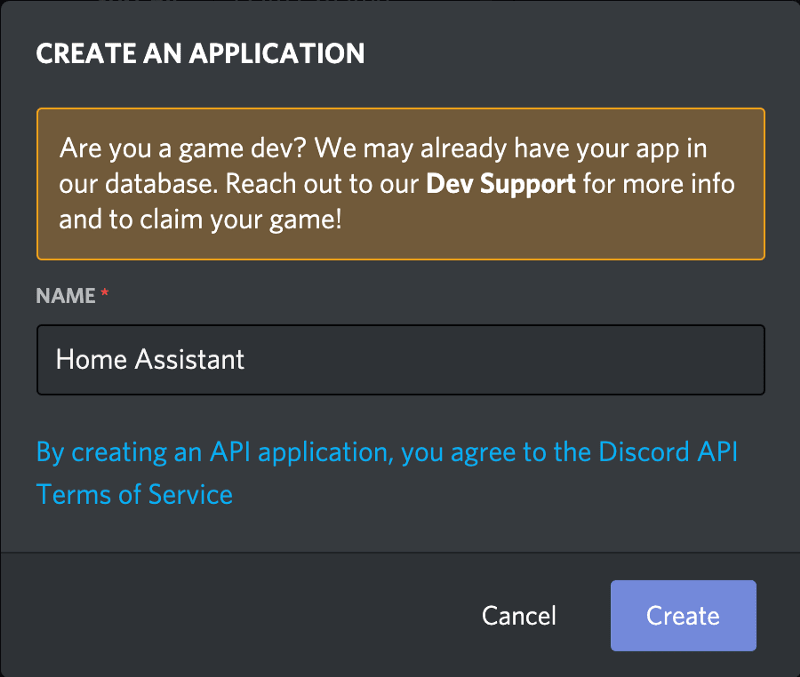
To create a bot, you need to go to the Discord developer dashboard and click on the New Application button to create your bot. Choose a name, Home Assistant for example, and click Create .
In the application screen that follows next, feel free to change the name, the application icon or to fill the application description, then head to the OAuth2 menu on the left.
In this menu, you need to get and save for later your App’s client ID . This ID will be needed later to activate the bot on your server.
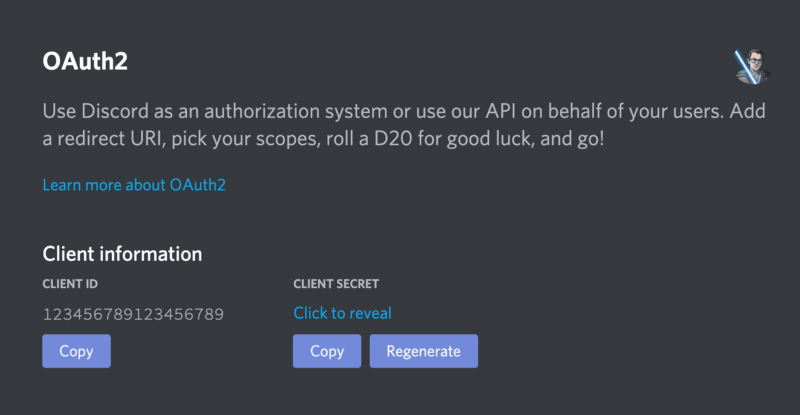
Now you have your Client ID, we can head to the Bot menu to make the final configuration step of our application.
Once you are on the page, just click on the Add bot button and confirm the bot creation after having carefully read the consequences on the confirmation popup.

In the newly created bot, you will be able to customise its name and its picture, but the most important part is to gather the bot token and keep it somewhere. You should so far have saved two things : the application Client ID and this Token.
Keep in mind that this token needs to be absolutely secret.
Anyone that get yours will be able to collect and send messages on behalf of your bot.

The final step is to activate your bot on your server. You only need to head to the following URL. Don’t forget to change the placeholder value with your previously recovered Client ID :
https://discord.com/oauth2/authorize?scope=bot&permissions=0&client_id=REPLACE_WITH_YOUR_CLIENT_ID
Once the validation window checked the pop will jump on your server, and you will officially be done with this part.

The flow creation
The next part of the configuration will take place in the Node Red module on Home Assistant. Once again, I will consider now that you know the software enough to understand the specific notions I might use.
Now that I’m considering you are correctly set up, we are going to install a required module: [Node-Red](https://nodered.org/. To do so, go to the Supervisor menu, choose the Add-ons tab, search node-red and install it. I will take few minutes before you can head up to the add-on configuration tab.

In the configuration tab, set at least a credential_secret to protec your data, then get back to info and start the add-on. I personally choose to activate the menu UI, so I can access it directly from the left menu, and the watchdog but it is a choice up to you.
After few seconds, the add-on is ready and so we are! Click on the UI link, in the menu or in the info tab from the add-on to get to Node-RED.
Node RED come with a lot of integrated plugins. However, the Discord plugin is not installed by default. You need to use the Settings menu to activate it.
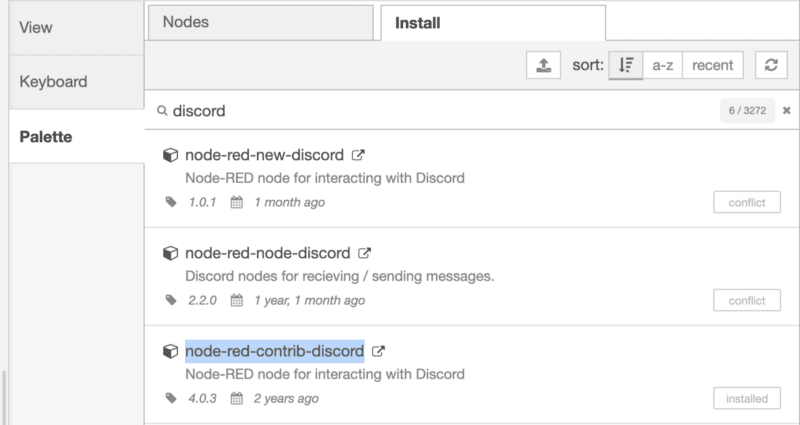
Plugins are located in the Palette tab. Search for node-red-contrib-discord and install it. Some other plugins might work, but it will be up to you to test them.

The base workflow

The base workflow is made with four blocks :
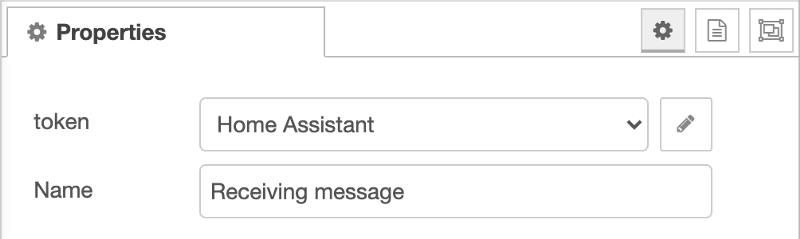
- discordMessage: listen to messages coming from Discord. You should use wisely in which channels your Bot is, since it will listen for everything. This block is configurable with a Discord token, the one you saved earlier in the Discord configuration. I recommend you add a specific role for your bot, and add him in very specific channels.
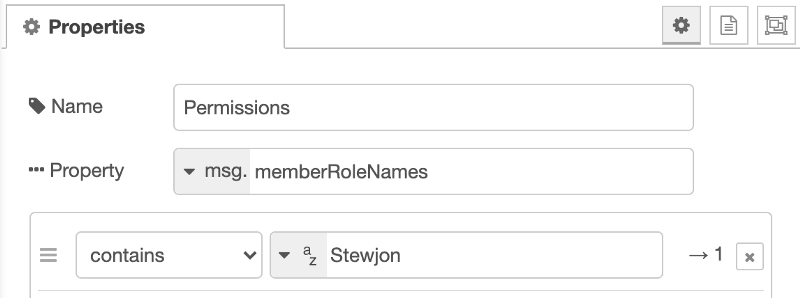
- switch: controls the user rights. I basically use it to check if the sending user have the proper role. To do so, I make sure the msg.memberRoleNames contains my Discord role. This is very useful because I have a lot of people on my server, and I of course don’t want any of them to be able to interact with my home or get sensitive data.
- change: update and parse my data to be handled somewhere else. I chose to make my commands on a 3 words basis (namespace, command, value). To do so, the change allows me to change the payload with a parsed value. It is pretty basic, but if you need something smarter, you can use the function block where you can write plain JavaScript. switch: get the namespace from the payload and head to the requested flow. It might contains a lot of different outputs. I only got four for now (light, temperature, humidity and help)
You can check the config I set in every of these blocks below


First flow: Calling a service
The first scheme I have made is something that allows me to turn on and off lights directly from Discord. It is made of three basic steps.

- change: This first block is aimed to make a translation between a word and Home Assistant entity. I need to transform a sentence lik lumière bureau on _ into a call to the proper service. Basically, it means converting _lumière to light (namespace), bureau to light.lumieres_du_bureau (entity) and on into turn_on (some words are in french to be easier to understand for my family). Like I suggest on the base workflow, you might want to switch this block to a function block to write plain JavaScript, which I will do someday.
- template: This second block convert a Node Red data into a proper Home Assistant Data, which is an object composed with three keys: domain, service and data
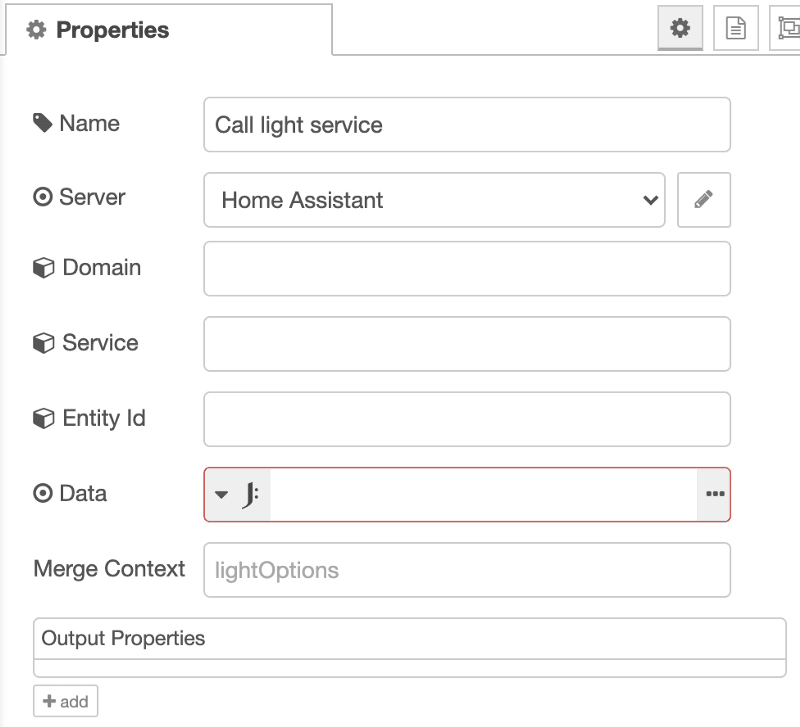
- call service: This is the block that link our Node Red workflow with Home Assistant and make the proper call.


Second scheme: Getting a sensor data
I also want to be able to recover informations from a sensor. I have currently implemented two of them, temperature and humidity.
I will only present the temperature since the behaviour will be exactly
the same for humidity, just the “Get entity value” content will slightly
differ.

- change: Same as the previous scheme, allow to convert a word to the proper entity name.
- current state: This allow Node Red to recover data directly from Home Assistant then continue the flow with the value provided
- template: Template is this time used to format the data to be sent in Discord.
- discordSendMessage: Making the actual call to Discord. A new message from the bot will appear in the proper channel.


Third scheme: A CLI-like help
Finally, I want to be able to show an help message to whoever can use Home Assistant.
The system is just one big switch we are going to see together.

To do so, we are going to need only three types of nodes:
- switch: This node will make the choice of the right template depending on the help type : light, humidity, temperate, and, if there is no type given, the default help.
- template: There are a bunch of templates. Each one is just plain text corresponding to the help I want to show on screen
- **discordSendMessage: Sending the message to the Discord server so it may looks like the bot is answering me.


Conclusion
Home assistant is a very powerful tool and combined with Node Red, it can be absolutely amazing.
The examples I have presented here are very simple on purpose, but it can be enhanced to take your Home Assistant to an higher level. I might share other posts later to explain some other workflow I had implemented.
I hope you’ll get closer to the perfect home automation thanks to this tutorial


Latest comments (0)