This is a step-by-step guideline about MERN project setup and first push of your full stack project to Github. If you need only the way regarding push to Github, please follow the steps from 3 to 11.
Prerequisite
1.Create directories for your project.
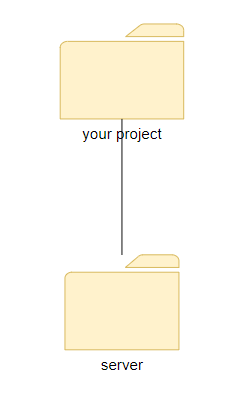
Create the project and server directories. The server(or backend) directory is a child of the project folder.
Do not create the client yet. The client directory will be created soon at the next step.
2. Create a React app in the client folder.
In your command line, make sure you are inside of the project directory. Create a react application and name it as client (or frontend).
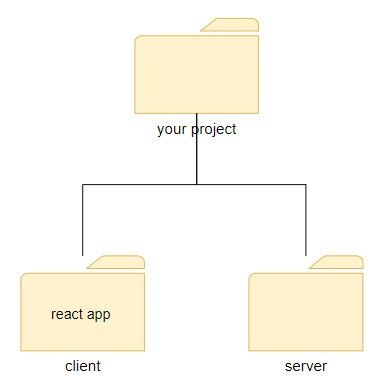
$ cd project
$ npx create-react-app client
3. Remove the git repository in the client directory.
We need to remove the git repository in the client folder. The git repo was created in the step 2 where the react application was set up.
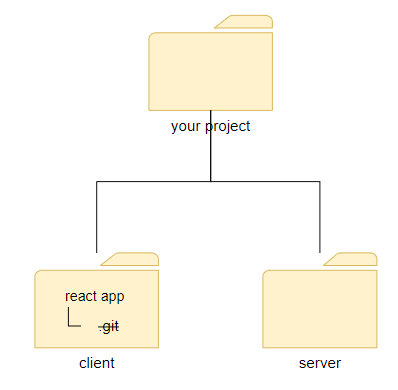
In the command line, move to the client folder and type the following codes. If you are curious about what "rm -rf" does, check out the reference link on the bottom of this article.
$ cd client
$ rm -rf .git
4. Move .gitignore file from the client to the project directory.
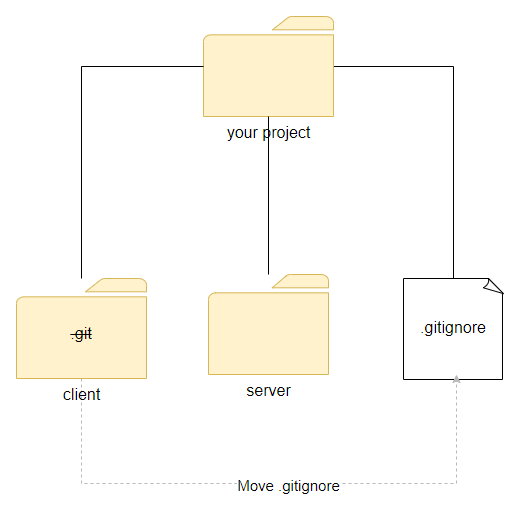
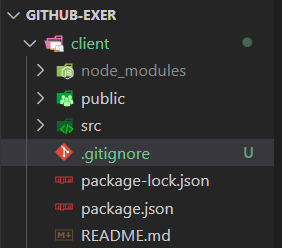
You see the .gitignore file in the client directory like the photo below.
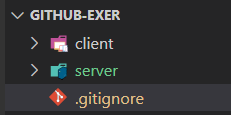
Move the .gitignore file for the client to your project directory.
5.Edit the .gitignore
Open the .gitignore file and find "/node_modules" and "/build". You should remove the slashes("/") in front of the node_modules and build. By doing this, node_modules and build in both client and server will be ignored.
# See https://help.github.com/articles/ignoring-files/ for more about ignoring files.

# dependencies
node_modules
/.pnp
.pnp.js

# testing
/coverage

# production
build

# misc
.DS_Store
.env
.env.local
.env.development.local
.env.test.local
.env.production.local

npm-debug.log*
yarn-debug.log*
yarn-error.log*
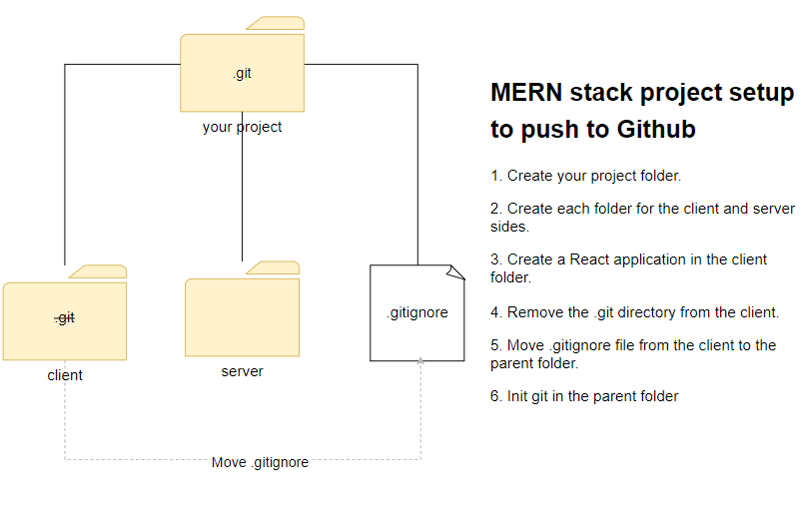
6. Initialize git in the project.
Go to the project directory in your command line and initialize the git.
$ git init
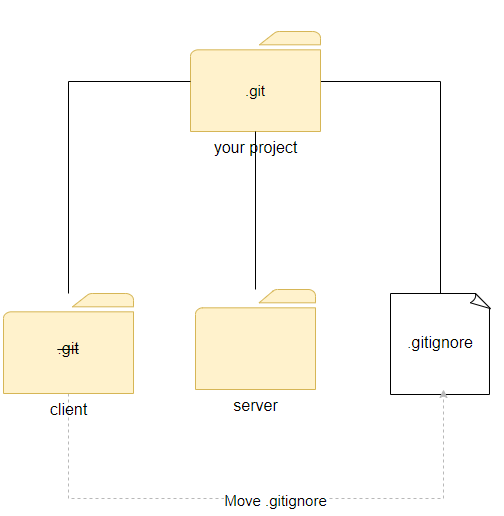
Now you are almost there until your first push to Github. The diagram below simply summarizes all steps you've gone through so far.
7. Commit the project setup.
$ git add .
$ git commit -m 'Init the project'
8. Create a main branch in the local repo.
$ git branch -M main
If you wonder about the "-M" flag like me, I can simply put that it renames the master to main. If you want to dig into the -M flag, please refer to the link below.
9. Go to github.com and create repository.
Create a remote repository for the project in Github. If you don't have an account, you need to sign up first.
10. Connect the local repository to the remote one.

After creating the repository, hit the code button and copy the link. In the command line, make sure you are in the project directory and type the following code.
$ git remote add origin <YOUR LINK HERE>
11. Push to Github
Push the project to the remote repo. Do you want to know more about -u flag? Please check out the reference below.
$ git push -u origin main
From the step 12, we are going to setup the server side.
12. Run npm init in the server directory.
In command line, make sure you are in the server directory and initialize npm.
npm init -y
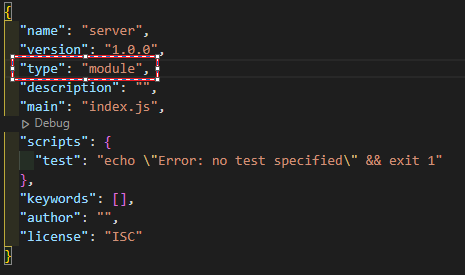
13. Modify the package.json
If you want to use import instead of require, add "type": "module" in the package.json like below.
14. Create server.js file and install Express.js
In the server directory, create a server.js file and install Express.js.
npm install express
15. Let's set up the server.
import express from "express";

const app = express();

app.get("/", (req, res) => {
  res.send("connected");
});

const port = process.env.PORT || 5000;
app.listen(port, () => {
  console.log("Server listening the port http://localhost/" + port);
});
[More To Read]


Latest comments (15)
Thank you for this post. It was really helpful !
node_modules and .env are getting tracked from my server folder but not in front can you help me out.
repo link - github.com/Bhanu-code/next_stote
so helpful
Hello.Thanks for the explanation.But what is the purpose of steps 12 to 15 if I have already completed my MERN project with express previously installed?
Hi, thanks for your reply! You are right. As descrbed in the beginning of the post, the steps from 3 to 11 are relevant to Github push. If you already have a MERN project, you don't need to follow others. : )
how do i deploy it haven been able to push it to github. i will like to get the url of my mern project
Hello! Can you share the message showing your terminal after git push? When it comes to deployment, you need to check other articles about the topic. This post is only about pushing your project to GitHub.
yes i was thinking it must be like that but after i found ur info i was %100 sure so thank u so much for the nice job thx
Happy to hear that!
Great guide! 💛
Thanks for this article. I followed it step by step and I benefited a lot. 🙌
Thank you for sharing. It is very helpful
Explained very well thanks a lot
Well explained. Thanks for sharing🤝
My pleasure : )