TL;DR
@elastic/search-ui separates the UI from the core search mechanics and functionality and thus allows you create any search experience using any modern framework, even plain Javascript! While the Elastic's default UI implementation is written for React apps, in this blog post I will show the Ember.js implementation using the new addon ember-search-ui. Here's the Ember.js demo.
Search experiences
Most software shares these basic requirements: some way to create, edit, or delete something (usually forms) and a way to search for them, the classic CRUD. There is an ongoing challenge to help our users / customers / clients with the best ways to find the information they need in our applications. There are many ways to create these search experiences, here are some examples:
We have the all time classic, table with filters per column.


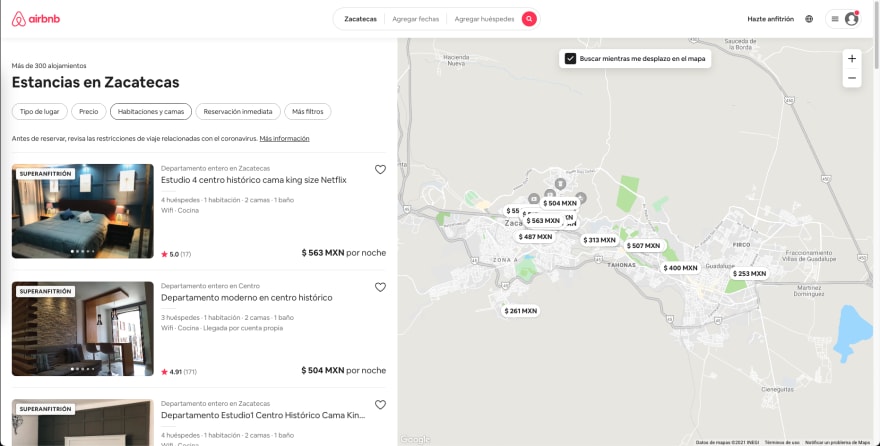
Using a map to find locations on Airbnb
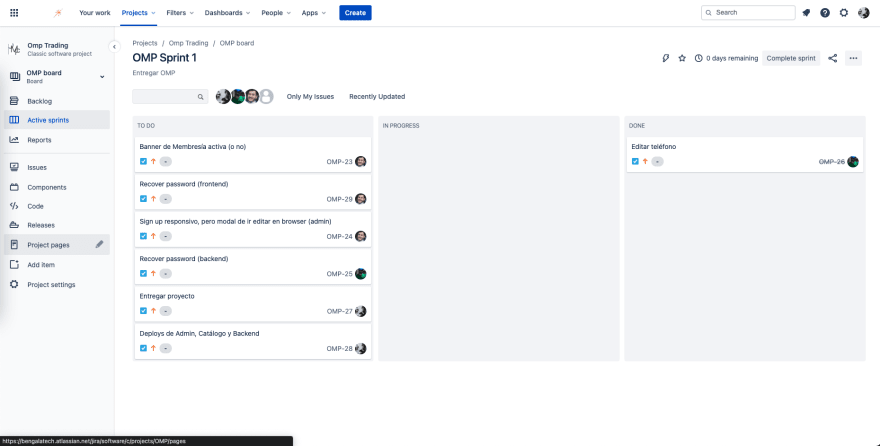
A Kanban board to list issues on Jira
Job listing sites, such as LinkedIn

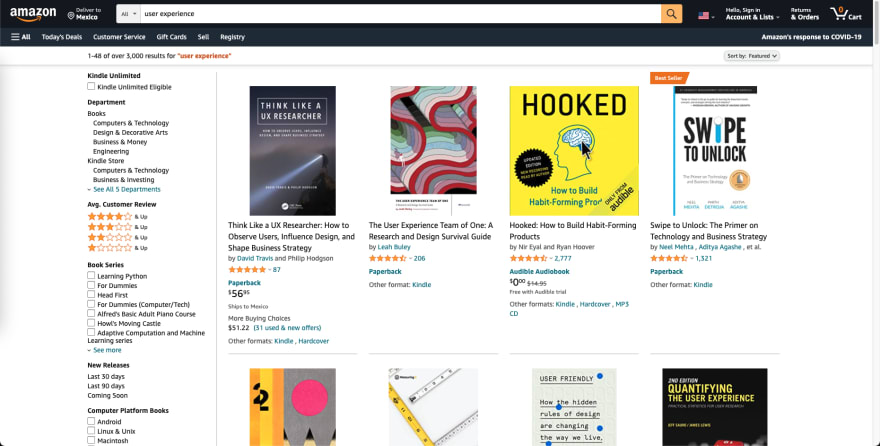
Product listing on Amazon
Looking closely we can notice how all these search UIs use these:
- Some kind of inputs or controls to filter/drill down search results
- How the search query actually made
- How the latests results look like
In the ever-growing world of open source we can find all kinds of libraries that help us build the classic table with filtering, paging, sorting and many more common functionalities, and hey, who wants to recreate them? They are amazing, battle tested, work as described and actually help us a lot in most scenarios; Still, I always found myself hitting a wall trying to improve the UX of this specific table in this particular project with some specific control to filter the results, or even reusing these controls on many different pages to maybe display the results of one differently, which often leads to rewrites or re-implementation of the internals of the library, increasing the surface area for bugs and if the application is large enough it often feels like you have to maintain two or more source codes.
This issue is even more noticeable when you move from project to project, between ecommerce sites and data-driven dashboards and more, the problem is that these libraries link the user interface with the search mechanics, wouldn't it be amazing if they were separated? so that we can implement the user interface of our choice (hopefully the best one for your users), using the same basic concepts. Enters ember-search-ui.
Ember Search UI
ember-search-ui is an ember-cli addon that uses the core package @elastic/search-ui to give us ember developers a way to create any search experience and reuse any part of it between different pages, projects and the most complex UX requirements.
It consists of 2 main concepts. Keep in mind this is not a tutorial, it's just a small MVP presentation, so please check out the complete reference
-
config: a simple javascript object that implements atonSearchmethod, this is like ember data adapter, where you would want to configure your API specifications, it is simple; takes the current state of the driver and waits for a new state, you can apply here whatever data transformation your application needs, for example, transform current filters tojson-api, add auth headers and more.
{ onSearch(state: RequestState) : ResponseState, } -
driver: the driver is a framework agnostic piece of state and the glue of everything, it has 3 core purposes:- It exposes some actions with clear API to create new searches, via
driver.getActions() - It emits events to subscribers when there's a new state change produced by any of these actions, you can subscribe using
driver.subscribeToStateChanges(this.yourCallBack) - It holds the current results, filters and pagination, you can access the current state using
driver.getState()
- It exposes some actions with clear API to create new searches, via
With these two you can basically create any UI, ember-search-ui gives you two simple components:
-
<SearchProvider />: Basically an easy way to instantiate a driver in any template.
  <SearchProvider @config={{this.config}} as |driver|>
    <Table @driver={{driver}} @columns={{this.columns}} />
  </SearchProvider>
<WithSearch />: This componentsubscribesToChangesto any driver passed it as argument, you'd also need to provide a function@mapContextToPropsthat takes the current state and actions object and return the portion of the state and actions to set into the state of this component, this way we avoid whole tree re-renders,(stateAndActions) => subsetOfStateAndActions, for easy usage this addon comes with a helpermap-context-to-propswhich receives the keys of the state or actions this component uses.
A couple of examples using the popular ember-paper for material styles.
A search input component, lets call it <SearchBox />
  {{!  search-box.hbs }}
  <WithSearch
    @driver={{@driver}}
    @mapContextToProps={{map-context-to-props
      "searchTerm"
      "setSearchTerm"
    }}
  as |state|>
    <PaperInput
      @label="Search"
      @placeholder="Start searching..."
      @value={{state.searchTerm}}
      @onChange={{state.setSearchTerm}}
    />
  </WithSearch>
Displaying results component, let's call it <SearchResults />
  {{!  search-results.hbs }}
  <WithSearch
    @driver={{@driver}}
    @mapContextToProps={{map-context-to-props "results"}}
  as |state|>
    <PaperList>
      {{#each state.results as |result|}}
        <PaperItem class="md-2-line">
          <img src={{result.img}} alt={{result.name}} class="md-avatar">
          <div class="md-list-item-text">
            <h3>{{resul.name}}</h3>
            <p>{{result.price}}</p>
          </div>
        </PaperItem>
      {{/each}}
    </PaperList>
  </WithSearch>
Maybe we want to add an slider which filters down the products
Filter Slider component, lets call it <Filters::Slider />
  {{!  filters/slider.hbs }}
  <WithSearch
    @driver={{@driver}}
    @mapContextToProps={{map-context-to-props
      "filters"
      "addFilter"
      "removeFilter"
      "setFilter"
    }}
    as |state|>
    {{#let
      (find-by "field" @filterField state.filters)
    as |filter|}}
      <PaperSlider
        @min={{0}}
        @max={{100}}
        @value={{filter.values.firstObject}}
        @onChange={{fn state.setFilter @filterField}}
      />
    {{/if}}
  </WithSearch>
Wrapping it up...
<SearchProvider @config={{this.config}} as |driver|>
  <SearchBox @driver={{driver}}/>
  <Filters::Slider @driver={{driver}} @fielterField="price"/>
  <SearchResults @driver={{driver}}/>
</SearchProvider>
As we can see we defined a complete unique search experience that is decoupled of any particulars, you could add or create any new filters (even a Map like Airbnb), display the results completely in a different way, a table perhaps? the possibilities are endless.
I hope you liked the intro and it helps you to build amazing UIs for your users and helps you and your team have sanity while building these!
Please take a look at ember-search-ui. There's an example for a more deep dive on ember specifics, and ping me on twitter if I can help you with anything.
This addon is merely a port of the amazing work of @elastic/search-ui, so thanks to everyone on Elastic team for continually making these incredible open source work. Please refer to that repo for a complete reference of the APIs.


Oldest comments (0)