In this blogpost I'll show an added feature in a project already created My first project with React ts + Hooks link to blogpost:

Step by Step
1 - Install Dependencies
# using yarn
yarn add react-to-print

# using npm
npm i react-to-print
2 - Flow of the new Feature:
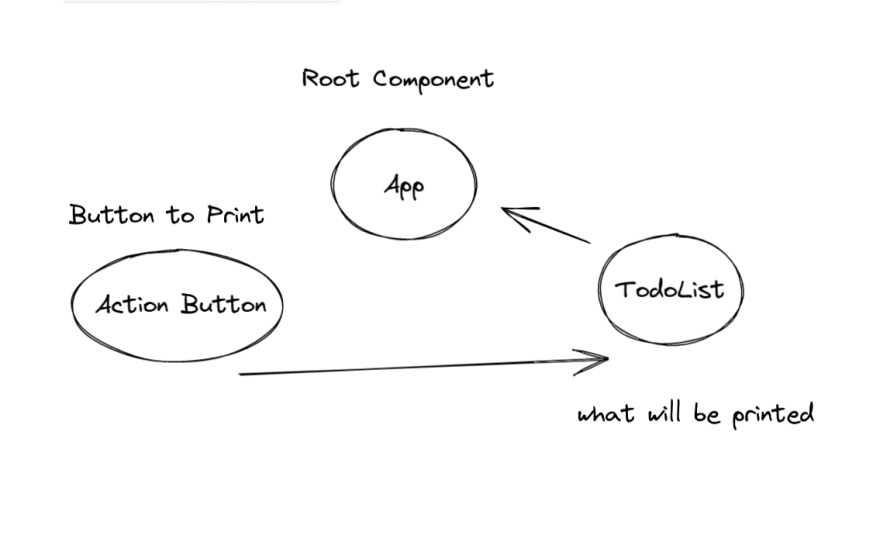
An import concept is Lifting State Up which consists of: when we want to add one or more features/components for certain functionality and manage them so that they work together we use the concept of elevating state so that the root component will be the manager of all child components.
See more in: https://reactjs.org/docs/lifting-state-up.html#gatsby-focus-wrapper
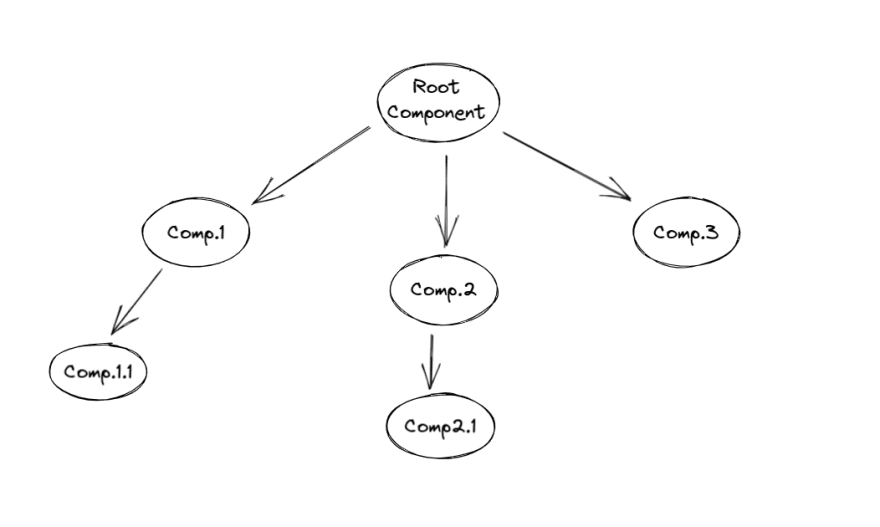
3 - Folder structure
To best understand and visualization:

4 - Add ActionButton
First, we will import all the dependencies that will be used and pass the type of the componentToPrint function to be used:
import React from "react";
import Button from "@material-ui/core/Button";
import ReactToPrint from "react-to-print";

type ActionButtonProps = {
  componentToPrint: React.MutableRefObject<null>;
};
And we create ActionButton function and we passed the componentToPrint function into the same, and return button print:
return (
    <>
      <ReactToPrint
        trigger={() => (
          <Button id={"print"} variant="contained" color="primary">
            {" "}
            {"Print"}{" "}
          </Button>
        )}
        content={() => componentToPrint.current}
      />
    </>
  );
We wrap the button with ReactToPrint and pass a trigger on it where the component will return and then an onClick.
How we will use the useRef hook to return mutable objects via .current and related components.
5 - We passed ComponentToPrint to TodoList component
We wrap the To component of the List with a div that links with componentToPrint:
return (
    <div ref={(el) => (componentToPrint.current = el)}>
      {list.map((item, index) => (
        <div key={item.id}>
          <TextField
            value={item.value}
            onChange={(e) => handleChange(e.currentTarget.value, item.id)}
          />
          <IconButton onClick={() => handleAdd(index)}>
            <AddIcon />
          </IconButton>

          {list.length > 1 && (
            <IconButton onClick={() => handleDelete(item.id)}>
              <DeleteIcon />
            </IconButton>
          )}
        </div>
      ))}
    </div>
  );
6 - Pass componentToPrint to component Root (App.tsx)
Coming to the last step we will pass the componentToprint on the parent component where it will manage the child components.
We pass the componentToPrint function inside the App function and we will use the useRef hook to finish the relation of all the components that are part of the buttonPrint and we pass the componentToPrint as a parameter in their return:
const App = () => {
  const componentToPrint = useRef(null);

  return (
    <div className="container">
      <TodoList componentToPrint={componentToPrint} />
      <ActionButton componentToPrint={componentToPrint} />
    </div>
  );
};
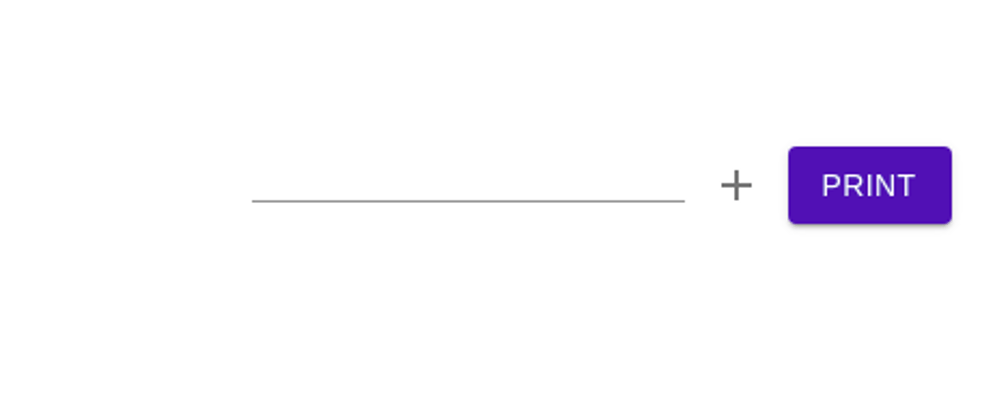
Result

🔗 GitHub:

📋 Todo-List
Well, the project that will be presented is very simple, but served to consolidate basic knowledge about React, I chose to use typescript, because the code becomes more readable and simple, but if you prefer you can use normal javascript.
The project will use:
- Typescript
- React Hooks
- Material UI
Dev.to article with step by step
Dev.to article adding new feat print button
✨ New Feature react-to-print

Getting Started
1- Clone repository.
2- Install dependecies.
> yarn
// or
> yarn install
// and
> yarn start
Demo
CodeSanbox
Contributions
Feel free to contribute to this project, if you find any bugs or improvements, open an issue and send a PR about it \o/
🔗 CodeSandbox: https://codesandbox.io/s/react-to-print-f5tje?file=/src/App.tsx


Top comments (1)
This was a work-life saver, as this little piece of documentation is somehow missing from the library docs. It was easy to implement it with your examples, thanks!