TLDR: Connect your repo to Azure Static Web Apps and use GitHub Actions to build your site via Python.
Modern Static Sites (popularly referred to as JAMstack Apps) provide a custom web experience for little to no cost.
I've been working on my own static site generator for going on 5 years now. It's developed a lot over time, but one thing is consistent. It's modern python!

Many folks have used tools like github pages, Netlify or Vercel, since joining Microsoft, I wanted to learn more about how to make both static and dynamic sites using Python and Azure.
I first learned about Static Web Apps (SWA) in my first week when the team was celebrating one year of the product. By design, the plan was to serve web applications by mixing HTML and optionally dynamic content via Azure functions.
Python has fallen out of favor for building static web apps, but it is still possible to deploy a static web app. Sadly, you do have to do a little more than if you were going to use Javascript.
Setup Azure Static Web Apps (The VS Code way)
You can setup Azure Static Web Apps with VS Code using the Azure Static Web Apps Getting Started. There provides a few options for web frameworks and the closest for you will be the vanilla JS route. We'll skip the first couple steps since we're not using the demo repo (or Javascript). I don't want to re-hash the tutorial; here is a quick recap:
- Open your project's repo in VS Code
- Install the Azure Extension and log in to your Azure account
- Select the Azure Side bar menu in the RESOURCES tab
- Select the create icon (plus sign)
- In the prompt, choose Create Static Web App
- Run through the wizard
- connecting your GitHub account
- creating a name for your project
- choose your preffered region
The next step is where things begin to differ.
- IMPORTANT Selecting CUSTOM as the Deployment Method.
- Set your app location to "/" path of your project or wherever your Python code lives.
- Set the output path to the location where your code will create HTML.

Getting your site up and running
Sadly, Azure Static Web Apps don't support running python based build commands easily, but according to the docs, we just need ONE HTML file in a folder to build a site. we can give it that file in a few different ways. Where you build your HTML will be up to you.
Build in the image
Azure uses a system called Oryx. You don't need to know too much about how it works but it looks for specific files and chooses build specs based on them. If you have a requirements.txt, Oryx will know to use Python. 1
Using Oryx comes with a few compromises. Oryx uses a Python 3.8 build by default. You can update up to Python 3.9.7 by adding PYTHON_VERSION: "3.9.7" to the yaml file. Also, you will need to add your build steps to the PRE_BUILD_COMMAND2. You can create shell script or add the steps seperated with &&.
- name: Build And Deploy
        id: builddeploy
        uses: Azure/static-web-apps-deploy@v1
        with:
          azure_static_web_apps_api_token: ${{ secrets.AZURE_STATIC_WEB_APPS_API_TOKEN_MY_PROJECT }}
          repo_token: ${{ secrets.GITHUB_TOKEN }} # Used for Github integrations (i.e. PR comments)
          action: "upload"
          ###### Repository/Build Configurations - These values can be configured to match your app requirements. ######
          # For more information regarding Static Web App workflow configurations, please visit: https://aka.ms/swaworkflowconfig
          app_location: "/" # App source code path
          output_location: "OUTPUT_PATH" # Built app content directory - optional
        env:
          PYTHON_VERSION: 3.9.7
          PRE_BUILD_COMMAND: 'pip --upgrade pip && pip install -r requirements.txt && python routes.py' # This can be a shell script as well
Build Before the Image
You can separate your build steps from the Azure image deployed, building it in Github Actions.
To build your environment in GH Actions you'll need to add a block to your yaml file BEFORE the Azure Build and Deploy section. You'll need to include the setup-python action and specify the python version you would like to use. Use the major version of your python version so 3.10 and NOT 3.10.5. For more information and options on this you can check out the Setup-Python GH actions repo.
Next you'll need to add the run steps. Give this section a new name and enter the commands to run.
run: az_build.sh # My run script is routes.py
For more than one command, use |- at the beginning which each command being on its own line.
I don't think there is much of a difference performance-wise. You're code is doing the same thing, just in a different place. Use this method to bypass Python version limits of Oryx (or separate concerns in your build).

Build Before Pushing to Github
There is another way. Build your site locally and push its contents to GithHub.
You will need to manually run your build steps. The biggest advantages is complete control and you don't have to modify your yaml file.
The advantage of doing this is if you do granular changes, you don't have to rebuild the entire site.
Viewing your Site
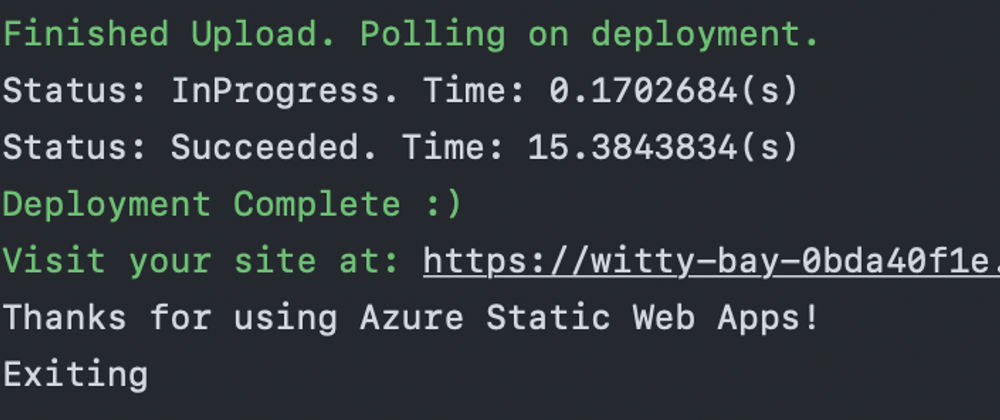
After you push your code to GitHub. You'll be able to see your site live. If you aren't sure of the URL, check the GitHub Actions Build and it will tell you in the build steps.

You can also refresh the Azure Section of VS Code and it should be visible.

Once it's running you can add a custom domain in the Azure Portal.


Oldest comments (0)