Commit, push, deploy — Git in the Microsoft Azure Cloud

Follow me on Twitter, happy to take your suggestions on topics or improvements /Chris
We have come to rely on Git as our default version control tool ever since it was released, it has become de facto standard even if other options exist. Git helps us manage our source code, divide it in branches and it even helps us working with other developers on places like for example GitHub or GitLab by allowing us to create Pull/Merge requests. Wouldn’t it be great if Git can be there for us when we move our Apps to the Cloud?
This article will cover the following:
- Download a sample app, we want to focus on understanding deployment with Git so we will take some ready-made code
- Run the app locally just to ensure it works, this is a must, if it works locally it at least has a sporting chance of working in the Cloud
- Configure a deployment user , this deployment user is required for FTP and local Git deployment to a web app
- Create a resource group , this is needed if you need a new logical grouping for what we are about to do,
- Create a service plan , we will need this to specify how we will be charged for this and what kind of container we will create
- Create the web app , we will need to run a command to create the actual web app and we will need to state here how we deploy it, we will choose git deploy, more on that below
- Visit the generated web site, we need to enjoy the fruits of our labor of course
- Push the source code to the site , using git deploy
- Manage updates , let’s learn how we can update our app and push changes, this deployment, with Git, is not a one-off we can keep changing our code and redeploy for as long as we want
Why Cloud and why Git?
Cloud is almost the default place for developers to deploy new apps today. The reasons are many like it is cost-effective, scalable, elastic and has some great built-in support for security ( even though we can’t rely on the Cloud wholly).
Git is a tool we most likely are already using when we code as a way to manage our source code, especially when we are many developers maintaining the same code base. The best way to add a skill like Cloud and deployment to your tool belt is by using technologies you already know. So here it is, take what you already know, Git and add some Cloud to it. Hope you enjoy this article :)
Resources
We do refer to some docs pages throughout this article so here they are so you can learn more:
- Installing Azure CLI, for everything we will need the Azure CLI. Azure CLI is quite powerful and will let you perform pretty much anything you can do in the Portal.
- Local Git deployment to Azure App Service, this page shows how you deploy your app to Azure using Git but also talks a little about Azure DevOps build
- Git deployment quickstart, this is an even faster version than this article. It’s faster in the sense that it’s using some smart defaults for resource group, app service plan and it’s also using something called zip deploy, which is another type of deploy than the git deploy we are describing here
Download and run a sample app
Let’s get a sample app first. The easiest way to do that is by installing Git if you haven’t done so already and grab the sample project out of GitHub:
git clone https://github.com/Azure-Samples/python-docs-hello-world cd python-docs-hello-world
The application above is a Python application using the library Flask to give us a REST API. What does this repository give us?
application.py // this is where our application lives

requirements.txt // this is a list of libraries that needs to be installed for our app to work

.gitignore // just a file Git reads so it knows what files to NOT include when we push changes to the repo
Let’s have a look at application.py and how it sets up some routes for us:
// application.py

from flask import Flask

app = Flask(__name__)

@app.route("/")

def hello():

    return "Hello World!"
What the above code does is to define a route / and it lets the method hello deal with the mentioned route and it outputs the text Hello World , a pretty standard phrase when it comes to your first application in a new programming language or library.
Run the app locally
Ok, now we understand a bit more what we have in front of us. Next up is attempting to run this application locally before attempting to deploy it to the Cloud.
To get a Python app up and running we need to install Python and the dependent libraries that come with it. The instructions for that is a little bit different depending on what OS we are on, that is Windows, Linux or Mac. If you are on a Mac, you’ve got Python installed already. However, you will need the package manager Pip, which we can get hold of by running:
sudo easy_install pip
It’s worth having a look at the upcoming link if you are a serious Python developer. If you are not and you are just here for Git and Azure feel free to skip the below paragraph.
In short, it’s asking you to install something called virtualenv . It creates different working environments so if you need a separate version of Python or separate version of some libraries this is the way forward.
Next thing we need to do is to install the dependent libraries and we do so by invoking the following command in the terminal:
sudo pip install -r requirements.txt
A quick look at the requirements.txt file reveals we have some depending libraries that our app needs. As we can see below it’s our API framework Flask together with some supporting libraries:
click==6.7
**Flask==1.0.2**
itsdangerous==0.24
Jinja2==2.10
MarkupSafe==1.0
Werkzeug==0.14.1%
Then we just need to set the environment variable FLASK_APP to point to our starter file application.py , like so:
FLASK_APP=application.py
followed by
python -m flask run
This launches our app at http://localhost:5000 , like so:
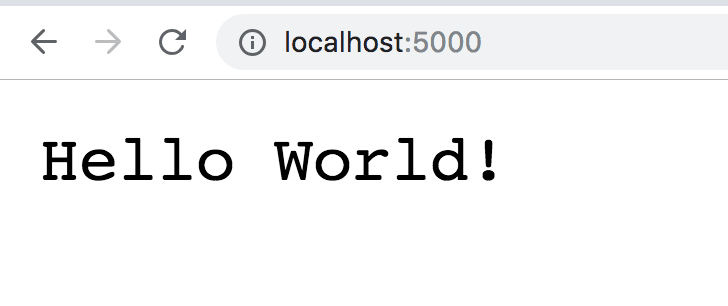
Great, so we are ready for our next step, deploying to the Cloud.
Configure a deployment user
To do any kind of deployment to Azure you will need a so-called deployment user . This deployment user will need to have a name that is globally unique.
To create our deployment user we need to use the command az webapp deployment. Then we need to provide a user after the --user-name flag and a password after the --password flag. The password needs to be at least 8 characters long and contain two of the following three elements: letters, numbers, symbols. The full command we need to run looks therefore like this:
az webapp deployment user set --user-name <username> --password <password>
Here is an example of what invoking the above command can look like. Let’s call the user deployment-user-chris and give it the password test1234. Thereby our command now looks like this:
az webapp deployment user set --user-name deployment-user-chris --password test1234
This should give you an output looking like this:

The above output means that our command succeeded and we can keep going to the next step.
Create a resource group
A resource group is a logical grouping in which you place everything that goes together like Databases, Service plans, Apps and so on, we need a resource group for almost everything we do.
You can either use one of your existing resource groups or create a new one in which case you would type the following:
az group create \
--name [your name for a resource group] \
--location westeurope
Create a service plan
An App Service plan in Azure defines a set of compute resources for an App to run on. This corresponds to a service farm in a more traditional Web Hosting. A service plan comes with a pricing tier. The pricing tier decides what App Service features you get and how much you pay for your plan. There is a lot more to know here, the interested reader is urged to have a look at the following link to see how this works more in detail.
For the sake of this article though it’s enough to understand that all Apps running on AppService needs a service plan as a prerequisite.
The full command for creating a service plan is this:
az appservice plan create --name [your name for an app service plan] --resource-group [you name for a resource group] --sku B1 --is-linux
The value B1 means we are on a basic service plan ( relatively cheap so you dare test this out a bit) and --is-linux means we will get a Linux container
We are using the appservice command above and the subcommand plan to create our service plan. This should also give us a JSON response back with provisioningState key having value Succeeded
Create a web app
Below is the command for creating the web app. We will need to state the resource group , pricing plan the name of the app, the version of Python and lastly how we will deploy it, which is git deploy:
az webapp create --resource-group [your name for a resource group] --plan [your name for a service plan] --name [your name for an app name] --runtime "PYTHON|3.7" --deployment-local-git
A comment on the above command is that the app name will need to be globally unique.
In the JSON response to this we are looking for two interesting pieces of information:
- the name of the git repository, look for key called deploymentLocalGitUrl .
- the public URL, look for a key called defaultHostName
What you’ve accomplished is an empty web app with git deployment enabled. The reason is empty is cause we have yet to put any code in there.
Visit the web site
Even though we haven’t pushed any code to our site yet it still contains something namely a default landing page that we can visit. To visit the web site go to http://.azurewebsites.net
This should show you a default site looking like this:

That seems to work, great! Ok, so we’ve done most of the heavy lifting, now it’s time to roll up your sleeves, crack those knuckles cause we are about to make our web site come alive.

Push the code to the web site
Ok, the last step is to set up the git deploy properly and push the code and see the site being updated with your code. We’ve set up the git deploy by typing the following:
git remote add azure <deploymentLocalGitUrl-from-create-step>
Now it’s time to push the code so we simply type:
git push azure master
This will prompt you for your deployment users password. Just type it and your deployment is underway.
This will take a little while so go and have a warm beverage :) It should finally dump out a long list of logs ending with:

That means that your app deployed successfully and you can now go back to your app URL and you should see this:

Now, that’s how it’s done. Now, celebrate… :)

Manage changes and redeploy
This is quite easy now that we have git deploy activated. Let’s do the following:
- make some changes to a file
- commit the changes
- push the code to our remote branch
Make some changes
Let’s go into application.py and change it to this:
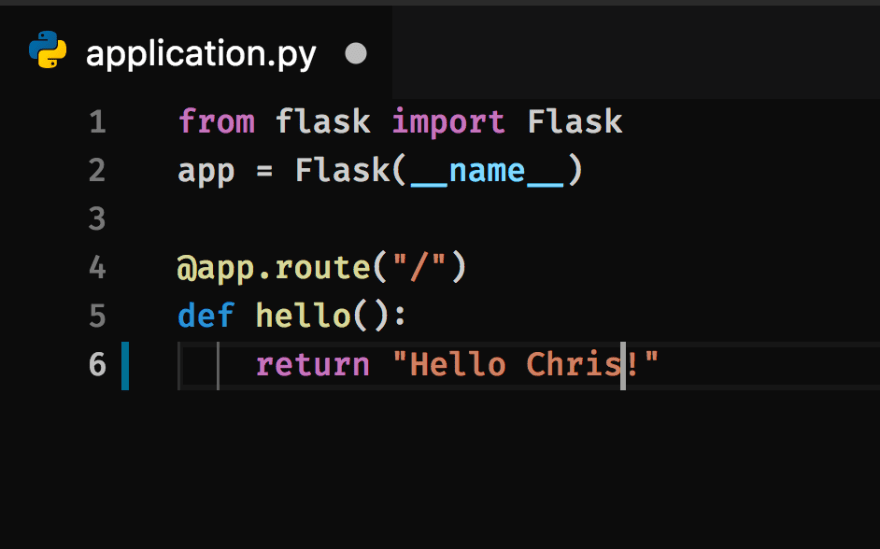
Commit changes
We commit as we would normally do in git with:
git commit -am "changed text"
Push the code to our remote
Let’s now push to our remote branch by typing:
git push azure master
This should generate a bunch of log entries and end with deployment successful. Let's verify that that is the case by going to our app url:
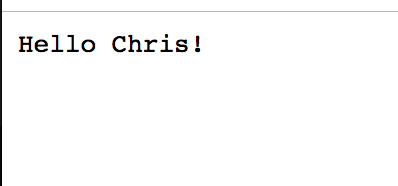
That’s looking good :)
Summary
We have learned how to deploy an app to Azure and even update it and redeploy. That’s a lot in one article. Let’s have a brief look at the steps we took to accomplish this:
- downloaded a sample app. Obviously, in a real scenario, we would have created our own code and not as in this case use a sample app with Python and Flask
- created a deployment user that we would need for our deployment. That also made us choose deployment type which we chose to be git deployment.
- created a resource group. This created a logical group for our app. This is a group we can reuse for other things like adding a database or something else the app might need to exist.
- created a service plan. This meant that we decided how we want to be billed for this as well as what kind of container we wanted the app to run in.
- created the web site itself , or rather a placeholder where our app could live.
- pushing our code to the newly created web site using git. We also showed how we could use git to update our web site and redeploy.
This taught us the basics of starting with web app development with Azure and prepared us for future adventures. Stay tuned for more fun in the cloud :)
And finally almost all you need to remember from this article is using Git and then push and you’ve made it to the Cloud…


Top comments (0)