When learning to build an API with a language like Python, Flask is a solid option. Starting out is simple and implimenting database queries and insertions are easier than you'd think thanks to ORMs (Object-Relation Mapper). Flask and other unopinionated frameworks in general shine when it comes to simplicity but can sometimes make your projects lack structure and direction compared to opinionated alternatives like Django.
Before we can start this tutorial you should check if you have the required tools
Python & Pip
Python comes pre-installed on most Linux distros, and always pre-installed on macOS. You will have to install using the Python website for Windows if you don't have it installed already. To check if Python is on your system you can use python --version or python3 --version. Pip (Pip Installs Packages), is Python's package manager and comes with Python.
Step 1: Prepping Your Setup
First open a new window with the terminal/command line application that comes with your operating system.
Then Create a new directory for your project.
mkdir flaskapp
From here you have to move into this new directory
cd flaskapp
Then you create a new virtual environment in this directory using Python's builtin virtual environment tool
| macOS/Linux | Windows |
|---|---|
python3 -m venv venv |
py -3 -m venv venv |
After the environment is created we activate it
| macOS/Linux | Windows |
|---|---|
. venv/bin/activate |
venv\Scripts\activate |
Lastly comes installing Flask. Flask is the framework we'll be using today. It's a lightweight, unopinionated framework and really easy to use.
Install it using pip install Flask or pip3 install Flask depending on your Python version.
Step 2: Creating The Flask App
Create a new filed called app.py and type in the following:
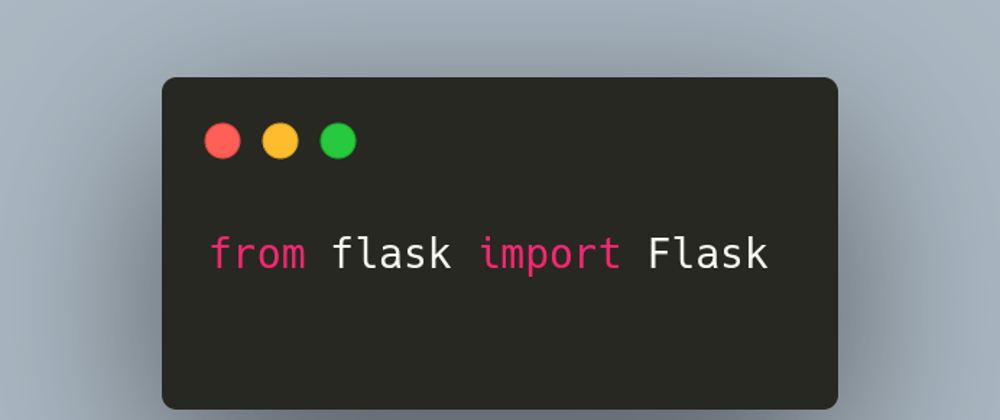
from flask import Flask

app = Flask(__name__)

@app.route('/')
def HelloWorld():
    return "Hello World!"

if __name__ == "__main__":
    app.run(debug=True)
The first line in the file imports the Flask object from the library. The next line initializes our Flask object as a variable we can use, add routes to and run. @app.route('/') names the route and the function HelloWorld is the function routed to the string in the decorator. It returns a string that will show when the URL is visited. The last two lines are sort of a safe guard in Python scripts to prevent unwanted execution, and will only do app.run(debug=True) when the file itself is being run rather than imported.
Step 3: Running Your Flask App
Open a window of your terminal/command line application and run
python flask.app
Your terminal should show this:
 * Serving Flask app 'app' (lazy loading)
 * Environment: production
   WARNING: This is a development server. Do not use it in a production deployment.
   Use a production WSGI server instead.
 * Debug mode: on
 * Running on http://127.0.0.1:5000/ (Press CTRL+C to quit)
 * Restarting with stat
 * Debugger is active!
 * Debugger PIN: 135-059-029
And if you visit http://localhost:5000 or you should see this:

Python comes pre-installed on most Linux distros, and always pre-installed on macOS. You Congratulations! You just built a flask app. With an understanding of REST APIs you could add new routes that return different information, or even files. Using ORMs you could add functionality to create, retrieve, update or delete from a local or cloud database. With a framework like Flask, the limit is up to you.


Top comments (0)