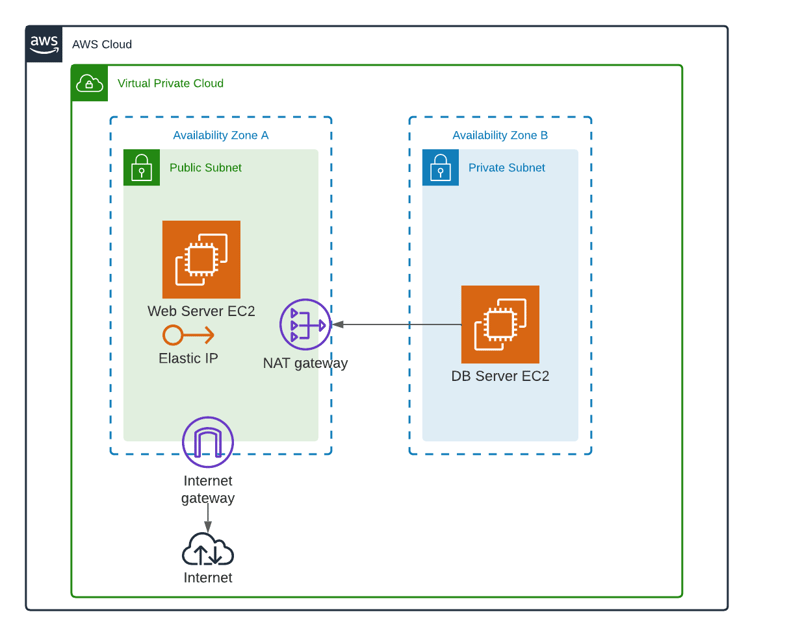
Firstly, go through Architecture Diagram. AWS provides many services for manage the Virtual network. In this guide, you can create AWS VPC step by step.
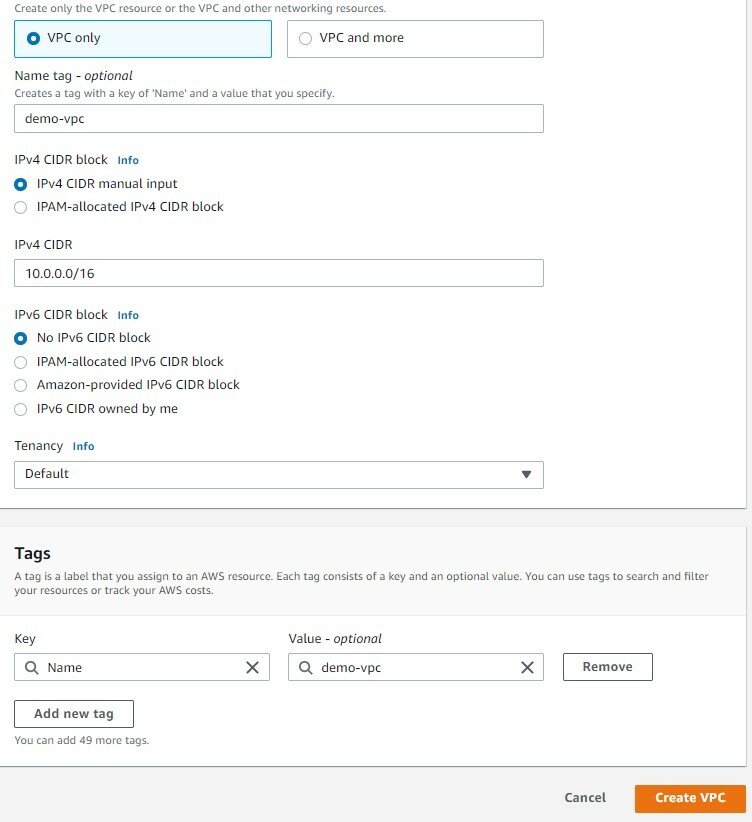
In AWS Management Console search and go VPC services after that click creates vpc button.

Give the name for VPC and add IPv4 CIDR. You can use the 10.0.0.0/16 CIDR range.
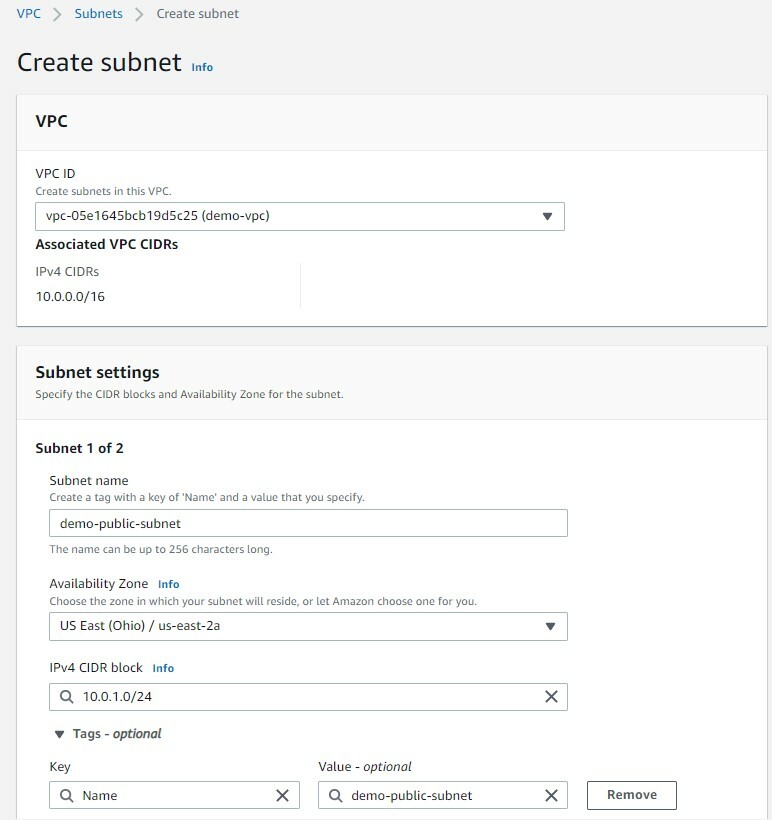
Create Two Subnets. Firstly create a public subnet. You can use the 10.0.1.0/24 CIDR range for the public subnet. Select the availability zone and give the name for the subnet.
Now the same interface, click add new subnet button for private subnet creation.

Add IPv4 CIDR as 10.0.2.0/24. After that give the subnet name and select the availability zone. finally, click create subnet button.

Now create an internet gateway for public subnet internet access. In VPC Console select Internet Gateway and create internet gateway. Give the name of Internet Gateway and hit create button.

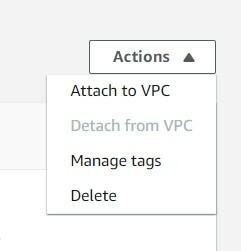
Next, we want to attach this internet gateway for VPC. You can select the internet gateway and click Attach to VPC.
Next, select the previously created VPC and click attach internet gateway button.

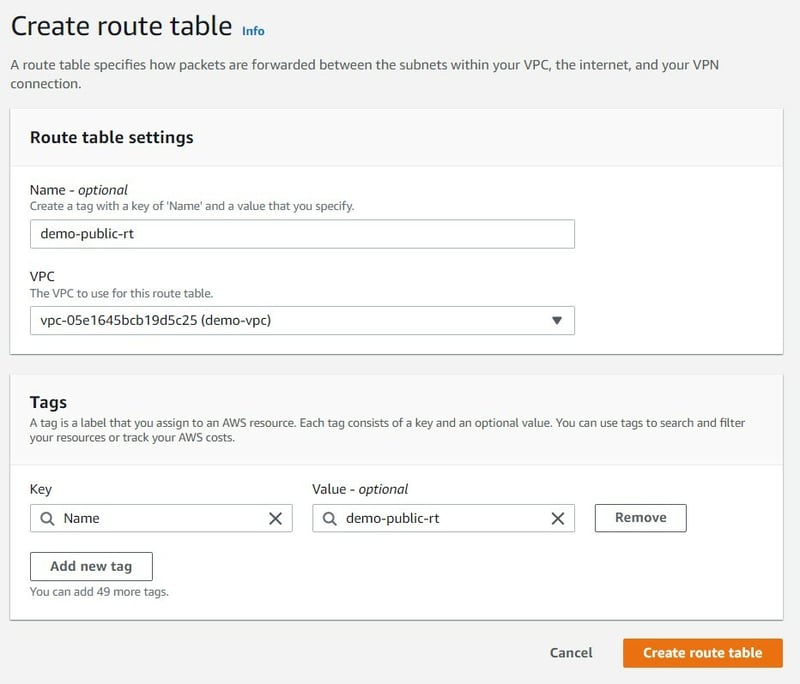
Next, Go to the route table and create a route table for the public subnet. give the name for the route table and select the previously created VPC. The next click creates the route table button.
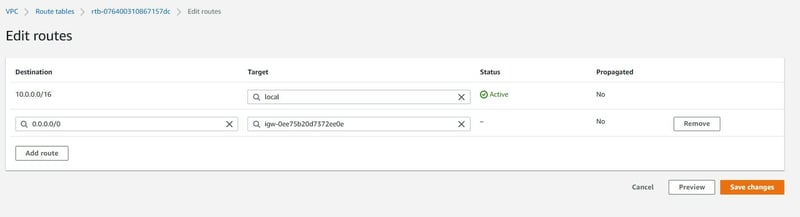
Click the public subnet route table click the Route tab and add route 0.0.0.0/0 and select the previously created Internet Gateway. next hit the save changes button.
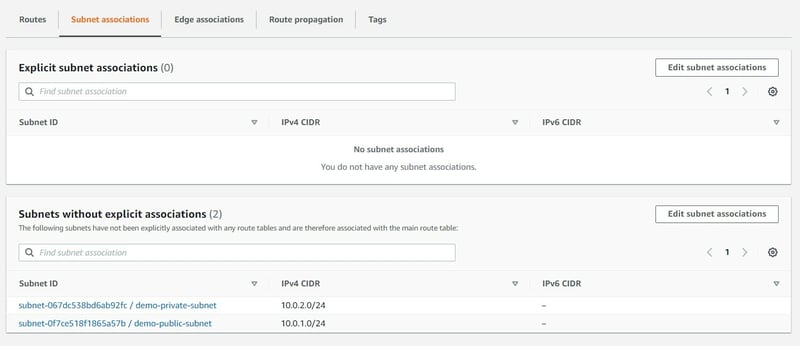
In the public subnet route table click the subnet association section and click edit "Explicit subnet associations" section.
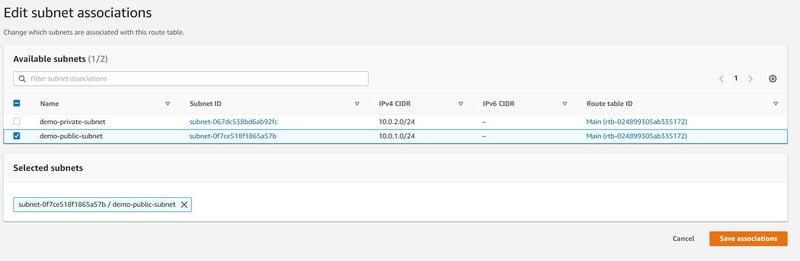
Next, select public subnet and click the save association button.
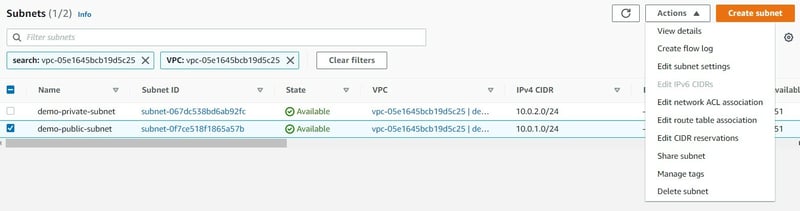
Now we go to public subnet and click subnet settings and enable "Enable auto-assign public IPv4 address" and click save.
Next, we want to create 2 ec2 instances inside public and private subnets. Use ubuntu server 20.04 LTS AMI.

You can see the ec2 instance is up and running.

In the EC2 console click Elastic ip and create ELastic ip like follwing.

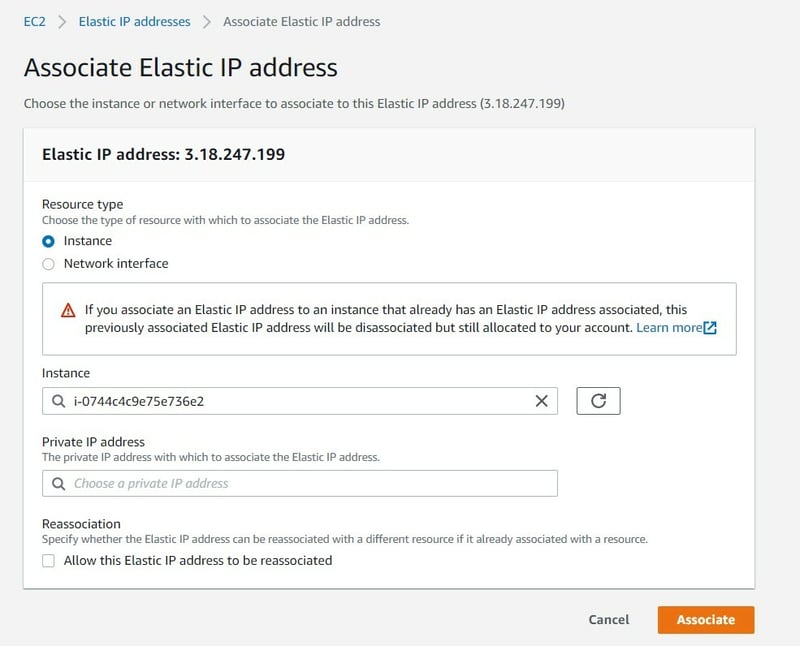
Next, select the newly created Elastic ip and click allocate elastic ip button.

Select previosly created public ec2 and click the associate button.
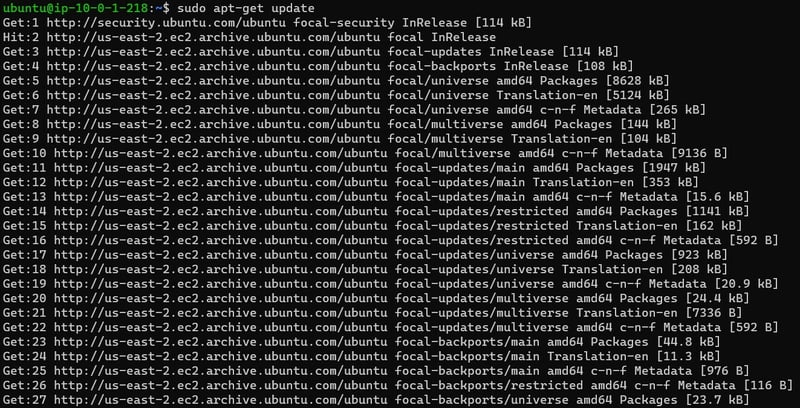
Next, Connect public EC2 via SSH client or EC2 Instance Connect. Try to update ubuntu. Working it means public ec2 can connect internet.
Now, we try to SSH into EC2 in Private Subnet. (It means bastion host). In Linux Terminal You can using the following steps.
Configuring the SSH agent using the following command.
ssh-add -L {{ssh-keyfile-name.pem}}Next, connect the bastion host(Public EC2) using this command.
ssh –A ubuntu@{{Bastion-IP-address or DNS}}Connect to the private instances from the bastion host (Agent Forwarding).
ssh ec2-user@{{InstanceIP or DNS}}
Inside the private ec2 terminal "ping google.com" it's not given any response because it doesn't connect internet.

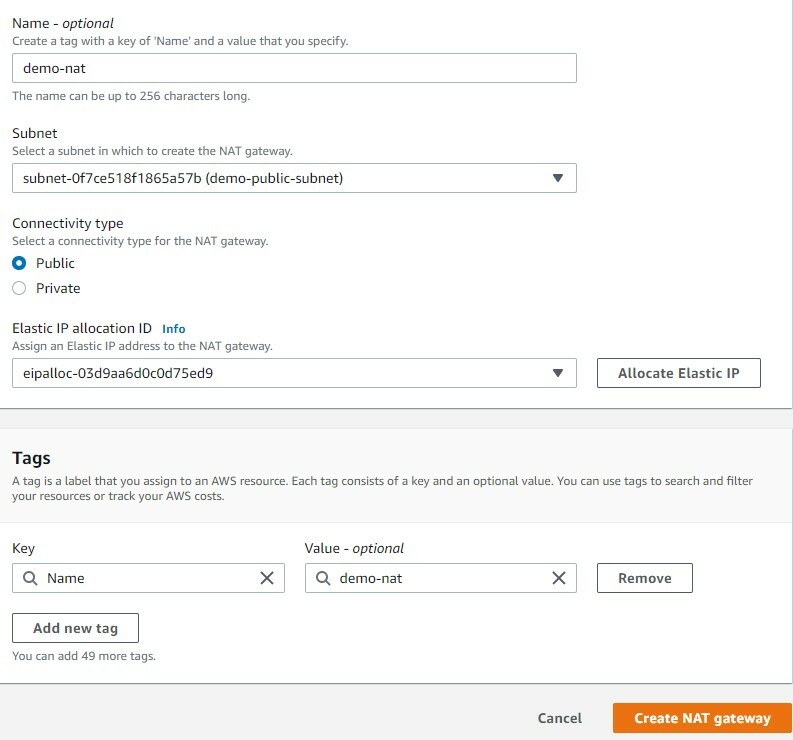
Next, go to the VPC console and create NAT Gateway. In NAT gateway creation select subnet as public subnet and give the name for NAT Gateway. After that click Allocate Elastic IP button and finally click create nat gateway button.
Wait a few minutes for Nat Gateway up and running.

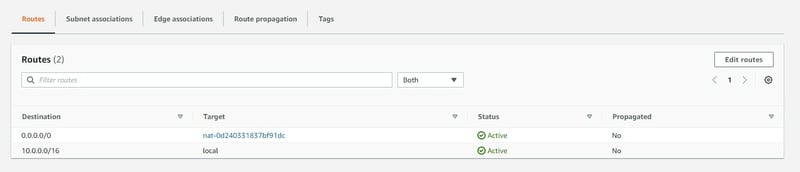
Next, Create a private route table for the private subnet. Use previous Public Route table creation same scenario. After creating the Private Route table and adding the follwing route for accessing private EC2 Internet. (select previously created nat gateway)
Next, add subnet association. Select private subnet and click save association button.

Finally, try to "ping google.com" inside a private subnet terminal. You can see the following output.

Congratulations, Now you can create AWS VPC.
For clean up
- Terminate instances
- Release Elastic IP
- Delete NAT Gateway
- Delete Internet Gateway
- Delete VPC
Thanks for reading the Article.
Resources
https://gist.github.com/sanju2/5273a22f68342080ced33b7b12fef14b


Top comments (2)
This is how you do it, if you want to learn/understand what you're doing.
If you just want to have your VPC and subnets, there is also VPC "creation wizard" option in new console that will take care of details for you. Unfortunately there isn't "cleanup wizard" so you should pay little bit attention to get everything deleted when you are done. Wrote a short post about new vpc create UX and deleting what wizard created at carriagereturn.nl/aws/vpc/create/2...
Ok Sure, Thanks for your information.