Note: I have tested against the latest release and some of these instructions no longer work as expected, As the MDC is in development will revise article in the future.
I wanted to develop an Ionic mobile application and use the services provide by the Aerogear MDC on Openshift. The getting started guides
Setting up the Aerogear Mobile Developer Console
I won’t go into setting up Minishift, for the Aerogear Mobile Developer console you clone the repo for the MDC checkout the release tag and run the setup script
git clone https://github.com/aerogear/mobile-developer-console.git
cd mobile-developer-console
git checkout 1.0.0
./scripts/minishift.sh
Note: The script destroys the default Minishift profile and creates a new one
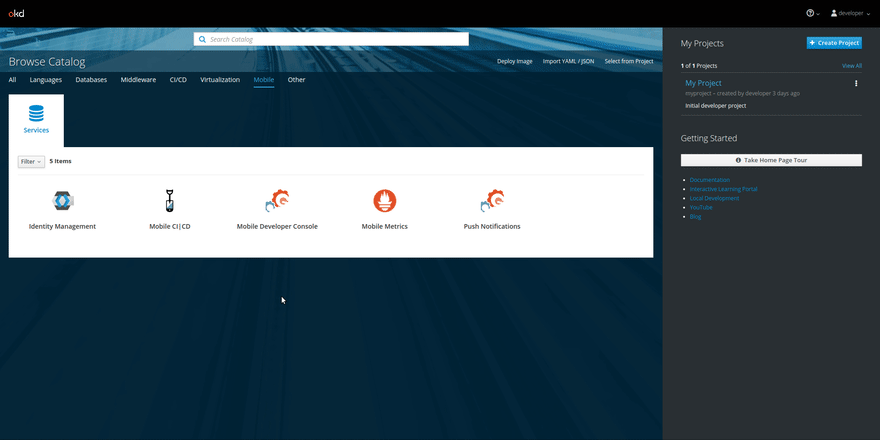
Once finished you should get the following the mobile tab in your service catalog on Openshift.
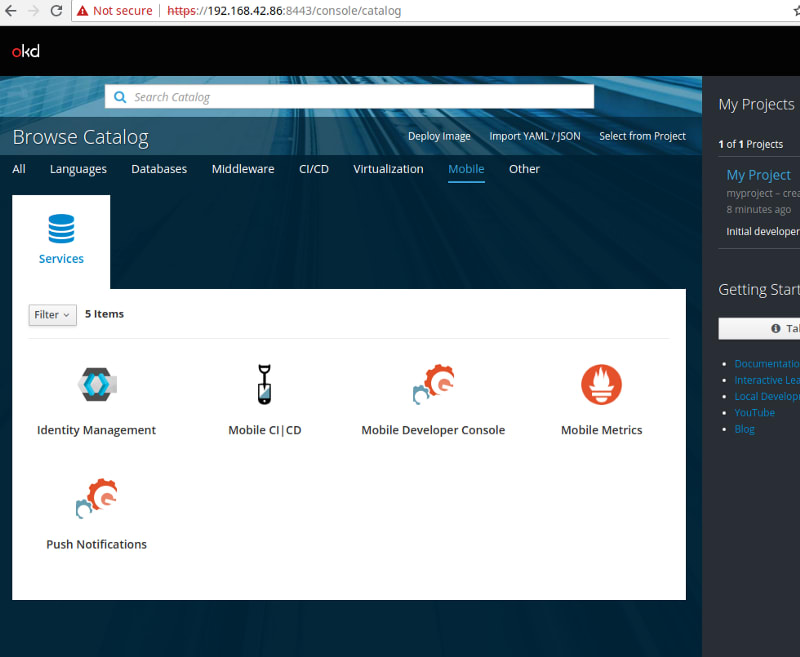
Next you click on the MDC icon and follow the steps to complete installation, select a project to add the MDC to and don’t bind at this time.
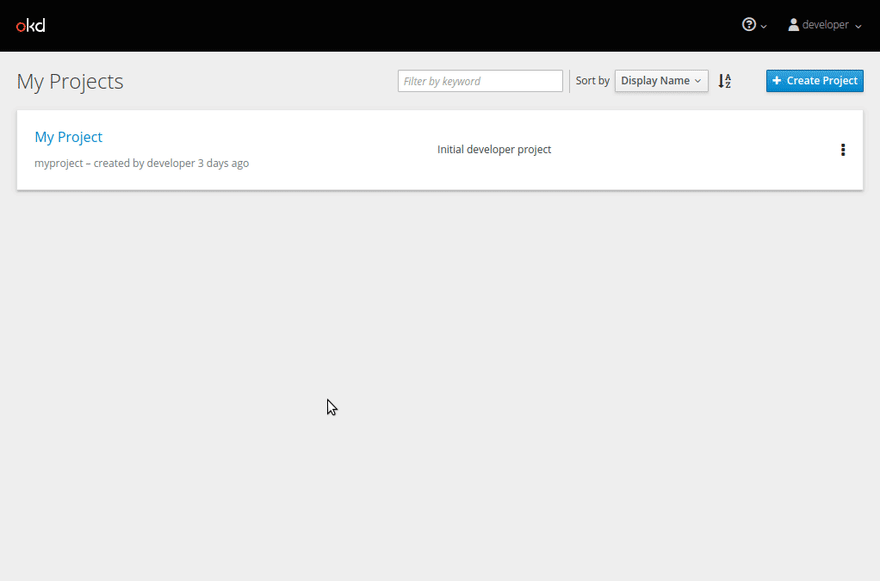
When finished you will be able to access the MDC from the project you deployed it too.
Create a mobile app backend in the Mobile Developer Console

Add the Identity Management Service
Add Identity Management service to the app mobile app. This creates a Keycloak instance and a Postgres server, it does a lot of setup for you like creating realms and setting up the admin user and password.
NOTE: change you admin password at this point

Once Keycloak and Postgres have been deployed you need to bind the identity management service to your mobile back-end.
Creating an Ionic App and using the Identity Management Service
Before starting with the ionic app you need to configure the Keycloak instance this is documented here . Just set the Valid Redirect URIs and the Web Origins to point at the Cordova tabs URL.
On to configuring the ionic app I will use one of the template apps from the ionic getting started guide
ionic start test-ionic tabs
cd test-ionic
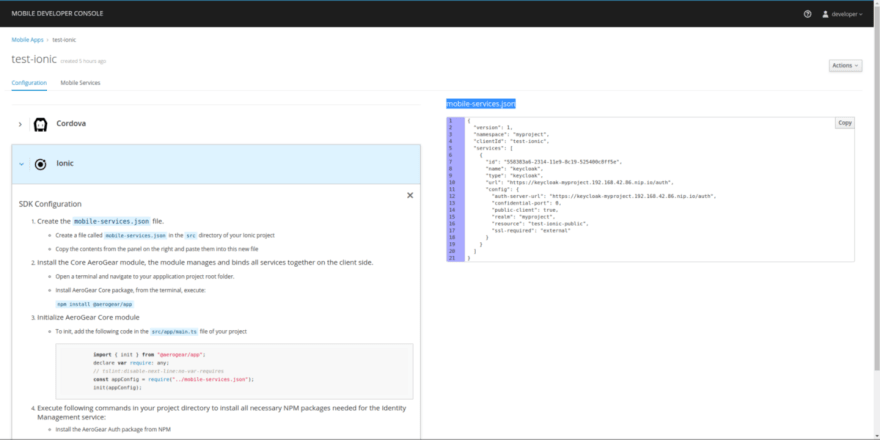
Create new file in the ./src directory of your ionic project called mobile-services.json
Copy the contents mobile-services.json from the Mobile Developer Console, your app’s Configuration tab to this new file.
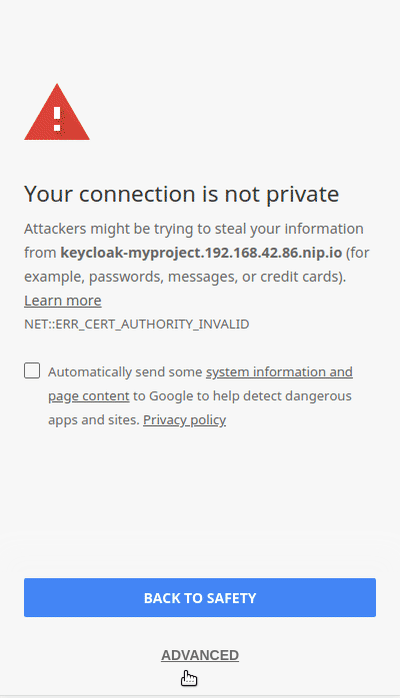
NOTE: Minishift url’s are not public so our auth url don’t work outside of localhost.
Install the following npm packages in your ionic project
npm install @aerogear/app --save
npm install @aerogear/auth --save
npm install @types/node --save-dev
NOTE: I only tested with @aerogear/app 2.3.1
Edit ./src/tsconfig.app.json and add a types “node”, This was a bit of a pain point as you can’t use require without doing this
{
  "extends": "../tsconfig.json",
  "compilerOptions": {
  "outDir": "../out-tsc/app",
  "types": ["node"]
},
  "exclude": [
  "test.ts",
  "**/*.spec.ts"
  ]
}
Add the following section to the ./src/main.ts file
import { enableProdMode } from '@angular/core';
import { platformBrowserDynamic } from '@angular/platform-browser-dynamic';

import { AppModule } from './app/app.module';
import { environment } from './environments/environment';

//==========================add the following lines of code=====================
import { init } from "@aerogear/app";
import { Auth } from "@aerogear/auth";

const appConfig = require("./mobile-services.json");
const app = init(appConfig);

const authService = new Auth(app.config);
//let initOptions = { onLoad: "login-required" };

authService.init({ onLoad: "login-required" })
.then(() => {
    // successful init & authentication
    console.log('keycloak init');
})
.catch((err) => {
    // initialization error
    console.log('keycloak init failure', err);
});

//========================end of code block======================================
if (environment.production) {
  enableProdMode();
}

platformBrowserDynamic().bootstrapModule(AppModule)
  .catch(err => console.log(err));
That it we have now got our application protected by the Identity Management service test by running the ionic app from the root of the project
ionic serve
I am using a user I setup on the Keycloak admin console to sign in.


Top comments (0)