
This post was originally published on my personal blog site.
Welcome back! This is the second in a series of posts that will teach you how to build a blog site using React and Firebase. If you haven't read the first post in the series, I encourage you to do so. I'm including starter code for this post, but you'll additionally need to go through the following steps from the previous post to use it:
- Step 1: Sign up for Firebase (if you don't have an account already)
- Step 2: Create a project
- Step 5: Add Data to the Database
A fair warning: since this post is building off of Part 1, it assumes you have read the post if you're closely following along.
Table of Contents
- Clone the (Part 2) Starter Code [Optional]
- Add a Page for Creating Posts
- Make Inputs for Describing Posts
- Write a Create Function
1. Clone the (Part 2) Starter Code [Optional]
Skip this step if you've successfully completed Part 1. Otherwise, you can start clone the code by running the following command in a terminal:
git clone https://github.com/ashleemboyer/react-firebase-blog-starter-part-2.git
You'll need to change one file before continuing: src/firebase.js. If you open it, you'll see the following config constant:
const config = {
  apiKey: "<YOUR-API-KEY>",
  authDomain: "<YOUR-AUTH-DOMAIN>",
  databaseURL: "<YOUR-DATABASE-URL>",
  projectId: "<YOUR-PROJECT-ID>",
  storageBucket: "<YOUR-STORAGE-BUCKET>",
  messagingSenderId: "<YOUR-MESSAGE-SENDER-ID>",
  appId: "<YOUR-APP-ID>"
};
The attributes within the constant are used to connect your app to your Firebase project. To find these values, go to your project settings using through the gear icon in the left sidebar of the Firebase console. Scroll down to the "Firebase SDK snippet" under "Your apps" and copy the attributes from what they're calling firebaseConfig. Replace the attributes in your config constant with these values.
Now you can run npm install and then npm run start to see your project in a browser.
2. Add a Page for Creating Posts
You don't have to do this step first. I'm just writing these steps in the order of the acronym.
To get started on implementing a "Create Post" feature, let's first make a page we'll use to create posts. Add a create.js file in src/pages. We're going to keep it really simple for now to make sure everything is still working.
Developing code is most easy when you take incremental steps and check your work along the way.
Our Create component will give a friendly, "Hello," for now.
import React from "react";

const Create = () => {
  return <h1>Hello, from Create!</h1>;
};

export default Create;
Try navigating to the /create page. Uh, oh... the page isn't found?

No worries! We just need to add a Route for our new page in src/App.js. First add an import for the Create component:
import Create from "./pages/create";
Then, add the following Route below the one for the / path:
<Route path="/create" component={Create} />
The new create page should be working now!

3. Make Inputs for Describing Posts
Now, let's think about the data structure we have in our Realtime Database. Each of the following are attributes we use to describe a blog post:
- title
- slug
- date
- coverImage
- coverImageAlt
- content
Consider these two questions: Which of these attributes do we need to create an <input> for? Which ones can we automatically generate with some additional code? Well, ...
If I were making this blog site for a client, I would auto-generate the slug and the date. Dates aren't that hard to auto-generate, but slugs can be because of punctionation. We're not going to handle that here, but feel free to give it a try on your own! In addition, I'd likely provide a file upload input for coverImage, but that's also a little more complex than I'd like to take this post.
So, date is the only thing we're going to auto-generate. We'll have inputs for everything except content, which will get a <textarea>. Let's add all of those to our component and handle their values with useState. Your src/pages/create.js file should look like this:
If this seems like a lot of redundant code to you, good catch! (And I'm sorry. 😅) We'll fix that in a "going further" post.
import React, { useState } from "react";

const labelStyles = {
  display: "block",
  marginBottom: 4
};

const inputStyles = {
  width: "100%",
  height: "2rem",
  lineHeight: "2rem",
  verticalAlign: "middle",
  fontSize: "1rem",
  marginBottom: "1.5rem",
  padding: "0 0.25rem"
};

const Create = () => {
  const [title, setTitle] = useState("");
  const [slug, setSlug] = useState("");
  const [coverImage, setCoverImage] = useState("");
  const [coverImageAlt, setCoverImageAlt] = useState("");
  const [content, setContent] = useState("");

  const createPost = () => {
    console.log({ title, slug, coverImage, coverImageAlt, content });
  };

  return (
    <>
      <h1>Create a new post</h1>
      <section style={{ margin: "2rem 0" }}>
        <label style={labelStyles} htmlFor="title-field">
          Title
        </label>
        <input
          style={inputStyles}
          id="title-field"
          type="text"
          value={title}
          onChange={({ target: { value } }) => {
            setTitle(value);
          }}
        />

        <label style={labelStyles} htmlFor="slug-field">
          Slug
        </label>
        <input
          style={inputStyles}
          id="slug-field"
          type="text"
          value={slug}
          onChange={({ target: { value } }) => {
            setSlug(value);
          }}
        />

        <label style={labelStyles} htmlFor="cover-image-field">
          Cover image
        </label>
        <input
          style={inputStyles}
          id="cover-image-field"
          type="text"
          value={coverImage}
          onChange={({ target: { value } }) => {
            setCoverImage(value);
          }}
        />

        <label style={labelStyles} htmlFor="cover-image-alt-field">
          Cover image alt
        </label>
        <input
          style={inputStyles}
          id="cover-image-alt-field"
          type="text"
          value={coverImageAlt}
          onChange={({ target: { value } }) => {
            setCoverImageAlt(value);
          }}
        />

        <label style={labelStyles} htmlFor="content-field">
          Content
        </label>
        <textarea
          style={{ ...inputStyles, height: 200, verticalAlign: "top" }}
          id="content"
          type="text"
          value={content}
          onChange={({ target: { value } }) => {
            setContent(value);
          }}
        />
        <div style={{ textAlign: "right" }}>
          <button
            style={{
              border: "none",
              color: "#fff",
              backgroundColor: "#039be5",
              borderRadius: "4px",
              padding: "8px 12px",
              fontSize: "0.9rem"
            }}
            onClick={createPost}
          >
            Create
          </button>
        </div>
      </section>
    </>
  );
};

export default Create;
Here's what your page should look like now:
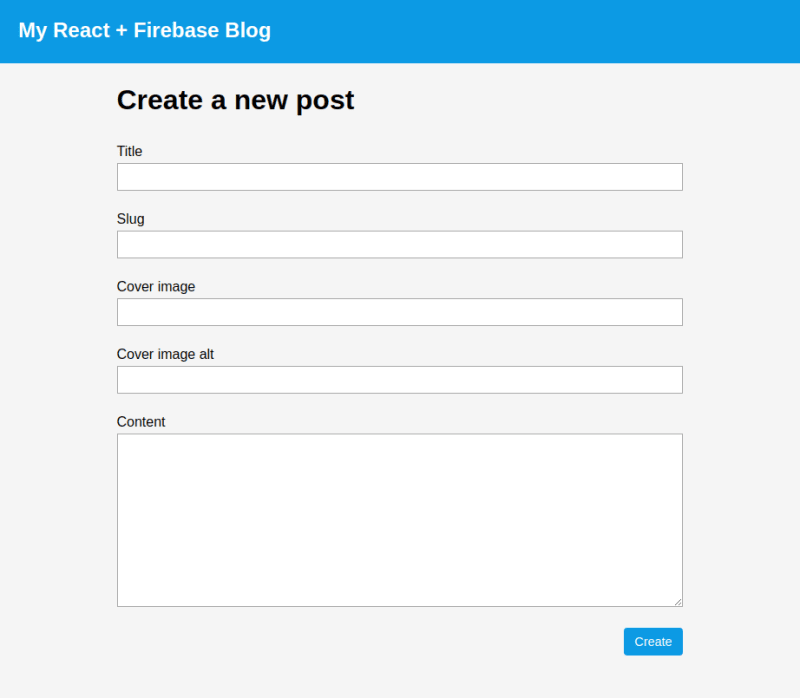
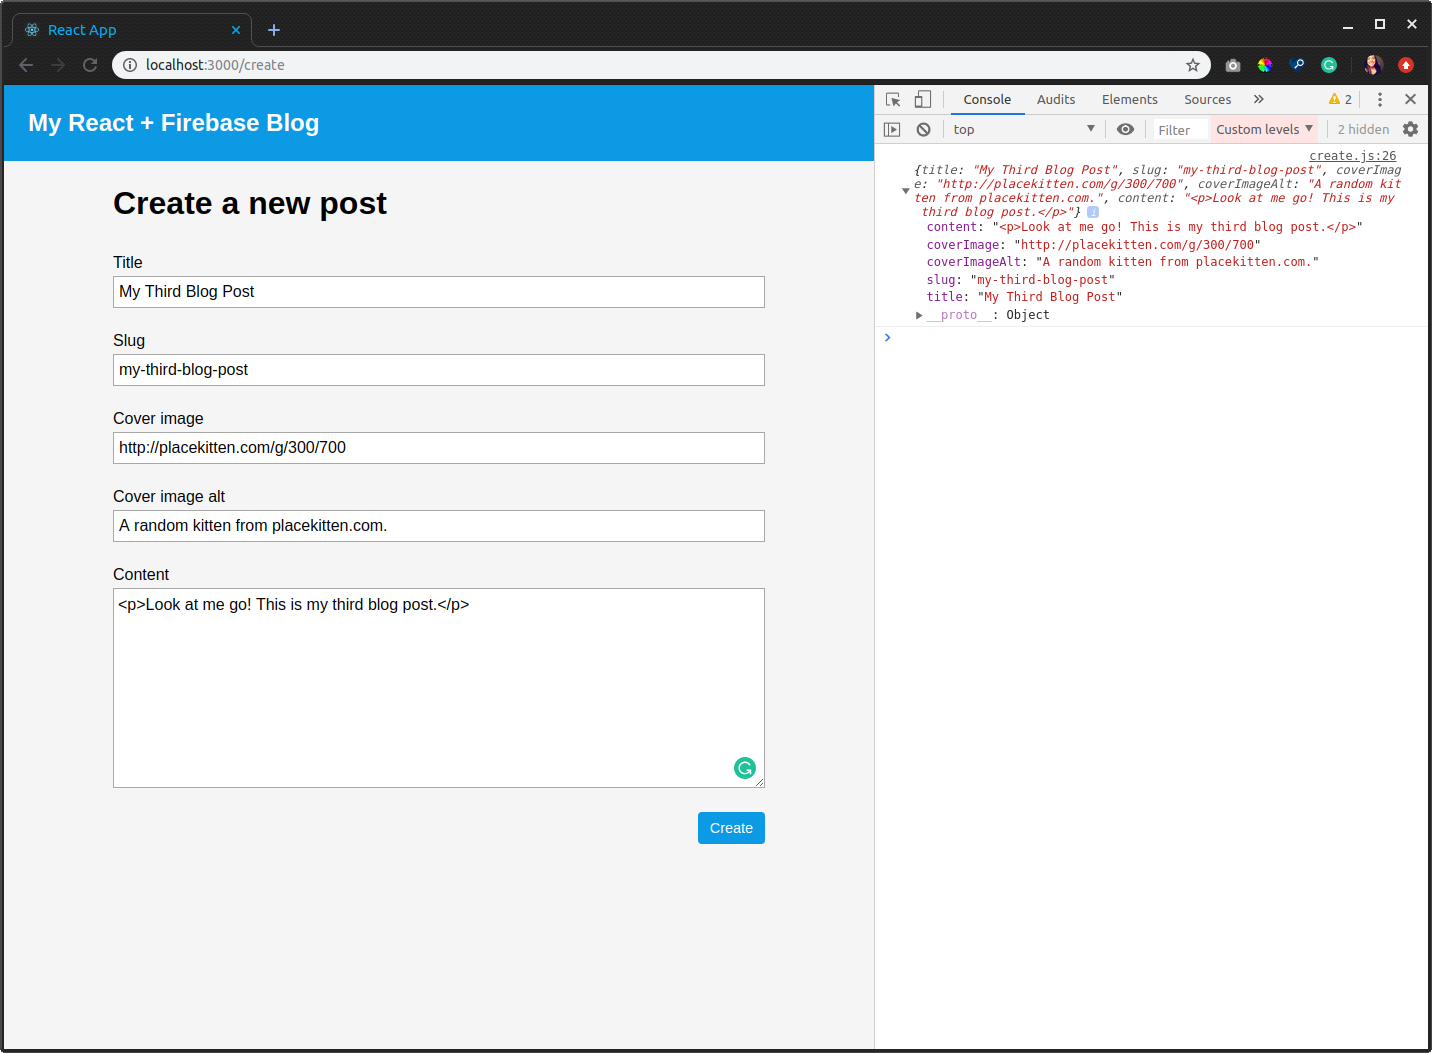
Briefly fill in all of these fields and see what happens when you click the "Create" button! Is your console open? Then you should see an object printed with the values of all your inputs. Here's what mine looks like (click to expand):
4. Write a Create Function
Neat! This is also what I mean by incremental changes to code. Take it step by step. Let's get to the exciting part! We're going to send some stuff back to the database. First, we need to import our getFirebase function from src/firebase.js.
import { getFirebase } from "../firebase";
Now, add the generateDate() function, update the createPost function, and destructure the history prop from the Create component params:
const generateDate = () => {
  const now = new Date();
  const options = { month: "long", day: "numeric", year: "numeric" };

  const year = now.getFullYear();
  let month = now.getMonth() + 1;
  if (month < 10) {
    month = `0${month}`; // prepend with a 0
  }

  const day = now.getDate();
  if (day < 10) {
    day = `0${day}`; // prepend with a 0
  }

  return {
    formatted: `${year}-${month}-${day}`,             // used for sorting
    pretty: now.toLocaleDateString("en-US", options)  // used for displaying
  };
};
const createPost = () => {
  const date = generateDate();
  const newPost = {
    title,
    dateFormatted: date.formatted,
    datePretty: date.pretty,
    slug,
    coverImage,
    coverImageAlt,
    content
  };
  getFirebase()
    .database()
    .ref()
    .child(`posts/${slug}`)
    .set(newPost)
    .then(() => history.push(`/`));
};
const Create = ({ history }) => {
  ...
}
Fill in your inputs like we did a few minutes ago, click "Create post", and you should be brought to the home page with your new post at the very top!

5. Wrapping Up
Whew! I thought we'd be able to talk about all 4 CRUD functions in one post, but that was a lot. We'll continue on this adventure with authentication in the next post. Great job so far. 💪
If come across any issues or questions, send me an email or DM me on Twitter! Catch you later! 😊
Did you know I have a newsletter? 📬
If you want to get notified when I publish new blog posts or make major project announcements, head over to https://ashleemboyer.com/newsletter.


Top comments (1)
Hello, I'm new in the world of programming, I got stuck in the firebase - didn't able to write a delete handle using react.
Will you help?