In case it helped :)
![]()
We will cover briefly:
- Setup for integration test flutter
- Using Robot pattern for testing
- Test the app
- (Optional) Recording performance
Setup for integration tests
Integration testing (also called end-to-end testing or GUI testing) is used to simulate a user interacting with your app by doing things like clicking buttons, selecting items, scrolling items, etc.
We use the integration_test package for writing integration tests. Add the plugin to your pubspec.yaml file as a development dependency
# pubspec.yaml
dev_dependencies:
  flutter_test:
    sdk: flutter
  integration_test
    sdk: flutter
Detailed description here.
Begin Code

- We create a new directory
test_drivercontaining a new file,integration_test.dart - We need to call
integrationDriver()inside this file, but we will customize it, for allowing us to save the results of the integration tests.
## Save the results of the integration tests
integrationDriver(responseDataCallback:(Map<String, dynamic> data)
async {

  await fs.directory(_destinationDirectory).create(recursive: true);
  final file = fs.file(path.join(
      _destinationDirectory,
      '$_testOutputFilename.json',
  ));
  final resultString = _encodeJson(data);
  await file.writeAsString(resultString);
});
const _testOutputFilename = 'integration_response_data';
This will create a file
integration_response_data.jsonafter our tests are finished.
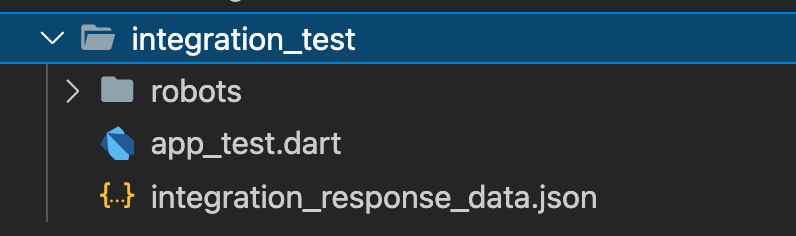
Next, we write tests under integration_test/app_test.dart We need to call the method IntegrationTestWidgetsFlutterBinding.ensureInitialized() in the main function.
Note: The tests should follow
integration_test/<name>_test.dartpattern
- To run our integration tests, first, make sure the emulators are running, and then we run the following
flutter drive \
  --driver=test_driver/integration_test.dart \
  --target=integration_test/app_test.dart
## To specify a device
flutter drive \
  --driver=test_driver/integration_test.dart \
  --target=integration_test/app_test.dart
  -d "9B4DC39F-5419-4B26-9330-0B72FE14E15E"
## where 9B4DC39F-5419-4B26-9330-0B72FE14E15E is my iOS simulator
Using Robot pattern for testing
Robot Testing is an end-to-end (E2E) technique that mimics human interaction. It focuses on WHAT WE ARE TESTING instead of HOW WE ARE TESTING.
Instead of writing all the tests in one file, we basically create robots per screen and then use the integration testing tools to test our application.

Create a Robot
- We create a new file called
home_robot.dartwhich takes in the WidgetTester as a constructor parameter.
Note: Every robot takes in the WidgetTester as a constructor parameter and defines the methods as required by that screen
class HomeRobot {
  const HomeRobot(this.tester);
  final WidgetTester tester;
  Future<void> findTitle() async {}
  Future<void> scrollThePage({bool scrollUp = false}) async{}
  Future<void> clickFirstButton() async {}
  Future<void> clickSecondButton() async {}
}
and we have the methods declared as required per our home screen.
Inside our, app_test.dart we initialize the HomeRobot inside thetestWidgets function and then use the methods as per the behavior
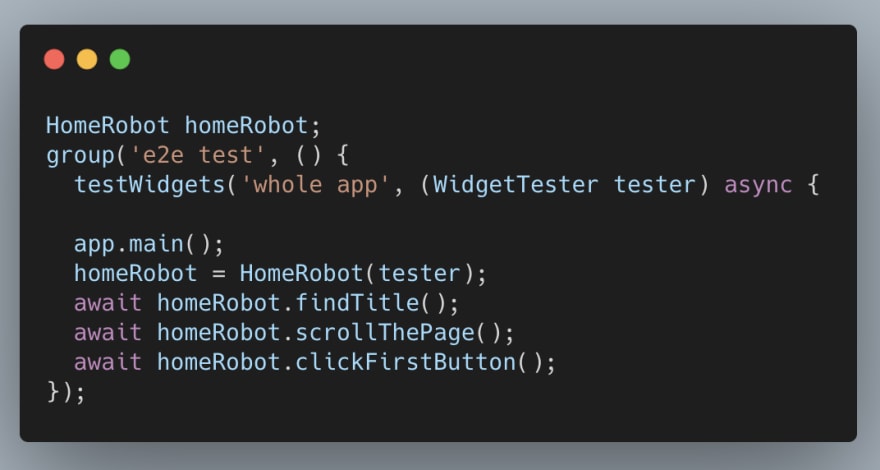
- Even the non-technical stakeholders can understand the tests here, which is the point for robot testing.
- We repeat the steps for the second and third screens, by creating screen respective robots and writing tests inside the main file.
Test the app

This is our home screen, we write the first test for finding the title.
Find title
- We make use of the tester inside the home robot and call
pumpAndSettle - Finally, we expect to find the text (on the home screen) and only with one widget.
Future<void> findTitle() async {
  await tester.pumpAndSettle();
  expect(find.text("Fames volutpat."), findsOneWidget);
}
Note:
pumpAndSettletriggers the frames, until there is nothing to be scheduled
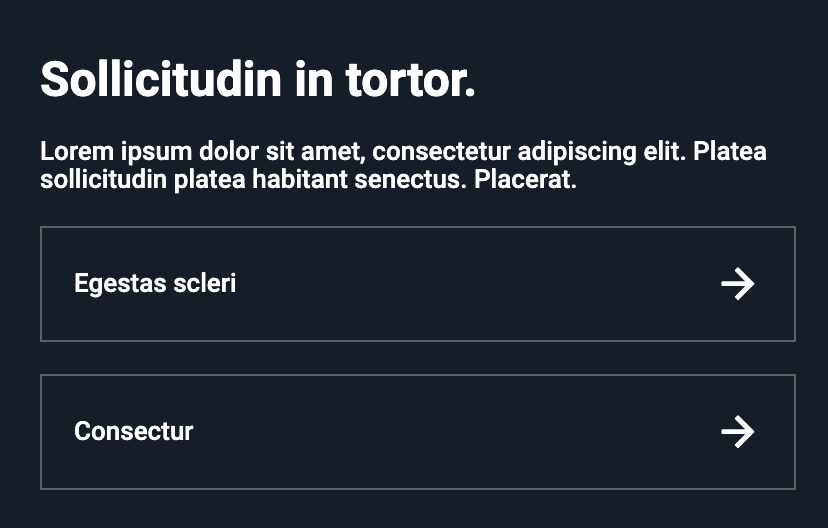
Scroll the page
- We specify the finder (for the scroll widget) and call the
flingmethod on the tester. - In order to scroll down, we need to specify y-offset as negative and for scrolling up, vice-versa
Future<void> scrollThePage({bool scrollUp = false}) async {
  final listFinder = find.byKey(const Key('singleChildScrollView'));
  if (scrollUp) {
    await tester.fling(listFinder, const Offset(0, 500), 10000);
    await tester.pumpAndSettle();
    expect(find.text("Fames volutpat."), findsOneWidget);
  } else {

    await tester.fling(listFinder, const Offset(0, -500), 10000);
    await tester.pumpAndSettle();
    expect(find.text("Sollicitudin in tortor."), findsOneWidget);
  }
}
Once the scrolling is done, we expect to find the text at the bottom
Click the button
- After reaching the bottom of the home screen, now we simulate the button press.
- First, we make sure that the button is visible, by calling
ensureVisible - Finally, we simulate the button press using
tap
Future<void> clickFirstButton() async {
  final btnFinder = find.byKey(const Key(HomeStrings.bOp1));
  await tester.ensureVisible(btnFinder);
  await tester.tap(btnFinder);
  await tester.pumpAndSettle();
}
- Once, the buttons are pressed we are navigated to the next screens. Let’s test those.
Second Screen
- As mentioned above, we follow the robot pattern, hence we have the
secondscreen_robot.dart - We find the title, scroll the page (same as above), additionally now we test the back button.
- We navigate back to the home screen using
pageBack(this finds the back button on the scaffold)
Future<void> goBack() async {
  await tester.pageBack();
  await tester.pumpAndSettle();
}
Third Screen
Below is our third screen
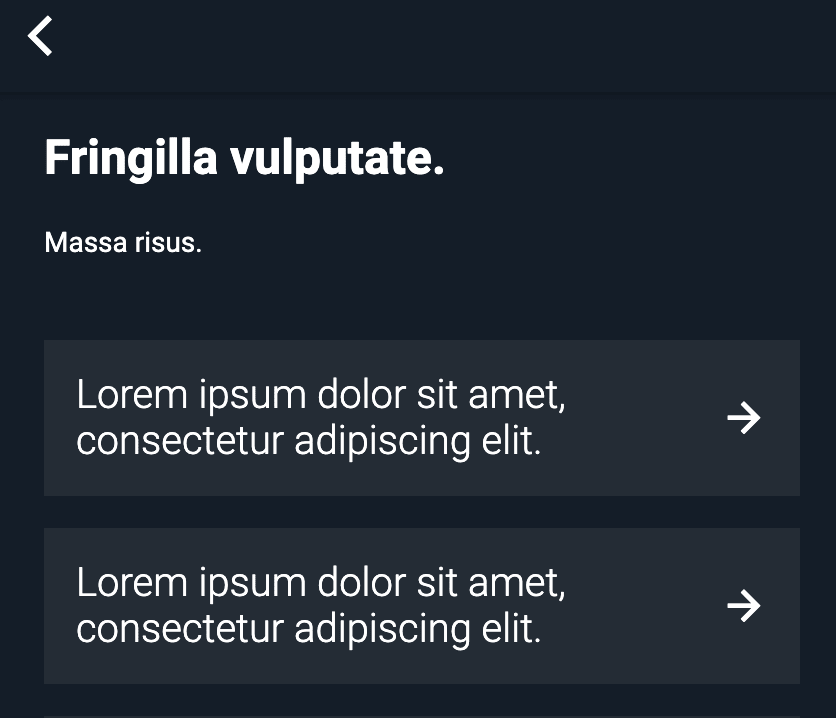
- We follow the robot pattern, hence we have the
thirdscreen_robot.dart - We find the title, scroll the page (same as above), additionally now we perform the click action on the tile using
tap
Future<void> clickTile(int item) async {
assert(item != null && item >= 0 && item <= 5);
final key = 'fringilla_item_${item.toString()}';
final itemFinder = find.byKey(Key(key));
await tester.tap(itemFinder);
await tester.pumpAndSettle();
}
With the click of the tile, we open a web view with a URL, but now we have a cross icon.

- We find the cross icon, using
find.byIconand then use tap to close the current webview.
Future<void> goBack() async {
   final closeIconFinder = find.byIcon(Icons.close);
   await tester.tap(closeIconFinder);
   await tester.pumpAndSettle();
   await tester.pageBack();
   await tester.pumpAndSettle();
}
Now, we come to the third screen and from there, we callpageBack to return to the home screen.
Recording Performance
- Let’s say you want to record the performance of your test (maybe scroll) we first make use of
IntegrationTestWidgetsFlutterBinding.ensureInitialized() - Then we call the
watchPerformanceand inside it, we perform our scroll
final listFinder = find.byKey(const Key('singleChildScrollView'));
await binding.watchPerformance(() async {
  await tester.fling(listFinder, const Offset(0, -500), 10000);
  await tester.pumpAndSettle();
});
Note: The result is saved under the JSON file (which we created during the initialization of integration tests)
In case it helped :)
![]()


Top comments (0)