Hi reader! I'm an Android apps developer. I'm starting this new series called #100DaysOfAndroid in which I'll be covering a cool concept in Android every day for 100 days 🔥. This series will basically have posts about something that I implement during the day & think is an important topic to explain here for your as well as my future reference. Expect a mixture of easy, medium & advanced topics to be covered in these posts. Hopefully, this series helps & motivates you in your journey as an Android developer! 👉👈
Week 1 🗺️
This week we'll be doing all things maps in Android. Being able to pull off stunts like adding markers to the map, style the map, add geofences, get the user's last known location, etc. are indispensable to your knowledge in this area (pun intended). These things are extremely useful & are super important if you want to know how to add functionalities like sharing your location, sending notifications according to the user's location, etc.
You can check out the other posts from this week 📍 👍.
- Adding a Google Map
- Extracting & Saving the User's Current Location
- Incremental Location Permissions
- Incremental Location Permissions with EasyPermissions Library
- Sharing Location Data using Firebase
- Live Location Tracking/Sharing
- Adding a Marker to the Map on Long-click & Storing the Marked Location/POI
Day 1: Add a Google Map to Your App
Create a Google Maps project
- Add Google Maps to your Project
- New project → Google Maps Activity -> ... -> Create
- This will add all the code necessary for adding a map to your app. It mainly adds 3 files automatically to your project: a MapsActivity, an activity_maps.xml layout file in the res folder & an activity_maps_api.xml resource file in the values folder.
You don't need to add the code below. As soon as you create the project, Android Studio will add these for you.
// MapsActivity.kt

import androidx.appcompat.app.AppCompatActivity
import android.os.Bundle

import com.google.android.gms.maps.CameraUpdateFactory
import com.google.android.gms.maps.GoogleMap
import com.google.android.gms.maps.OnMapReadyCallback
import com.google.android.gms.maps.SupportMapFragment
import com.google.android.gms.maps.model.LatLng
import com.google.android.gms.maps.model.MarkerOptions
import com.gmail.apigeoneer.sharemylocation.databinding.ActivityMapsBinding

/**
 * Once an instance of this interface is set on a MapFragment or MapView object, onMapReady(GoogleMap) method is triggered
 * when the map is ready to be used and provides a non-null instance of GoogleMap.
 */
class MapsActivity : AppCompatActivity(), OnMapReadyCallback {

    // Declare a map object
    private lateinit var mMap: GoogleMap
    private lateinit var binding: ActivityMapsBinding

    override fun onCreate(savedInstanceState: Bundle?) {
        super.onCreate(savedInstanceState)

        binding=ActivityMapsBinding.inflate(layoutInflater)
        setContentView(binding.root)

        // Obtain the SupportMapFragment and get notified when the map is ready to be used.
        val mapFragment=supportFragmentManager
            .findFragmentById(R.id.map) as SupportMapFragment
        mapFragment.getMapAsync(this)
    }

    /**
     * Manipulates the map once available.
     * This callback is triggered when the map is ready to be used.
     * This is where we can add markers or lines, add listeners or move the camera. In this case,
     * we just add a marker near Sydney, Australia.
     * If Google Play services are not installed on the device, the user will be prompted to install
     * it inside the SupportMapFragment. This method will only be triggered once the user has
     * installed Google Play services and returned to the app.
     */
    override fun onMapReady(googleMap: GoogleMap) {
        mMap=googleMap

        // Add a marker in Sydney and move the camera
        val sydney=LatLng(-34.0, 151.0)
        mMap.addMarker(MarkerOptions().position(sydney).title("Marker in Sydney"))
        mMap.moveCamera(CameraUpdateFactory.newLatLng(sydney))
    }
}
// activity_maps.xml

<?xml version="1.0" encoding="utf-8"?>
<fragment xmlns:android="http://schemas.android.com/apk/res/android"
    xmlns:map="http://schemas.android.com/apk/res-auto"
    xmlns:tools="http://schemas.android.com/tools"
    android:id="@+id/map"
    android:name="com.google.android.gms.maps.SupportMapFragment"
    android:layout_width="match_parent"
    android:layout_height="match_parent"
    tools:context=".MapsActivity" />
// google_maps_api.xml (debug)

<resources>
    <!--
    TODO: Before you run your application, you need a Google Maps API key.

    To get one, follow this link, follow the directions, and press "Create" at the end:

    https://console.developers.google.com/flows/enableapi?apiid=maps_android_backend&keyType=CLIENT_SIDE_ANDROID&r=...

    You can also add your credentials to an existing key, using these values:

    Package name:
    ...

    SHA-1 certificate fingerprint:
    ...
    Alternatively, follow the directions here:
    https://developers.google.com/maps/documentation/android/start#get-key

    Once you have your key (it starts with "AIza"), replace the "google_maps_key"
    string in this file.
    -->
    <string name="google_maps_key" templateMergeStrategy="preserve" translatable="false">YOUR_API_KEY</string>
</resources>
If you're wondering if you need to add any dependencies for this code to run successfully, the answer is no you don't.
- Now, you just need to provide the API key.
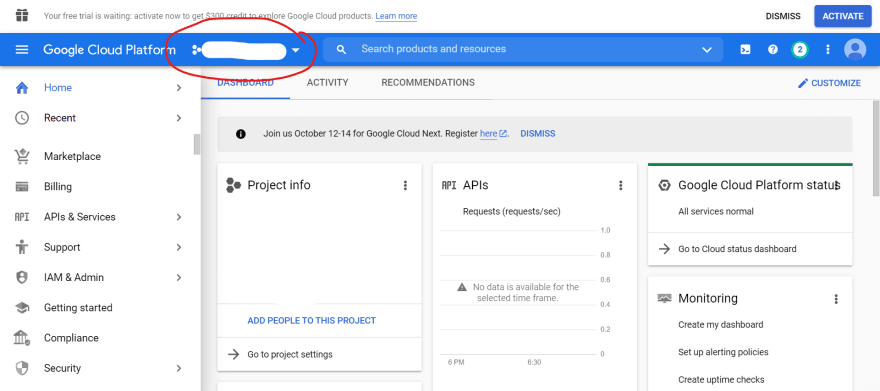
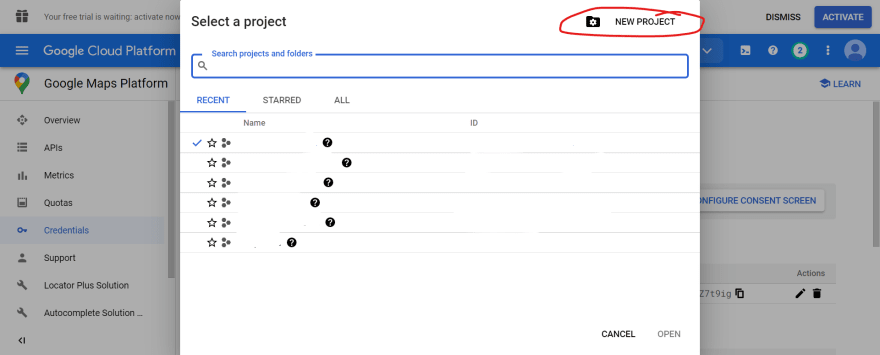
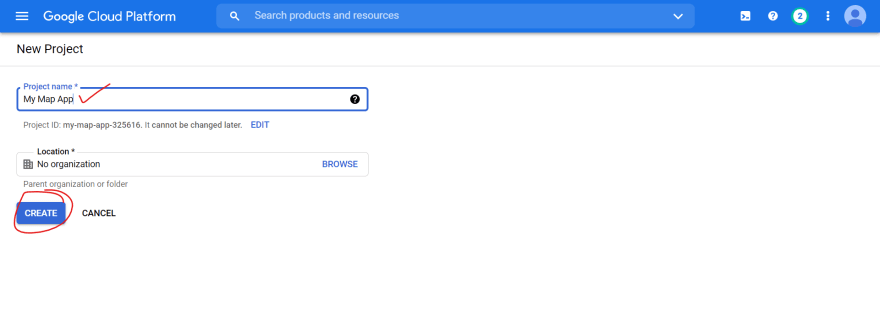
Create a new project on Google Cloud
Go over to the Google Cloud page → Create a new project
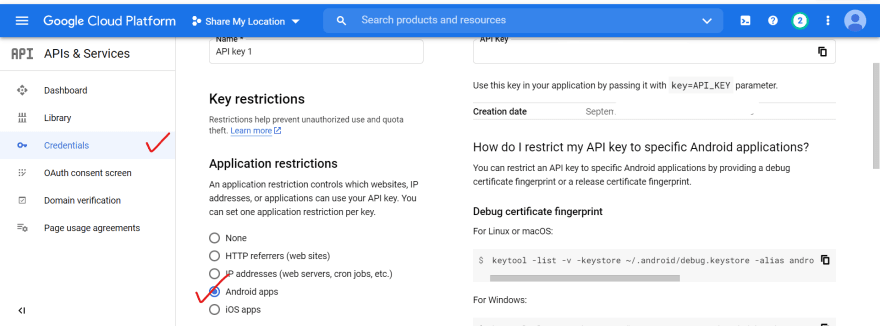
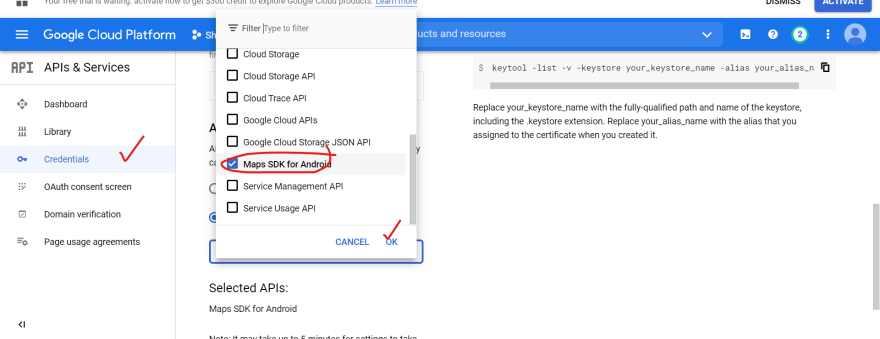
Enable the Maps SDK for Android

Credentials → Create Credentials → API key → Restrict key → Android apps, Restrict key, Maps SDK for Android (Select APIs) → save → copy key
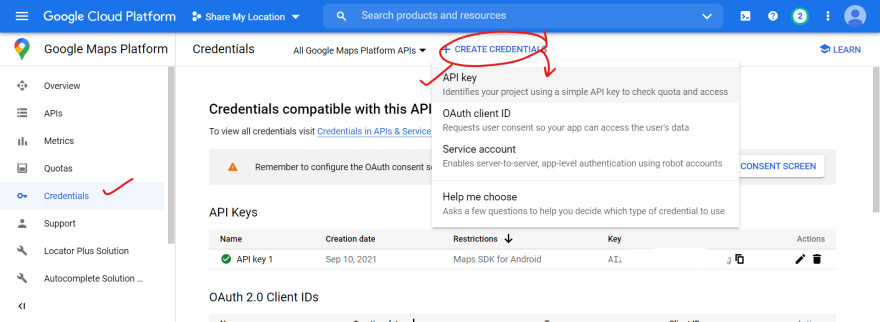
Save.
Add the API key to your app
- Paste the key in place of YOUR_KEY_HERE
      // google_maps_api.xml


<stringname="google_maps_key"templateMergeStrategy="preserve"translatable="false">YOUR_KEY_HERE</string>
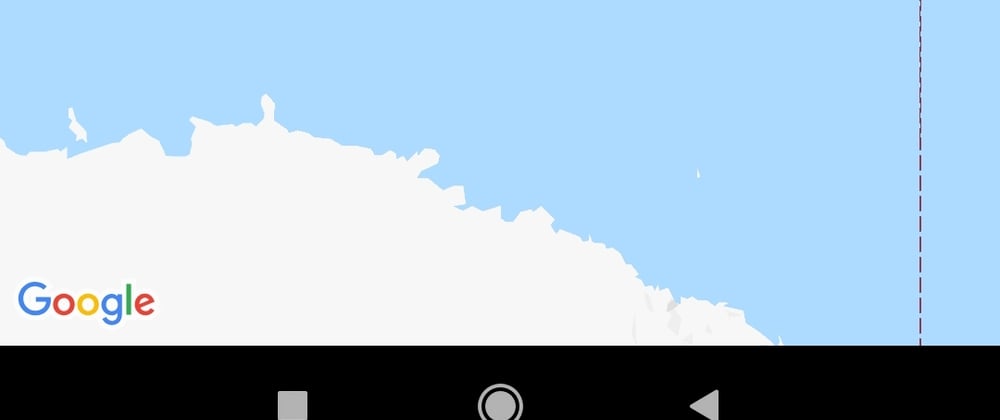
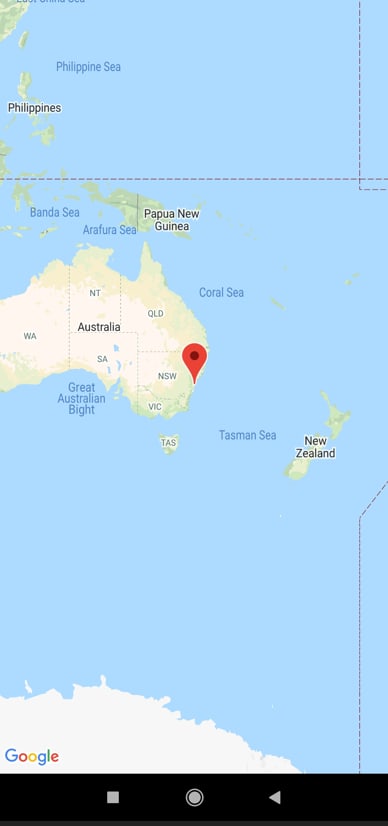
Now run the app & a beautiful map with a marker in Sydney should appear once the app installs on your device/emulator.


Oldest comments (0)