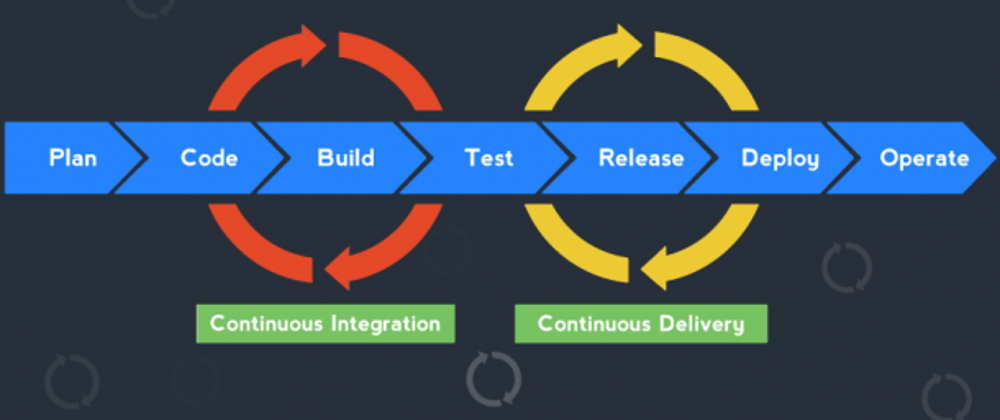
Continuous integration (CI) validates all the stages of the development process from merging codes to testing builds while optimizing the code release cycles. Continuous deployment (CD) focuses on setting up a bundled artifact into a production environment in the fastest way possible which automates the whole deployment process.
Here is a set of steps to integrate the Bitbucket CI/CD pipeline with React application; assuming that you have already set up React application repository in Bitbucket.
Enable bitbucket pipelines
Go to Repository settings → Pipelines settings. Enable the CI/CD pipeline by clicking on the Enable Pipelines button.

Generate SSH keys
Generate a new SSH key pair (recommended):
Go to Repository settings → SSH keys → Generate keys to generate public key and private key.
Add an existing key pair:
Go to Repository settings → SSH keys → Use my own keys and paste the private and public key into the provided fields, then Save.
Install the public key on the remote host before Pipelines can authenticate with that host.
For EC2; paste the public key to file: /home/ec2-user/.ssh/authorized_keys
I prefer to add a one-liner description such as: #Bitbucket CI/CD Pipeline

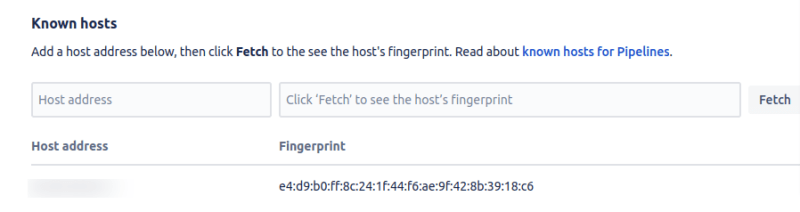
Setup known hosts
Pipelines provide a way to store, and inspect, the fingerprint of a remote host, along with the host address; for the sole reason to verify that the public key presented by a remote host actually matches the identity of that host, to help you detect spoofing and man-in-the-middle attacks.
Go to Repository settings → SSH keys and enter the server IP address and select the Fetch button to see the host’s fingerprint.
Add .env.prod.example in React JS repository
Copy .env to .env.prod.example. Setup .env.prod.example with necessary values. For example: REACT_APP_API_URL=(Your Production API Url)
Add bitbucket-pipeplines.yml in React JS application
Add the bitbucket-pipelines.yml file below to the root directory of the React repository to run the CI/CD pipeline.
In the yml file; When pull requests are merged in master branch the first step “Build React (Prod Server)” scripts are executed. This step mainly focus on installing latest npm packages and building the React application. Next step “Deployment (Prod Server)” focus on deploying the build folder to the server.
Note the $PROD_USER, $PROD_SERVER variables.
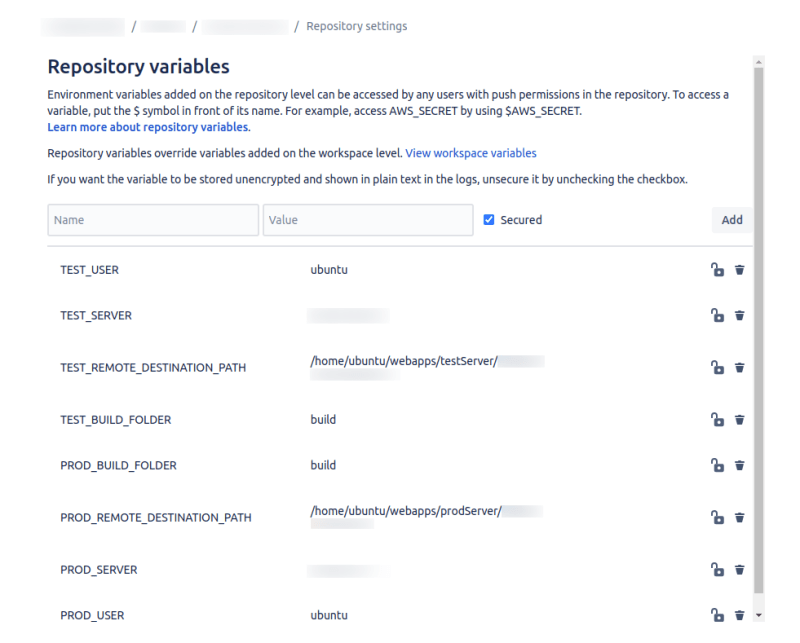
Add repository variables
Go to Repository settings → Repository variables
Pipelines variables added at the repository level can be accessed from the bitbucket-pipelines.yml file or any script in the following way: $PROD_USER where PROD_USER is the name of the variable.
For EC2; Set the values of variables as follows:
PROD_USER – ubuntu
PROD_SERVER – (Your Server IP Address)
PROD_BUILD_FOLDER – build
PROD_REMOTE_DESTINATION_PATH – (Your Server Path)
CI/CD pipeline process
Go to Pipelines to see the list of all pipeline processes. Now when pull requests are merged into the master branch, the pipeline will run. A pipeline process runs all the scripts defined in the bitbucket-pipelines.yml file.

And that’s it. Happy Reading!!
The post Setup Bitbucket CI/CD for React first appeared on Anlisha Maharjan.


Top comments (0)