This post was originally written as a Flotiq Deep Dive but it remains valid for almost any JAMstack app, not just for Flotiq users.
What's wrong with API keys in JAMstack?
If you're building a JAMstack app - odds are you're not just going to use Flotiq for pulling your content, you might also need to update or create new content objects. In such case you should be careful not to expose your API key that allows write access to your content. While it's usually safe to expose the Read Only API key - the read/write key should be protected at all times. In this article we'll cover one way of doing it, by using Cloudflare Workers.
At the end of this article you'll end up with a Cloudflare-generated domain name, that will proxy your traffic to your Headless CMS API and will add your private API key in a way that will be invisible for your users. That way you will never expose your API key.
Prerequisites:
- Cloudflare account (free)
- Cloudflare Workers enabled (free)
- Flotiq account (free)
Cloudflare Workers
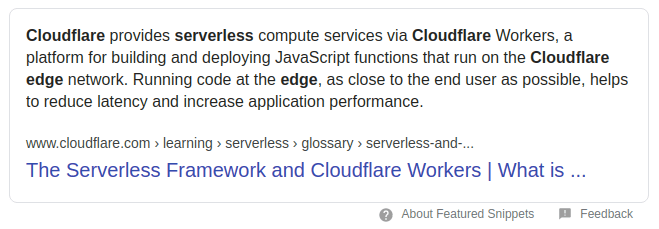
Cloudflare is a global CDN (Contend Delivery Network), which provides websites across the globe with features like anti-DDoS protection, global content distribution and the possibility to run serverless applications "on the edge".
Cloudflare provides a pretty handy CLI tool to work with your Workers code, you can read more about how to get started here. In this tutorial, however, we will use the Cloudflare GUI to build the solution.
Creating the worker
Once you login to your Cloudflare account go to Menu / Workers. From the Workers dashboard select Create Worker.

You will be redirected to the Worker editor tool, which will be filled out with a Hello World code for you, this is the part that we'll update next.

Adding headers inside the Worker code
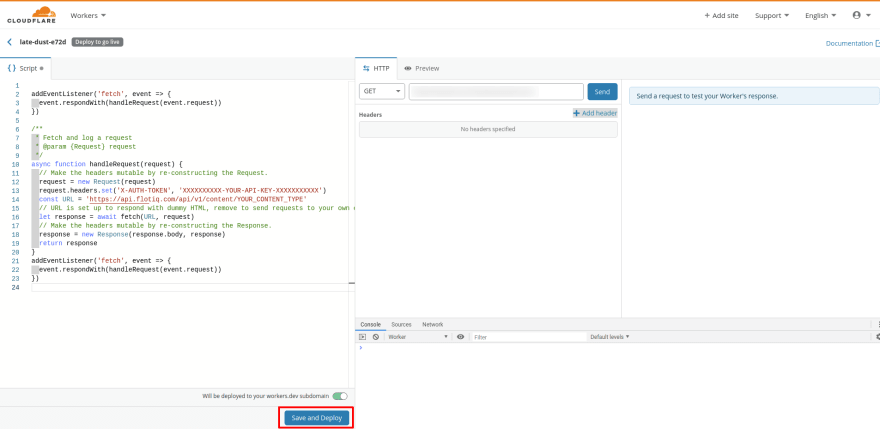
The Worker code is very simple and its only purpose is to add the protected read/write API key to the request headers:
addEventListener('fetch', event => {
  event.respondWith(handleRequest(event.request))
})

/**
 * Fetch and log a request
 * @param {Request} request
 */
async function handleRequest(request) {
  // Make the headers mutable by re-constructing the Request.
  request = new Request(request)
  request.headers.set('X-AUTH-TOKEN', 'XXXXXXXXXX-YOUR-API-KEY-XXXXXXXXXXX')
  const URL = 'https://api.flotiq.com/api/v1/content/YOUR_CONTENT_TYPE'
  // URL is set up to respond with dummy HTML, remove to send requests to your own origin
  let response = await fetch(URL, request)
  // Make the headers mutable by re-constructing the Response.
  response = new Response(response.body, response)
  return response
}
addEventListener('fetch', event => {
  event.respondWith(handleRequest(event.request))
})
which is adapted from Cloudflare template gallery.
Simply paste this code in the Worker editor, replacing the original Hello World code. Don't forget to update your Flotiq API key and content type name.
With the recent updates in Flotiq it's super simple to create a dedicated, scoped API key that will narrow down the access to a specific Content Type and a specific action.
For example - if you'd like to use the key for storing contact form entries, although the key is hidden in Cloudflare, we would recommend to set it up as follows:
Read more about creating contact forms using Flotiq

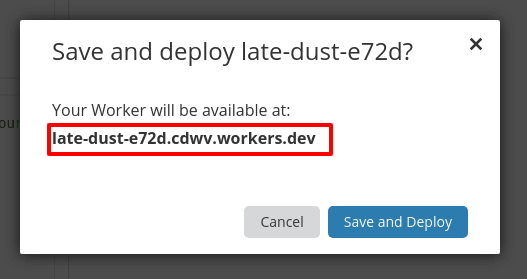
Next - click Save and Deploy.
That's it! Cloudflare has deployed your worker to an automatically generated endpoint, you can start using it right away, the URL will be presented to you in the confirmation dialog.
Conclusions
With Cloudflare workers it's extremely easy to add an extra layer of security to your JAMstack apps. You can create a Worker in a couple of minutes and their free tier is generous enough to work for most of the typical use cases. If you combine that with scoped API keys - you'll get an extra level of certainty that your content is safe.


Top comments (0)