Is this a tutorial? Nope, this is an overview of an small project I used to get familiar with TensorFlow JS. (See the end-note for a link to my GitHub)
Learning Objectives

This project was used to learn the basics of converting a native (Python) TensorFlow-Keras model to JavaScript using TensorFlow JS. TensorFlow JS is a JavaScript adaptation of the mighty TensorFlow library for Deep Learning, and allows realtime inference in the browser using JSON-based models. It also provides an incredibly convenient command-line tool for converting Python models to JavaScript (which is what I used for this project), since at the time of development, the API structure wasn't really as mature as its Python counterpart.
Project Goal
The project goal was literally anything that seemed like it could be used in a web-browser, in addition to being anything that seemed like it would keep my interest long enough till completion. (Unless there is explicit business-value or some non-zero ROI, I loose interest very quickly).
I searched around for a few ideas that seemed just on the edge of useful whilst still being interesting or niche-like, and happened upon a dataset which contained human faces of varying expressions. The faces were classified into 7 discrete types of emotion, and each image was a square of a different face, in varying lighting conditions, across multiple ethnicities and genders. From this I decided that the project goal was to design an emotion-detector that runs in-browser using TensorFlow JS and a device webcam.
Issues
- It was a while since I used CSS
- Browsers ain't exactly a compute cluster
So I had to re-familiarize myself with the quirks of CSS (how I managed to center the main UI both horizontally and vertically is still a mystery to me), and I also had to come up with some push-toe optimizations to prevent my browser from crashing after the first few frames of inference.
Under-the-Hood
A turnkey facial-recognition model is first used to acquire the location of a subject's face from the webcam from this source. The output from this face-localization is drawn on a dynamic canvas, and the bounding box is cropped to a hidden element.
Model
I built a very simple Convolutional-Neural Network in Python, via some transfer-learning using the Xception architecture. The Xception network is based entirely on depthwise separable convolutional layers. It is the natural God-child to the Inception architecture(hence it's name eXtreme Inception). In addition to a small improvement on the InceptionV3 architecture, depthwise separable convolutions are more computationally efficient.
A spatially-separable convolution is one which can be effectively 'factorised', for example, if we have a convolutional kernel
we would need to perform nine multiplications for every stride we take (each element would have to be multiplied with a given image pixel, for each pixel in the image if our stride distance is 1). We can however break down the above into:
This means instead of doing 9 multiplications, we do two convolutions with 3 multiplications each to achieve the same effect. This results in a decrease in convolutional computational complexity, which allows the network to run faster.
A depthwise-separable convolution is one which can be separated along its orthogonal dimension. If we had a convolutional block that was and which was used to convolve an image , a depthwise separable convolution would allow separation of the intial 'cube' into three blocks, similar to the spatial separation above for a decrease in computational complexity.
Intuitively, this is exactly what is needed in image processing, as colour images are typically three-channel, and the kernel is what is used to convolve colour images.
Model Training
Using the Keras API, I used transfer-learning to retrain a MobileNet to recognise the 7 classes of emotion as present in the fer-2013 dataset. I also used augmentation (flip, shear, scale) and random shuffles to cross-validate the model during training. All of this is fairly standard, the unique part comes next.
After saving the model in the .h5 format, TF-JS provides a neat command-line tool to convert the saved model into a JSON (which turns out to be orders of magnitudes smaller). The advantage of using a model in-browser is many-fold. The images being processed do not need to be sent to some centralised cluster, meaning user privacy is significantly increased, whilst at the same time, latency is minimized.
System Architecture

As described above, the system requests webcam access from a user and performs face localization in order to 'find' a user's face from the live video feed. I contemplated visualising the bounding box location in the stream as seen by the user, however decided against it last-minute
Now the fun part, the inference does not run every frame, as this would severely overwhelm any modern browser to the point of freezes, crashes, and a whole range of fun issues. After some experimentation, 10 frames seemed like a reasonable balance between minimizing computational burden whilst still delivering a real-time experience.
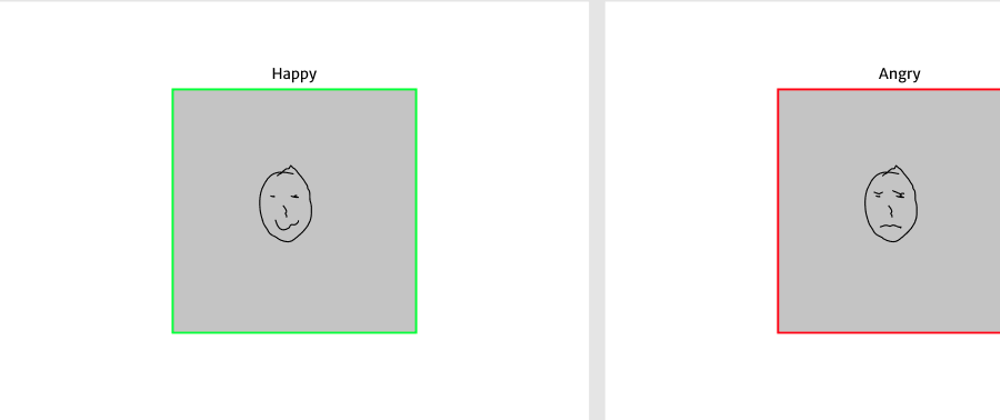
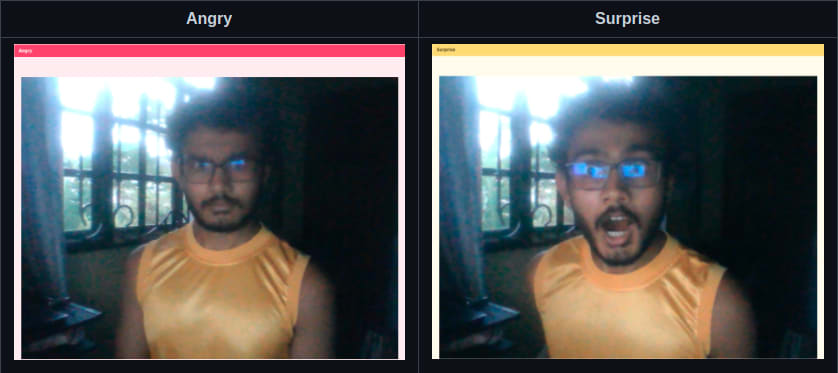
My idea was to have a frame the page that changed colour depending on mood, and a text item at the top of the frame for the same purpose (did you get the part where I said I'm not exactly a front-end designer?)
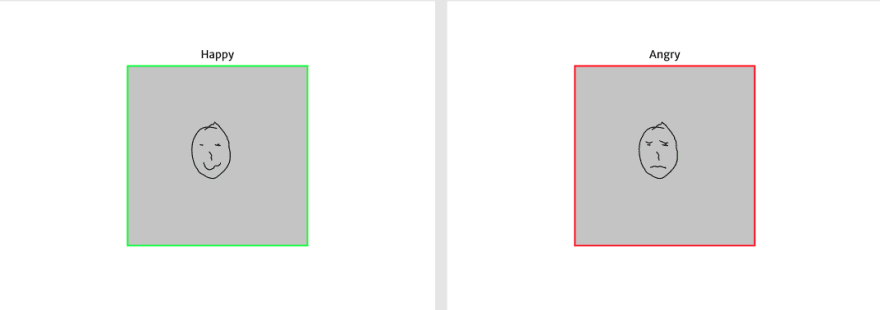
For this, I incorporated Bulma.css and learnt a bit about CSS transitions to get the colour to change gradually.
And it worked! The below text prompts were automatically set depending on my facial expression, and the colours changed accordingly
Future Learning Goals
I'd like to be able to implement this with a much lighter model, in addition, I think putting markers on key facial points to visualise what the model is seeing would be really cool
If you would like to play around with the app, see my Githun for the full code


Oldest comments (0)